Form Layout
One of the most important but overlooked aspects of web design is the creation of forms. Effective form design is essential to your company for transactional and strategic reasons. The quality of the information collect depends on the quality of the question you ask.
This article will provide information about the form layouts with explanation about their HTML code structure and features. In the second part of the article you can find information regarding Form Style so you have the basic knowledge to start customizing your form to match the design of your website.
Generally, layouts are just HTML code, styled with CSS declarations and images. Currently, RSForm!Pro supports 8 predefined layouts.
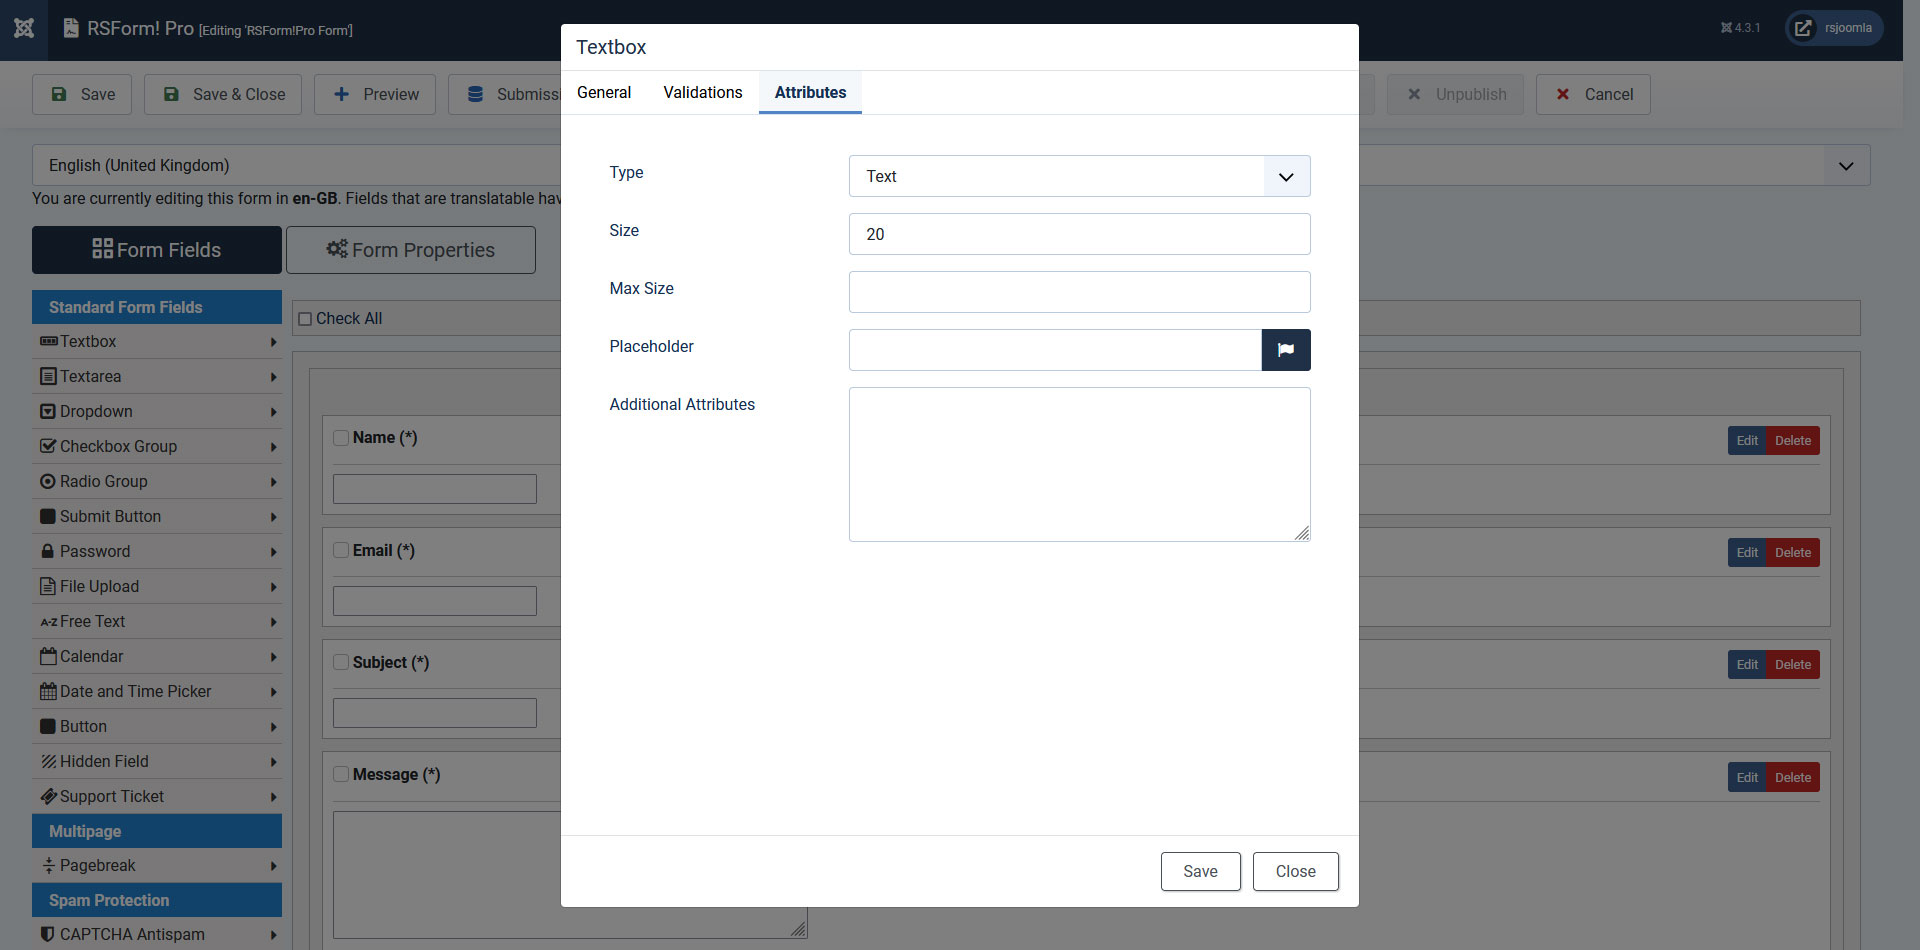
The HTML code (Form properties > Form layout) of a field is generated using 5 placeholders:
- {field_name:caption} controlling the caption or label (text or HTML that is displayed in the form)
- {field_name:body} which controls the field's body
- {field_name:validation} in charge of displaying the error message when the field is invalid
- {field_name:description} controlling the description of the field.
- {field_name:descriptionhtml} display the description inside HTML attributes.
We strongly recommend to change the Form Layout and Style after you finished adding the form fields.
Form layout can be adjusted easily, without changing the HTML code, using the Grid Layout.
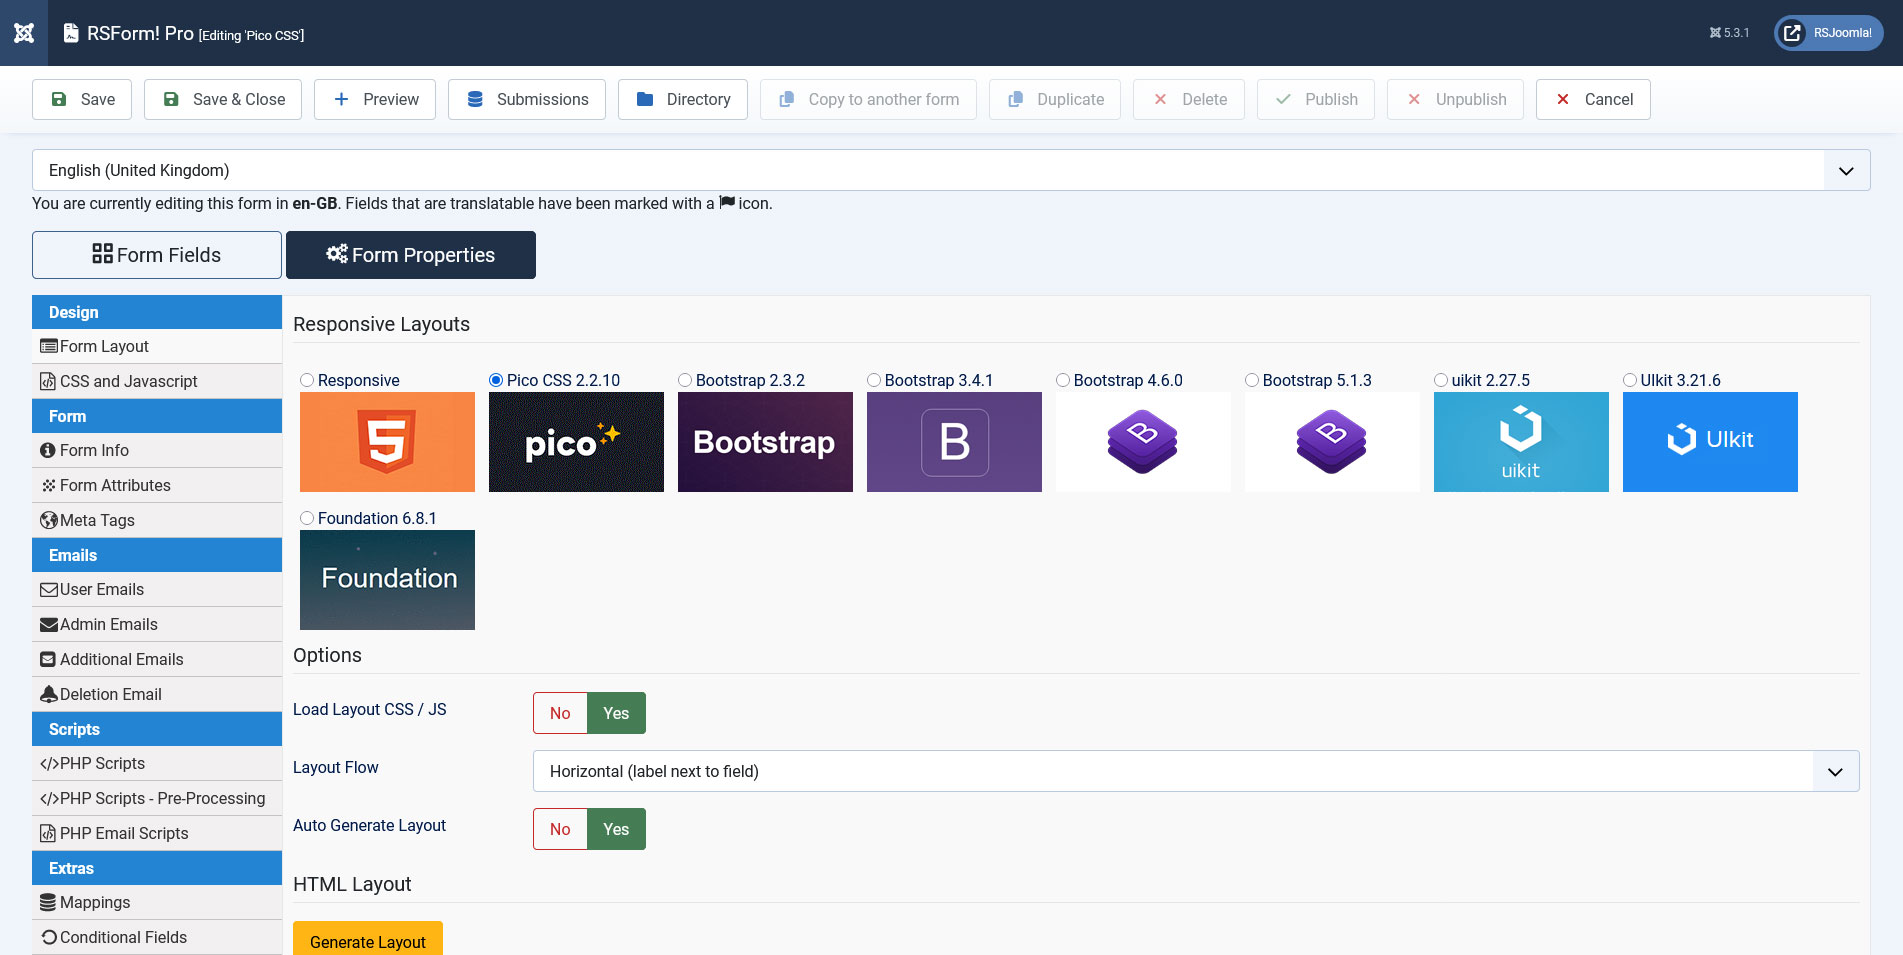
Responsive Layouts
RSForm!Pro allows you to choose between 9 responsive layouts:
- Responsive
- Pico CSS 2.2.10
- Bootstrap 2.3.2
- Bootstrap 3.4.1
- Bootstrap 4.6.0
- Bootstrap 5.1.3
- uikit 2.27.5
- UIkit 3.21.6
- Zurb Foundation 6.8.1
Legacy Layouts
- Inline
- 2 Lines
- 2 Columns Inline
- 2 Columns 2 Lines
- Inline (XHTML)
- 2 Lines (XHTML)
Note: In order for the Legacy Layouts to be available, you will have to install the RSForm!Pro Legacy Layouts plugin: Download
This Plugin is intended for legacy Joomla! 3 installations. It can't and shouldn't be used in Joomla! 4
Responsive Layouts
The Responsive Layouts will be automatically modified to fit screens of all types of resolutions, ranging from desktop monitors to smartphone and tablet displays. You can choose from one of the 4 pre-defined layouts.
The Responsive Layout HTML code for this layout doesn't have list or table structure, but its classes are based on the Bootstrap framework.
          <fieldset class="formHorizontal formContainer" id="rsform_1_page_0">
            <div class="rsform-block rsform-block-fullname">
              <div class="formControlLabel">{FullName:caption}<strong class="formRequired">(*)</strong></div>
              <div class="formControls">
                <div class="formBody">{FullName:body}<span class="formValidation">{FullName:validation}</span>
                </div>
                <p class="formDescription">{FullName:description}</p>
              </div>
            </div>
          </fieldset>
This layout can be further customized to suit your needs. RSJoomla! provided a how to Create a responsive, two columns inline form guide.
The Bootstrap 2 / Bootstrap 3 / UIKit Layouts share the same HTML structure, however the classes that are applied on the HTML elements change accordingly to the framework that you wish to use. e.g. Bootstrap 3.x example:
          <fieldset class="form-horizontal formContainer" id="rsform_{global:formid}_page_0">
            <div class="form-group rsform-block rsform-block-fullname{FullName:errorClass}">
              <label class="col-sm-3 control-label formControlLabel" data-toggle="tooltip" title="{FullName:description}" for="FullName">{FullName:caption}<strong class="formRequired">(*)</strong></label>
              <div class="col-sm-6 formControls">
                {FullName:body}
              </div>
              <div class="col-sm-3"><span class="formValidation">{FullName:validation}</span>
              </div>
            </div>
          </fieldset>
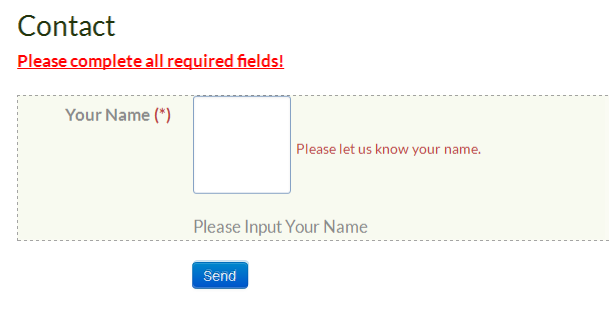
CSS defines the look and feel of HTML elements. Manually adding CSS declarations in the HTML Layout is one of the first go to methods(e.g. below).
      <fieldset class="formHorizontal formContainer" id="rsform_{global:formid}_page_0">
        <div class="rsform-block rsform-block-FieldName" style="border:1px dashed;">
          <div class="formControlLabel" style="font-weight:bold;">{FieldName:caption}</div>
          <div class="formControls">
            <div class="formBody">{FieldName:body}<span class="formValidation" style="color:red">{FieldName:validation}</span>
            </div>
            <p class="formDescription">{FieldName:description}</p>
          </div>
        </div>
      </fieldset>
Despite being easy to implement, this method of inline styling requires the Auto Generate Layout option to be disabled, thus preventing field placeholders being automatically added.
An inline styling simple solution to target a specific field, is the usage of the Additional Attributes field to add classes (e.g. class="custom_class") or even insert css declarations(e.g. style="color:red").
Further styling can be done by accessing the Form Properties > CSS and Javascript section (The CSS area needs its specific style tags: <style type="text/css"></style>). Classes can be found in the Form Layout -> HTML Layout section(e.g. below).
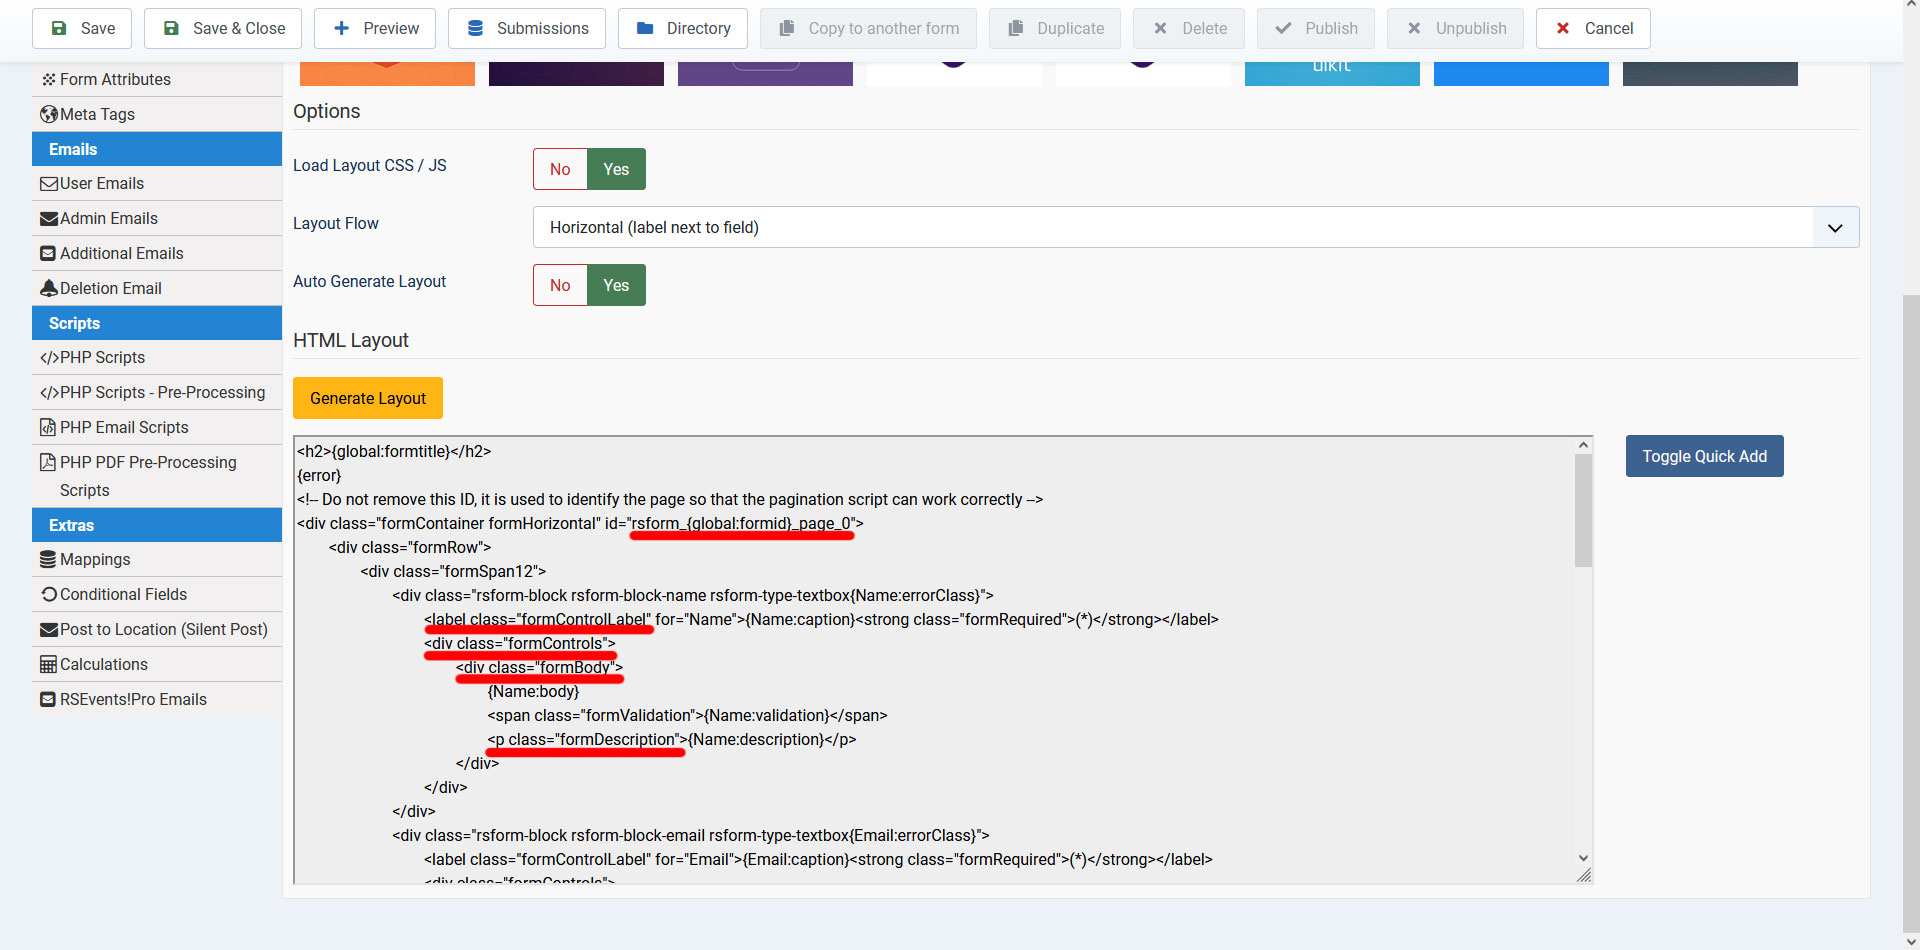
Examples of classes generated by RSForm! Pro responsive layout
rsform-block-field_name - defines the container which is divided in 2 separate parts, both of them having additional subclasses
- .formControlLabel - defining the field caption and required elements
- .formControls - with the following id`s and subclasses:
- #field_name - styling the actual body of the field
- .formResponsive .formError - controlling the invalid error
- .formDescription - defining the style of the description area
      <style type="text/css">
        .formRed {
          text-decoration : underline;
        }
        .rsform-block-field_name {
          background-color : #f8faf0;
          border           : 1px dashed;
        }
        .formRequired {
          color : #b94a48;
        }
        .formControlLabel {
          font-weight : bold;
        }
        #field_name {
          width        : 80px;
          height       : 80px;
          border-color : #86a2c5;
        }
      </style>
The CSS declarations may be later overwritten by other declarations (inline styles, template CSS files, etc.).
For complete control over the form styling, you can perform a CSS template override (details on performing CSS template overrides can be found via Joomla! official documentation) on the front.css file (\media\com_rsform\css\front.css). By doing this, the style will be applied for all the forms on your website.
Similar topics can be found in the following articles: CSS and Javascript and Form Attributes.
58 persons found this article helpful.