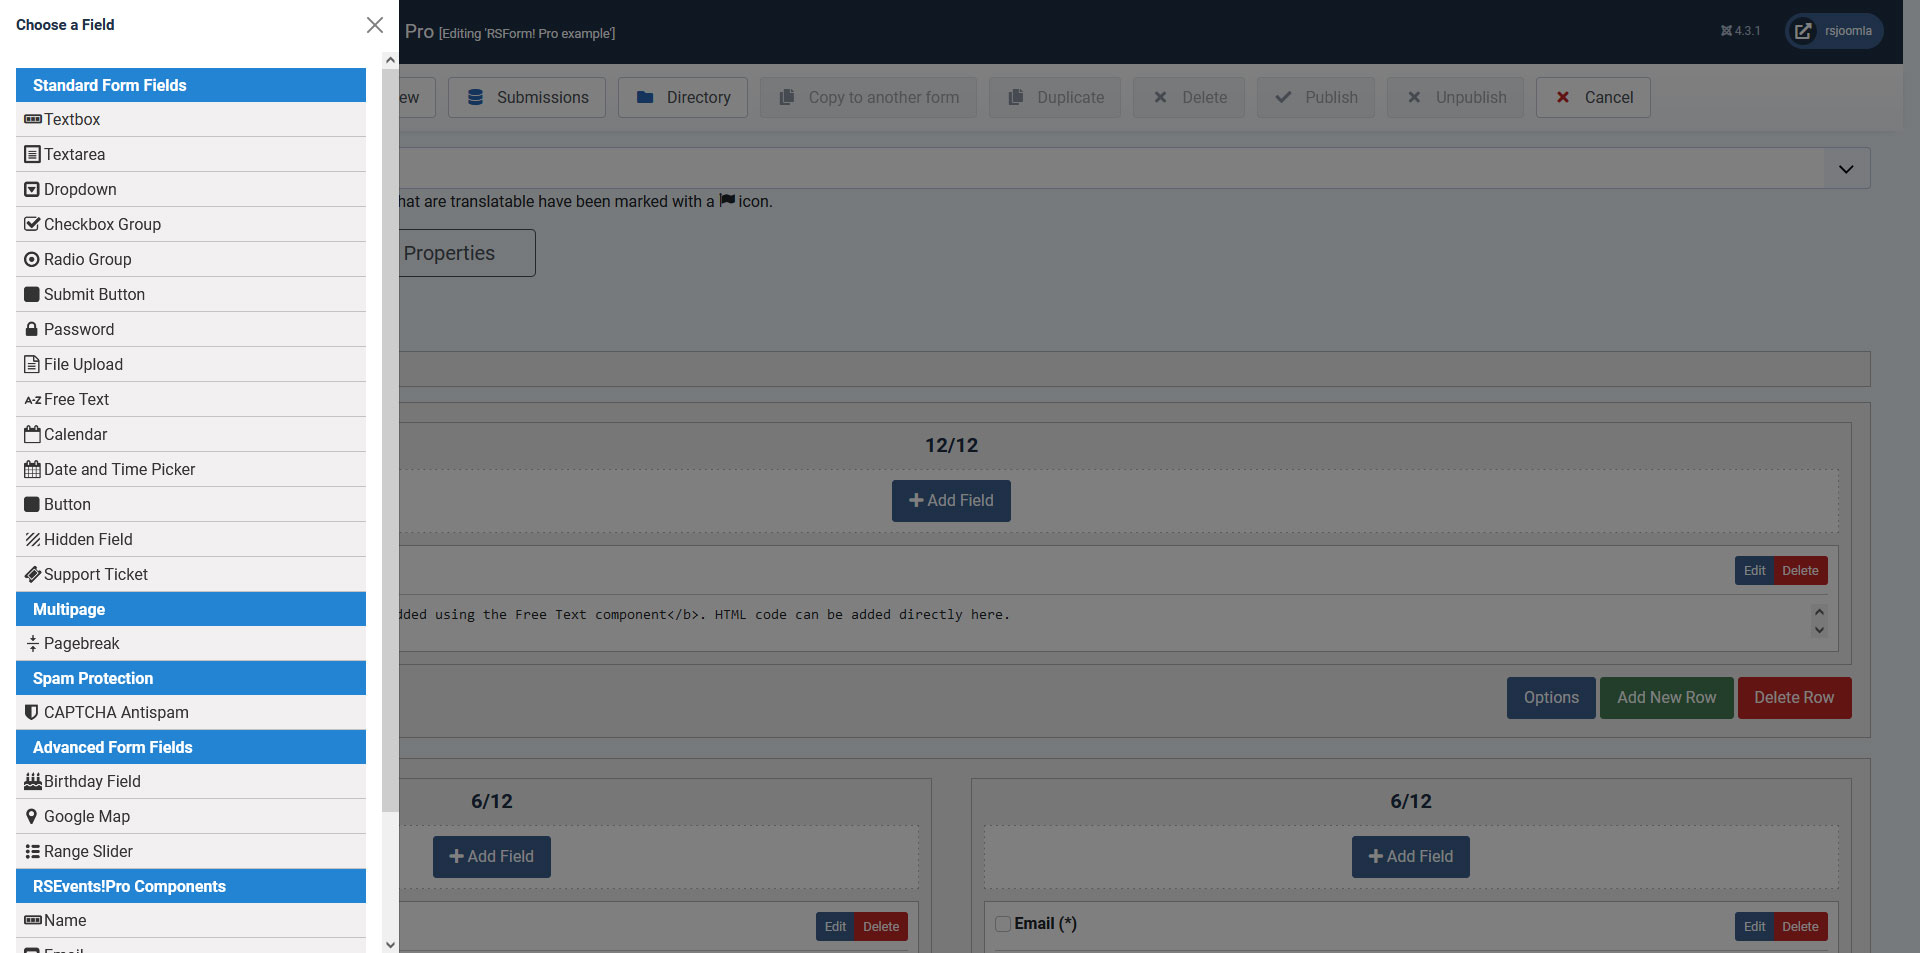
Grid Layout
Your form layout structure can be easily manipulated using the Grid Layout functionality.
The Grid Layout provides a faster on-demand swapping possibility, using a drag and drop functionality. This allows a quick field arrangement by constructing rows that can have a configurable number of columns, and since each row can have its own separate number of columns, you can make various combinations of separate rows, some that have 1 or 2 fields on the same line along with other rows that can have 3 or 4 fields aligned horizontally.
Starting
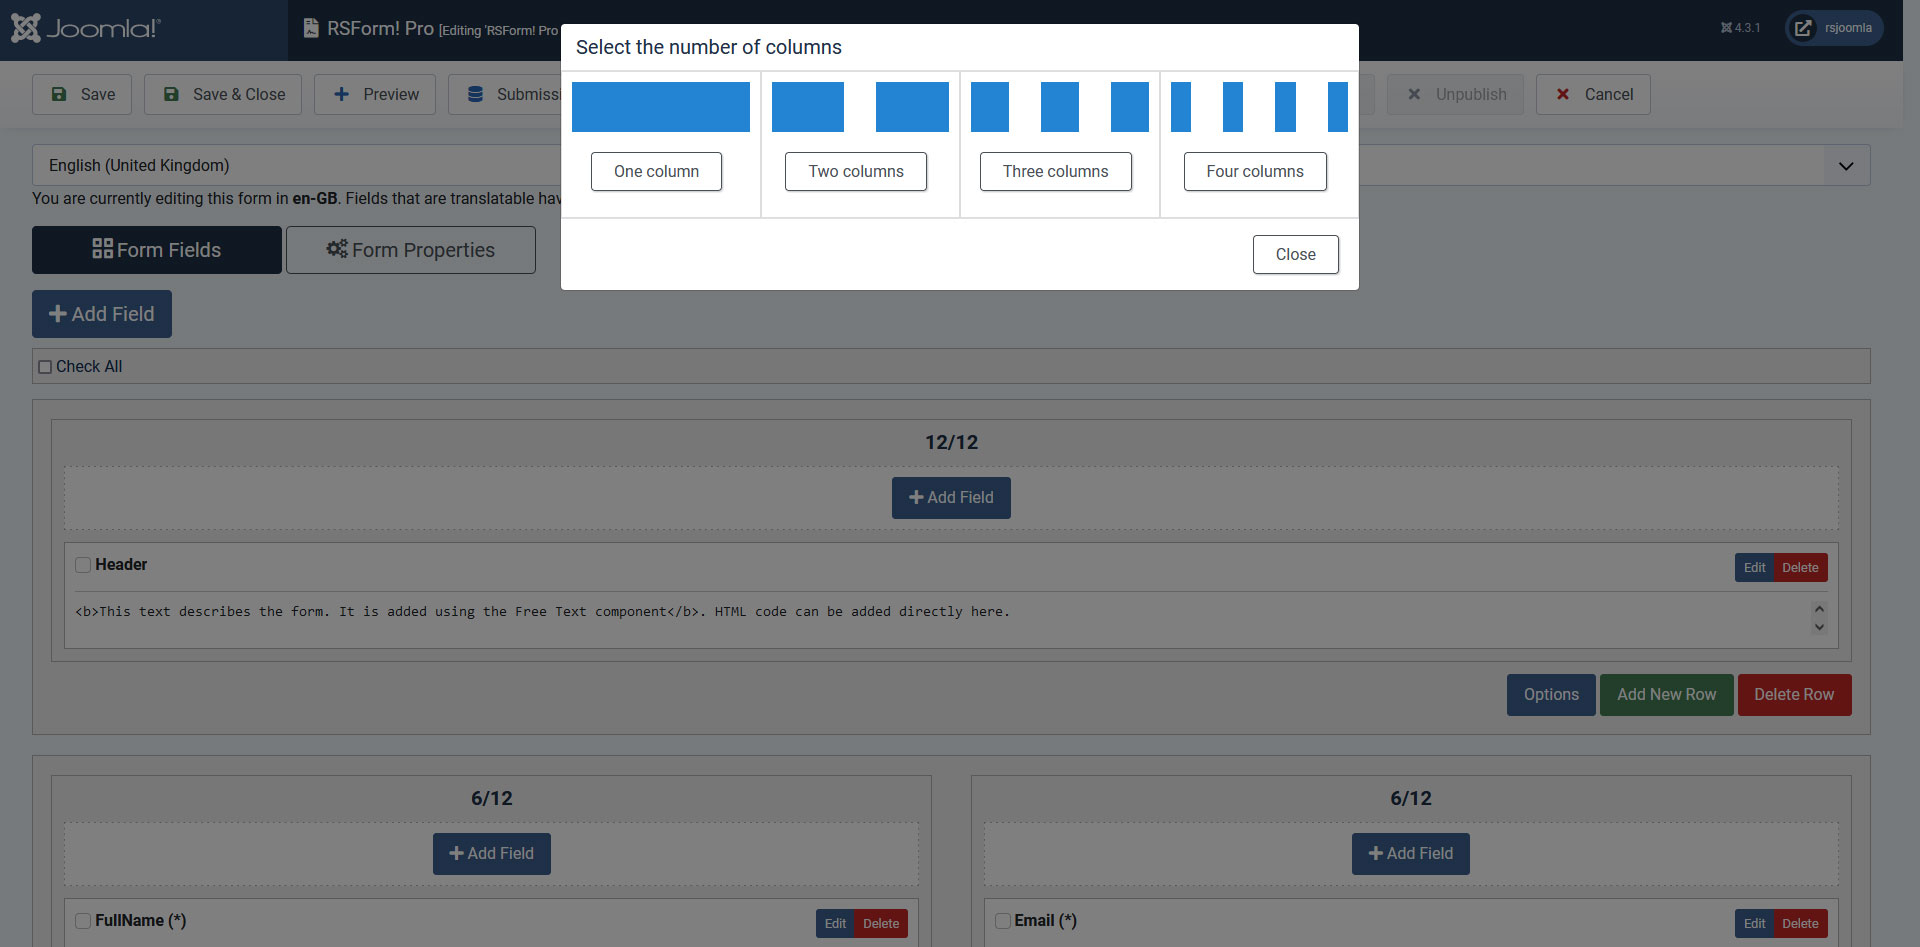
Accessing the Grid Layout provides the following configurable options:
- Row:
- Options: you can change the current row number of columns (1, 2, 3 or 4).
- Add New Row: this will add a new row where you can choose the number of columns before adding it.
- Delete Row: row will be deleted. Note that this only works if the row is empty (you can move fields from your row by dragging them into another separate row).
- Form Elements:
- Edit: this opens the element in question configurable tab. For example, like editing your textbox element.
- Delete: this will removes your form element.
Utility
Fields
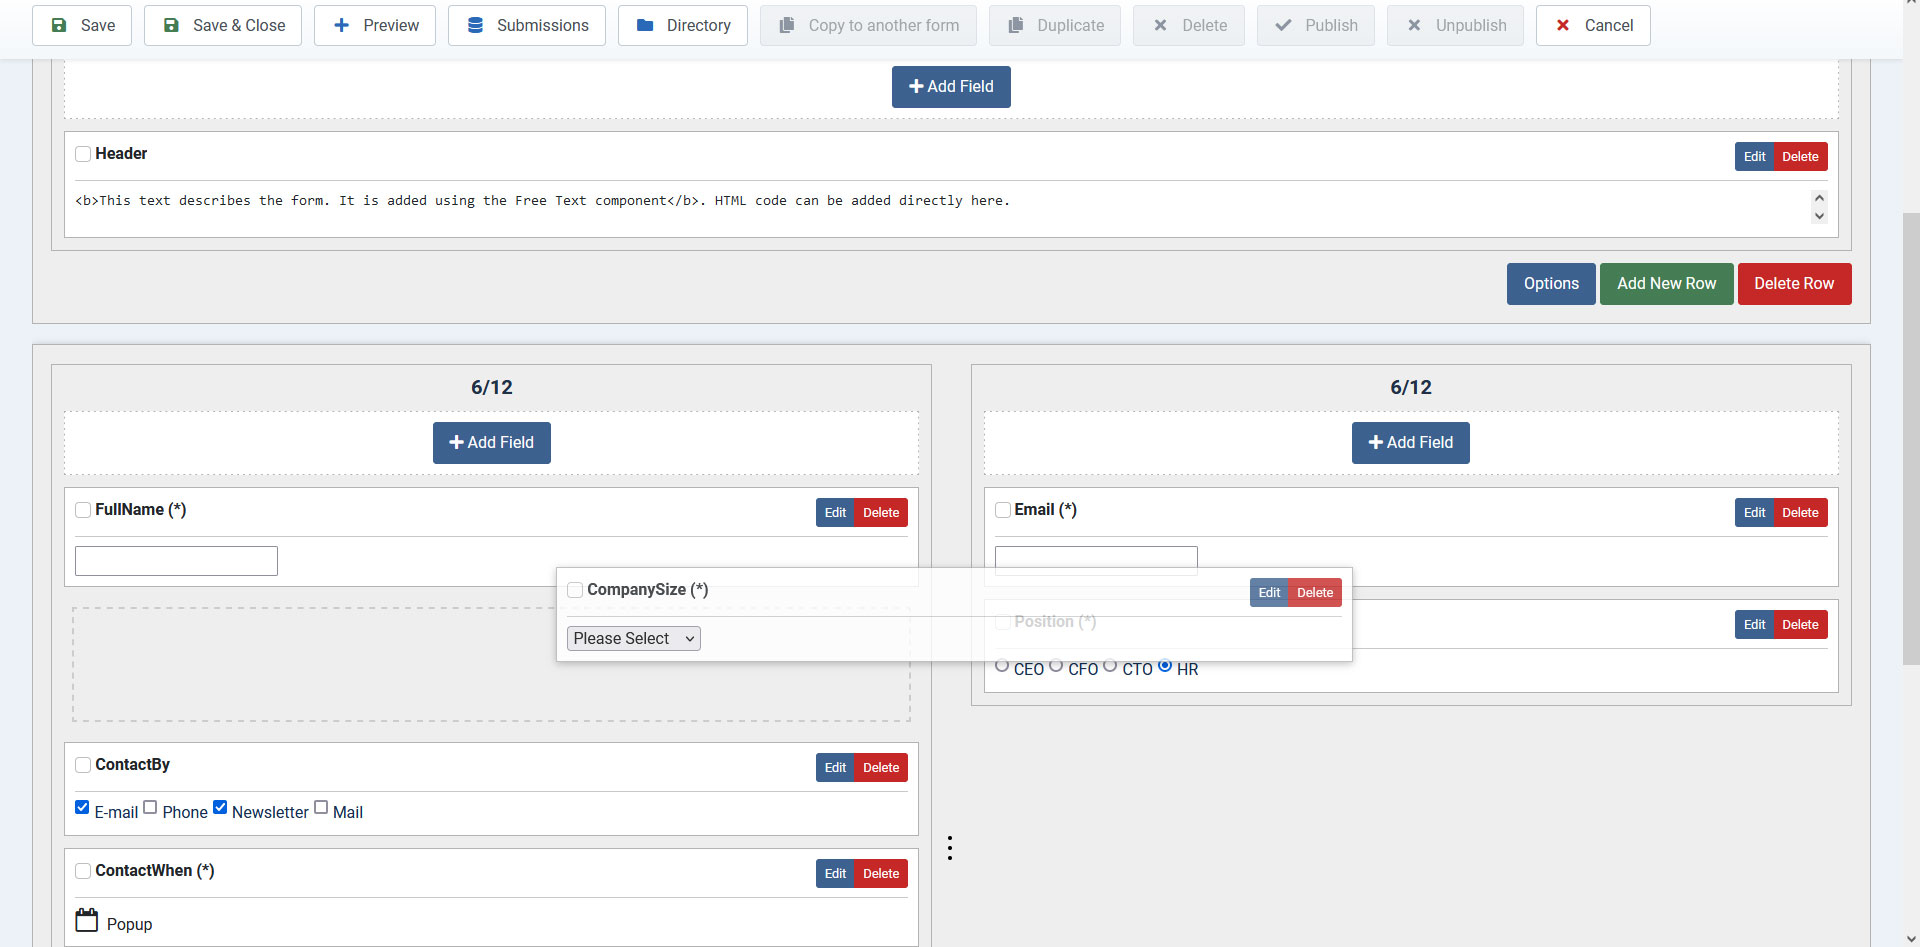
You can add fields directly in your Row / Columns by clicking on the 'Add Field' button available for each of these.
Fields can be moved at any time from one row to another, from one row column to another column or from one column to another entirely different row, basically you can move your fields freely between your Grid Layout scheme positions.
You can also cut & paste fields from one layout position to another. This is done by right clicking on a form element and by selecting Cut (multiple fields can be cut at the same time by repeating this process before pasting). Eventually, right-clicking on another column, even from a different row, will provide a Paste option.
By right clicking on a field, you can change:
- the field status, by selecting Published or Unpublished
- the field validation, by selecting Required or Not required. Note that this works only with the fields that have such Required property, for example it does not work with 'Free Text', 'Submit Button', 'Hidden field', 'Support Ticket' or 'Pagebreak field'
In order to generate HTML compliant IDs, the field names must NOT:
- contain spaces (if however there are any, these will be converted to underscores)
- start with a number
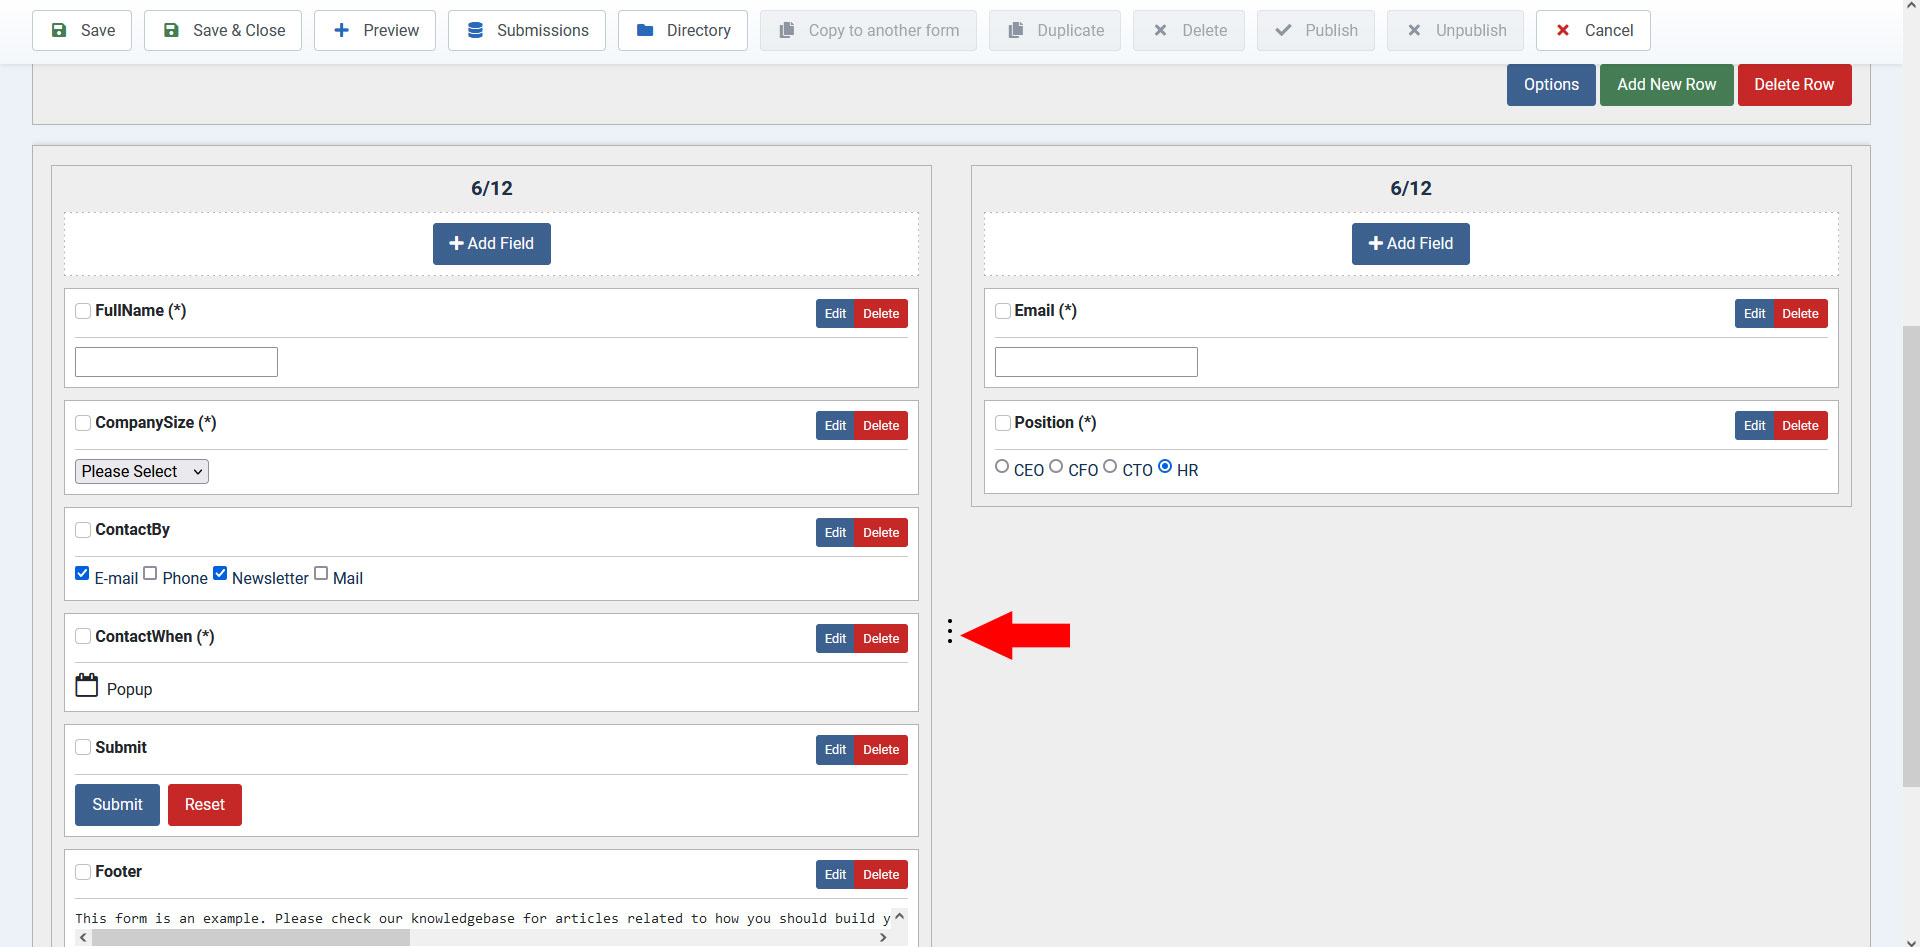
Columns
Columns can be further tweaked independently by adjusting their size/ratio of the current row. If you have more than 1 column on a row, use the "3 vertical dots" (found between your columns - check screenshot) to resize them, offering more or less space.
Resizing columns basic steps:
- Click and hold above the "3 vertical dots" icon.
- Move left or right until the desired column width is visually shown.
- Release to set.
Note:
Hidden fields will be sorted as a group at the bottom of the form in their own separate row (there's no need to modify or change their layout position as these aren't actually shown in the frontend area).
50 persons found this article helpful.