Form properties
The Form properties area provides configuration aspects that directly relate to the general form functionality.
The Form tab, is divided in 3 sections as follows:
Form Info
The Form Info tab (Components > RSform!Pro > Manage Forms > edit a form > Properties: Form Info) enables you to set various global form aspects.
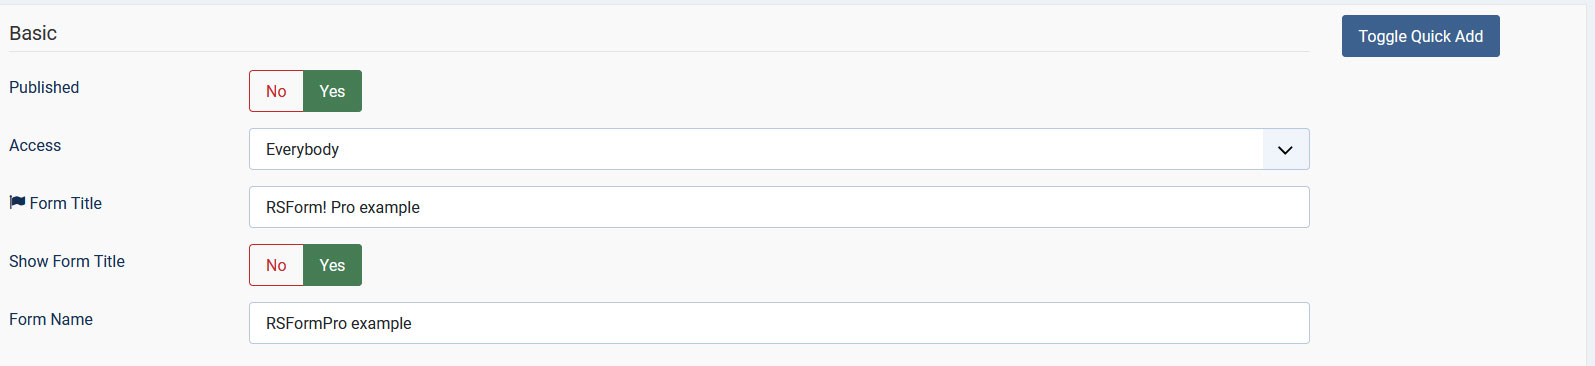
Basic
- Published: Yes / No
- Access: You can restrict access to your form based on the Joomla! user groups(when your form is directly accessed).
- Form Title: The title will be used when displaying the form in the front-end / back-end area.
- Show Form Title: Yes / No - choose whether to display the form's title on the form's page
- Form Name: The form name will be used for internal reference.
The Access setting is taken into account only when the form is accessed through the direct link (for example: https://your_site_name/index.php?option=com_rsform&formId=2). If the form is accessed through a menu item, displayed in an article or a module position then this setting will be ignored and the menu item, module access level will be used.
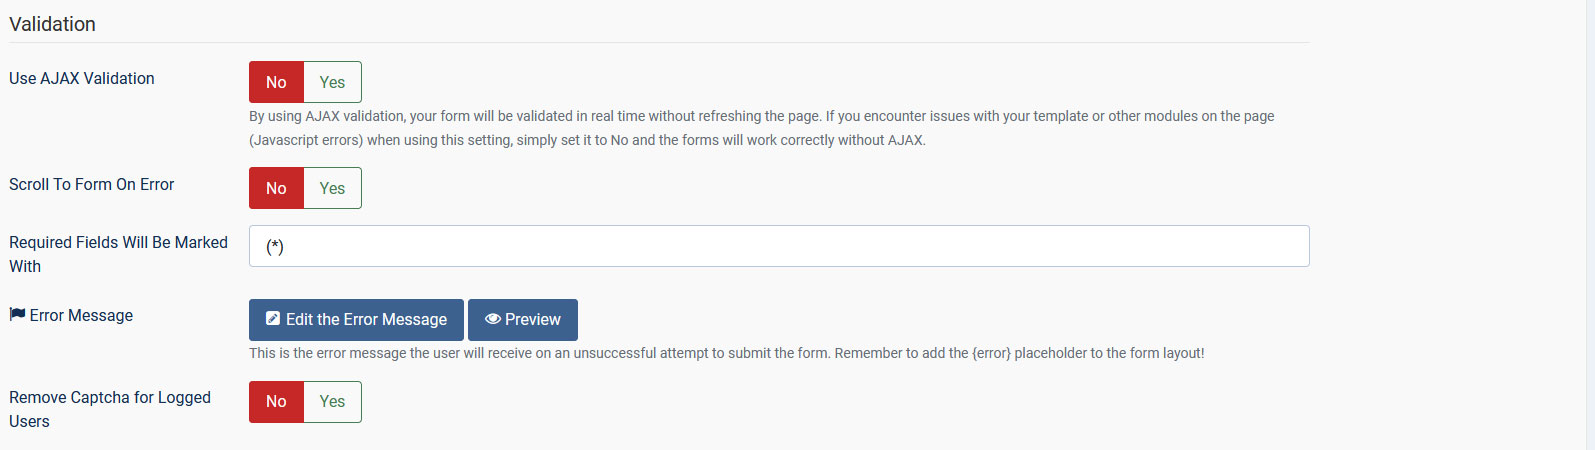
Validation
- Use AJAX Validation: By using AJAX validation, your form will be validated in real time without refreshing the page. If you encounter issues with your template or other modules on the page (Javascript errors) when using this setting, simply set it to No and the forms will work correctly without AJAX.
- Scroll To Form On Error: By enabling this option, the form will be scrolled to the invalidated field.
- Required fields will be marked with: HTML area that will mark required fields. For example: <font color="red">*
- Error Message: This is the error message the user will receive on an unsuccessful attempt to submit the form. Remember to add the {error} placeholder to the form layout. The {error_count} placeholder returns the number of invalid fields when the form is submitted.
- Remove Captcha for Logged Users: No / Yes
Thank You Message
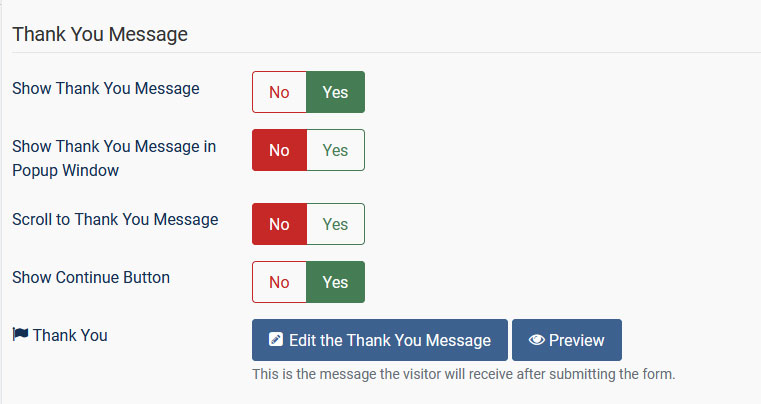
- Show Thank You Message: If enabled, you will be allowed to setup up a Thank you message (by clicking on the Edit the Thank You Message link). This will displayed after the form has been submitted. If a Continue button is displayed and the Return URL option is set, you will be redirected to the specified URL once the button is clicked
- Show System Message: Available only when the Show Thank You Message: is disabled. If enabled, you will be presented with a general message, which you can translate by creating a language override for this constant: RSFP_THANKYOU_SMALL.
- Scroll to Thank You Message No / Yes - If enabled, the page will be scrolled automatically to the Thank you message position after submitting the form.
- Show Thank You Message in Popup Window No /Y es - If enabled, the Thank you message will be displayed in a modal window.
- Thank You - This option allows you to edit or to preview the Thank you message.
- Show Continue Button - This option will allow you to display or not a "Continue" button in the Thank you message. When clicking on this button the user will be redirected to the form or to the Return URL configured below (if any). The Continue text can be changed by creating a language override for the RSFP_THANKYOU_BUTTON constant.
Clicking on the Toggle Quick Add button will show / hide all available field placeholders that can be used.
Submission
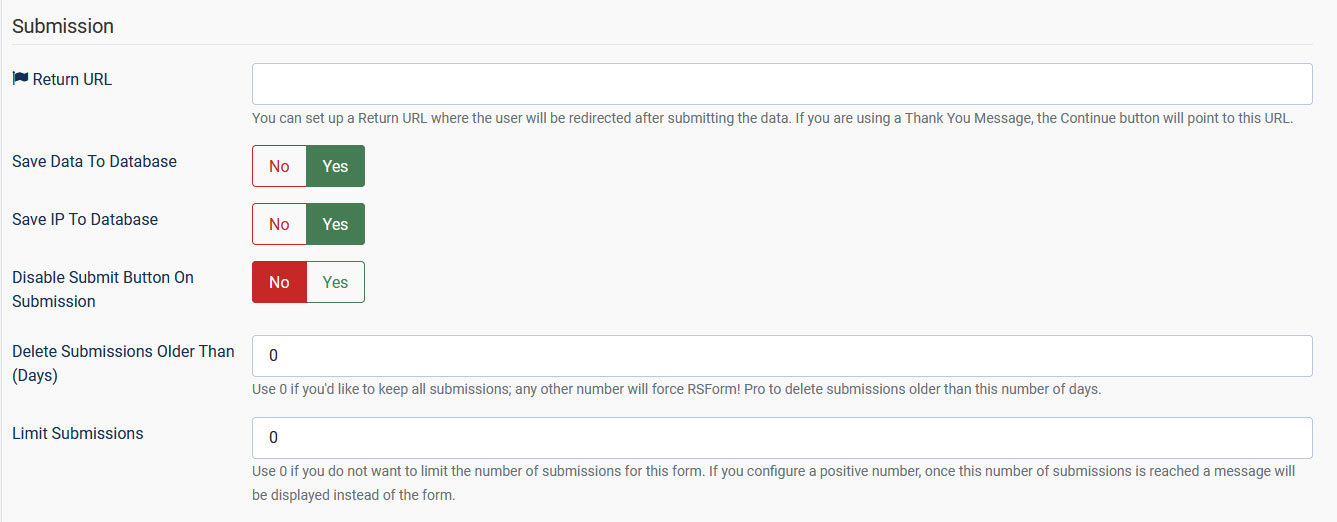
- Return URL: After the form is submitted you can be redirected to the specified URL. For example: http://site.com
- Save data to database: No / Yes. If the option is to set to "no" the submitted information will not be stored in the default RSform!Pro submission tables, but emails will still be triggered (along with other configured actions, like integrations, mappings, etc.)
- Save IP to database: No / Yes. If the option is to set to "no" the IP address of the submitter will not be stored in the default RSform!Pro submission tables.
- Delete Submissions Older Than: Use 0 if you'd like to keep all submissions; any other number will force RSForm!Pro to delete submissions older than this specified number of days.
- Disable Submit Button On Submission: No / Yes - This option will allow you to disable the submit button on form submission, this preventing the form from being submitted multiple times at once.
- Limit Submissions: Choose the number of submissions allowed for this form. Use 0 if you do not want to limit the number of submissions for this form. If you configure a positive number, once this number of submissions is reached a message will be displayed instead of the form (which can be changed through a language override for this constant: COM_RSFORM_LIMIT_SUBMISSIONS_HAS_BEEN_REACHED). - (Available only if the 'Save Data To Database' option is active)
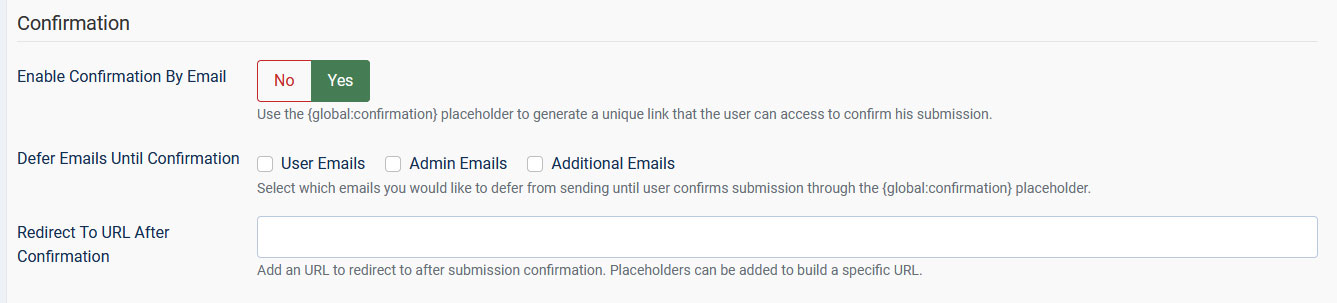
Confirmation
- Enable Confirmation by Email: No / Yes. If enabled the user will receive a confirmation link (similar to the one used for user accounts). Clicking on the confirmation link will set the status of the submission to confirmed. (Available only if the 'Save Data To Database' option is active)
- Defer Emails Until Confirmation: Select which emails you would like to defer (User Emails / Admin Emails / Additional Emails) from sending until user confirms submission through the {global:confirmation} placeholder.
- Redirect To URL After Confirmation: After the submission is confirmed trough the link received in user email you can redirect it to the specified URL. For example: http://site.com
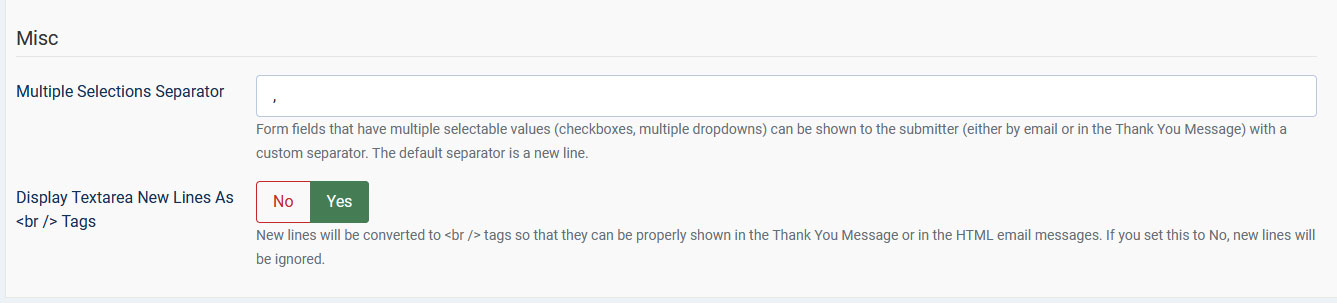
Misc
- Multiple Selections Separator: Form fields that have multiple selectable values (checkboxes, multiple drop-downs) can be shown to the submitter (either by email or in the Thank You Message) with a custom separator. The default separator is a new line.
- Display Textarea New Lines As Tags: Yes / No - New lines will be converted to tags so that they can be properly shown in the Thank You Message or in the HTML email messages. If you set this to No, new lines will be ignored.
Form Attributes
Using the Form Attributes area you can control the actual HTML and CSS form tag properties.
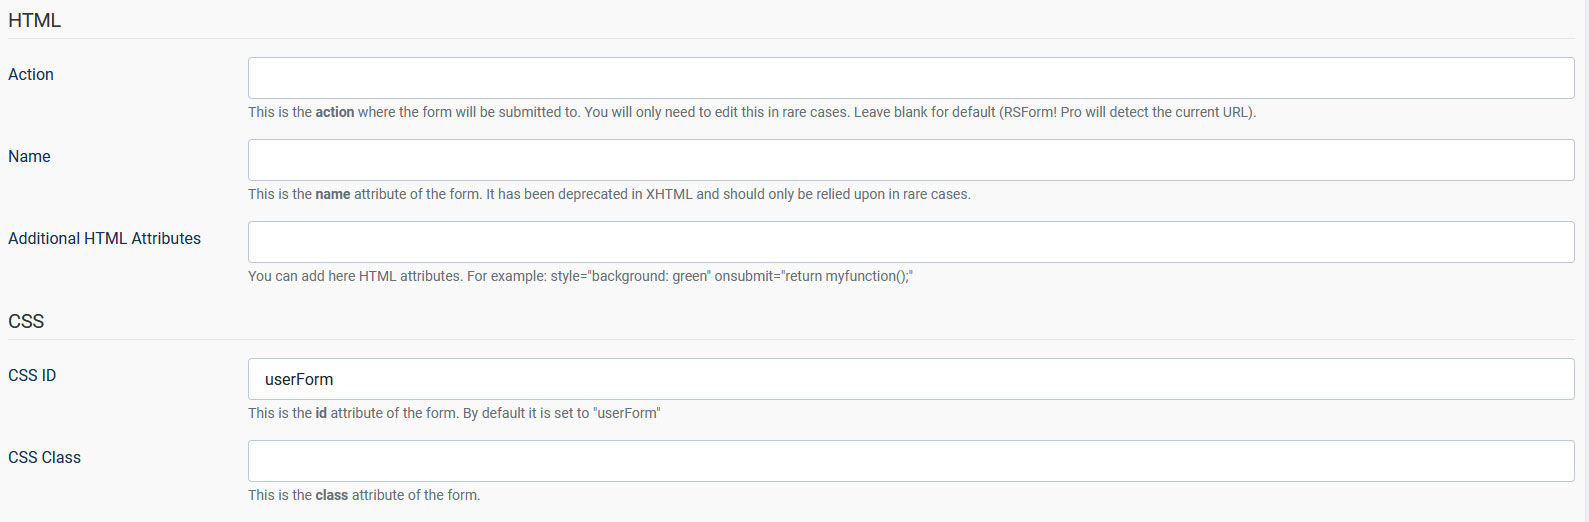
HTML
- Action: This is the action where the form will be submitted to. You will only need to edit this in rare cases. Leave blank for default (RSForm! Pro will detect the current URL).
- Name: This is the name attribute of the form. It has been deprecated in XHTML and should only be relied upon in rare cases.
- Additional HTML Attributes: You can add here HTML attributes. For example: style="background: green" onsubmit="return myfunction();".
CSS
- CSS ID: This is the id attribute of the form. By default it is set to "userForm".
- CSS Class: You can assign a CSS class to the form tag. For example: class="myClass".
50 persons found this article helpful.