Setup
Please select some items first. In order to select items, you can either hold CTRL Left Mouse Button and click on the item you want selected or you can hold down the LEFT mouse button Left Mouse Button and drag the selection box over.
Accessing the Components > RSMediaGallery! area will allow you to set up anything RSMediaGallery! related.
Upload
Note: You can only upload images. To start uploading images, just click on the Upload button located on the top-left corner.
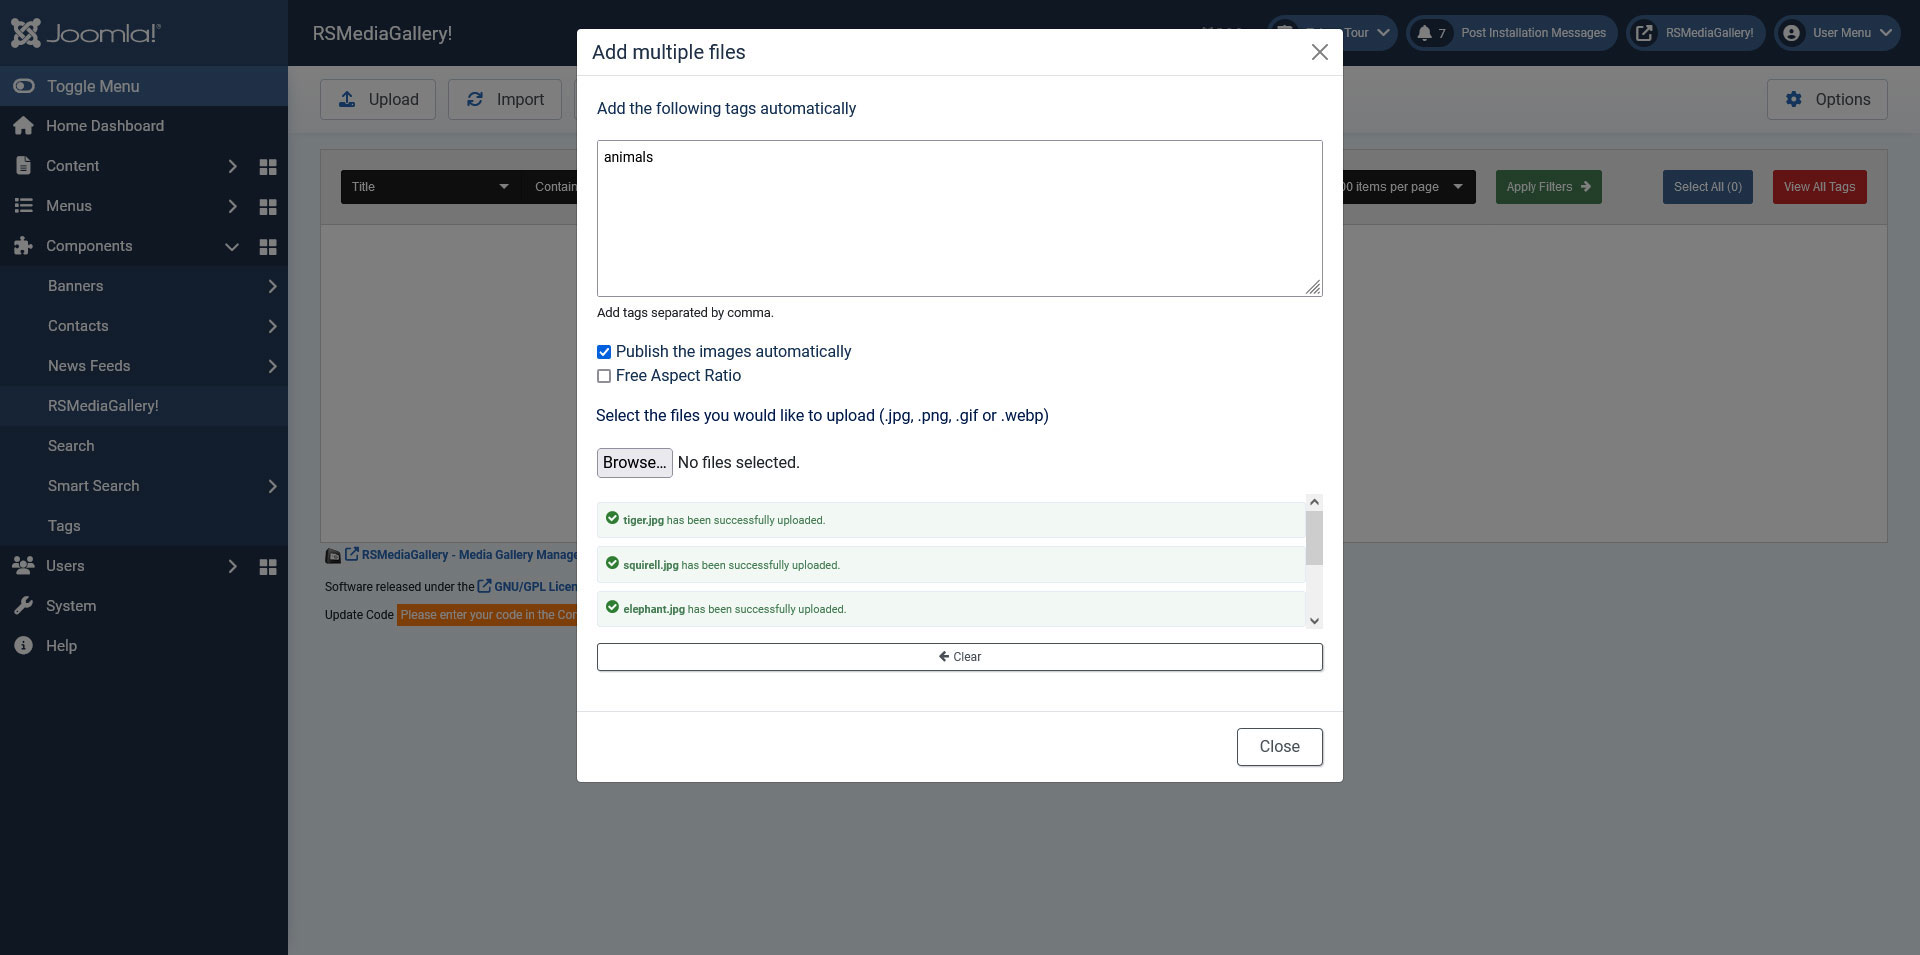
Once clicked, the right located screen will appear.
Setting up the tags at this point will add the images already tagged, so you can save up some time in the configuration process. Clicking further on the Browse button will allow you to select the files (yes, this is correct - you can select multiple files) that wish to upload (.jpg, .png, .gif or .webp).
Important: webp image support only works with PHP 7 or newer.
Having the Publish the images automatically option enabled, will allow you to automatically publish the images once these have been uploaded.
You can also check the Free Aspect Ratio option when uploading the files, to have it automatically selected when editing each image individually.
Tip: After you have uploaded some images you can select multiple images (drag and drop) and click on the publish, unpublish, tag or remove buttons.
Import
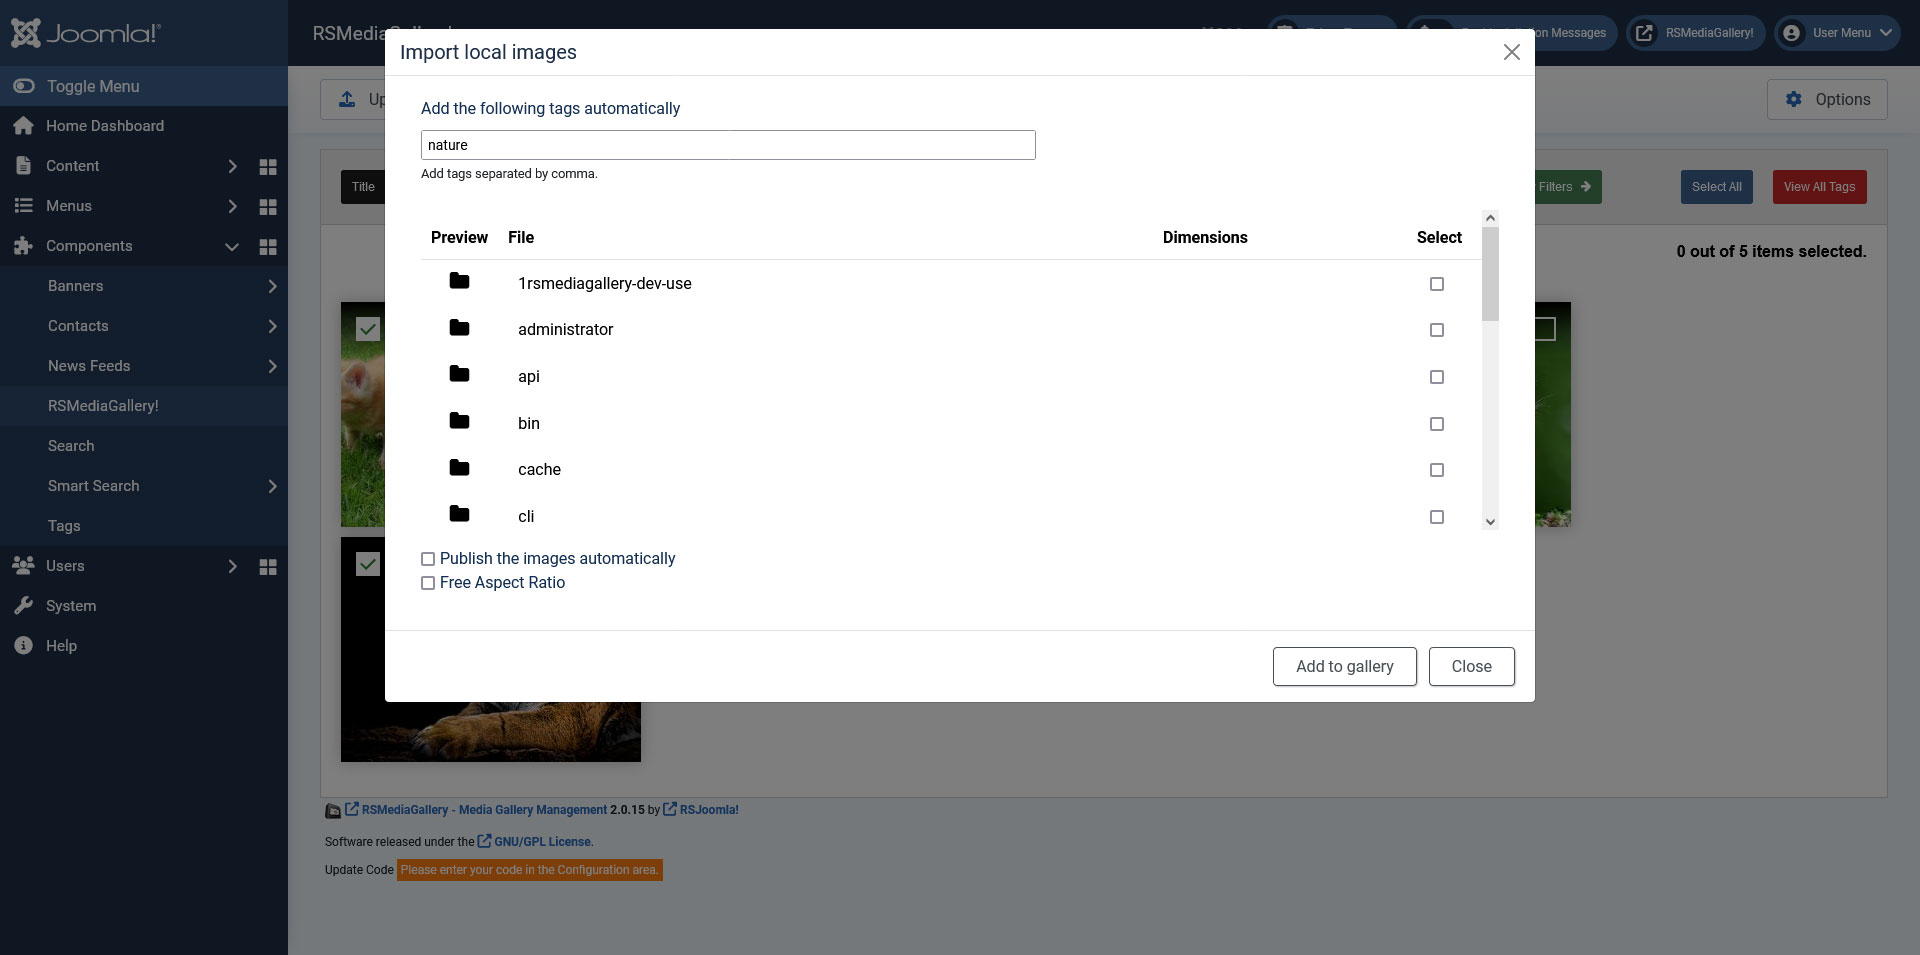
This feature allows you to import images found in your website's folders. You can import and tag individual images, select groups or whole folders. To access this functionality, click on the Import button to the top-right side of the screen.
Tags
If tags weren't assigned when uploading the images, you can do so later on by selecting the desired image/images and clicking the Tags button from the top side of the screen. In order to select multiple images, you can either hold CTRL Left Mouse Button and click on the items you want selected or you can hold down the LEFT mouse button Left Mouse Button and drag the selection box over.
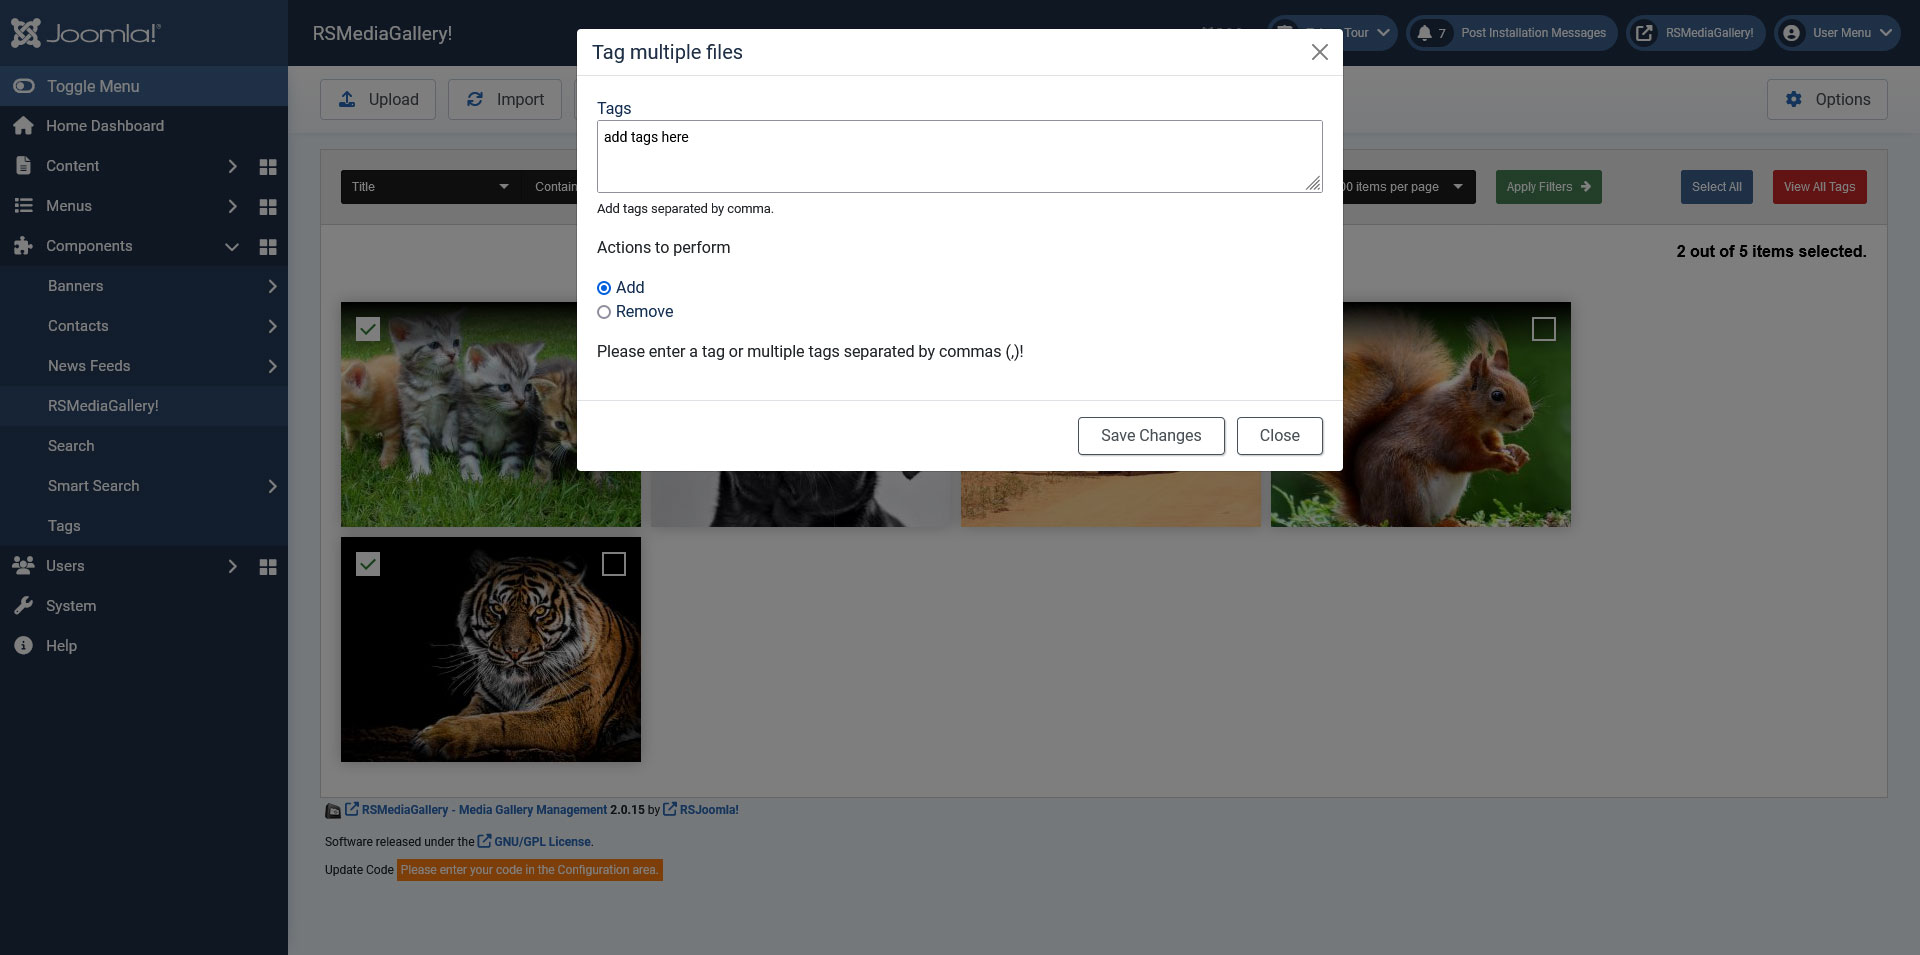
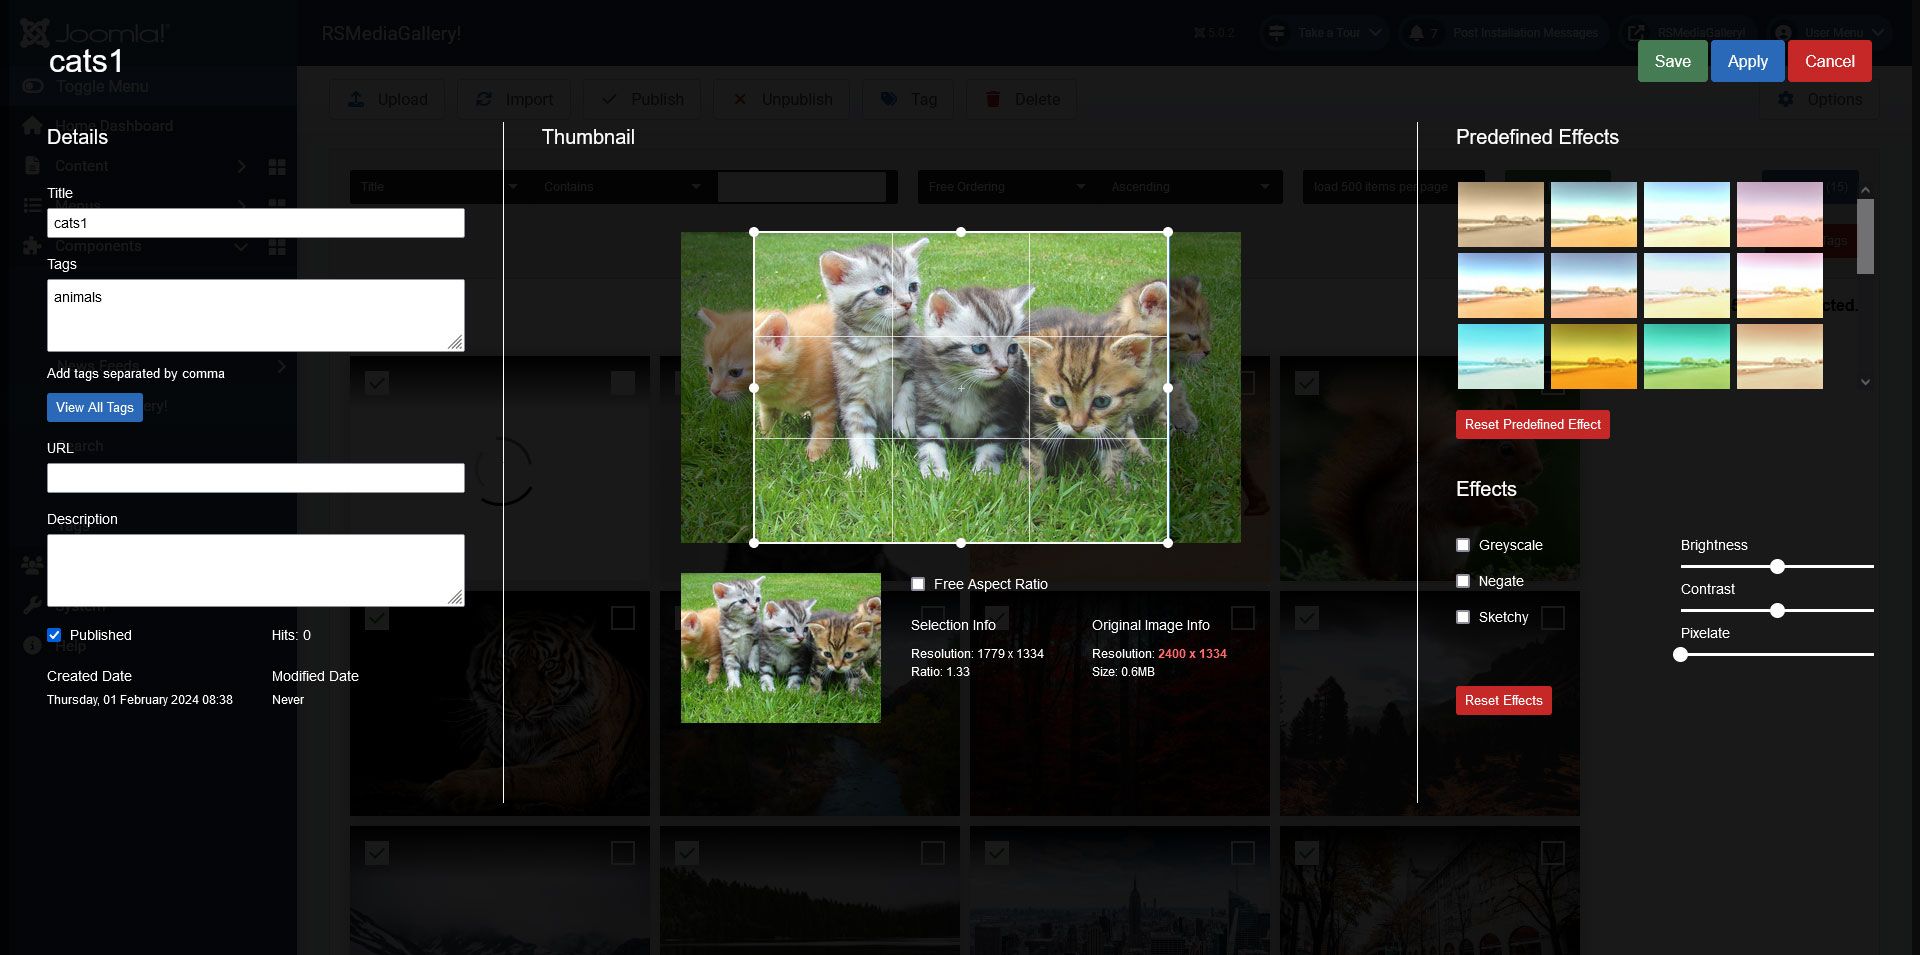
Image properties
This area is split into 3 tabs: Data, Predefined effects and Effects.
The Data tab
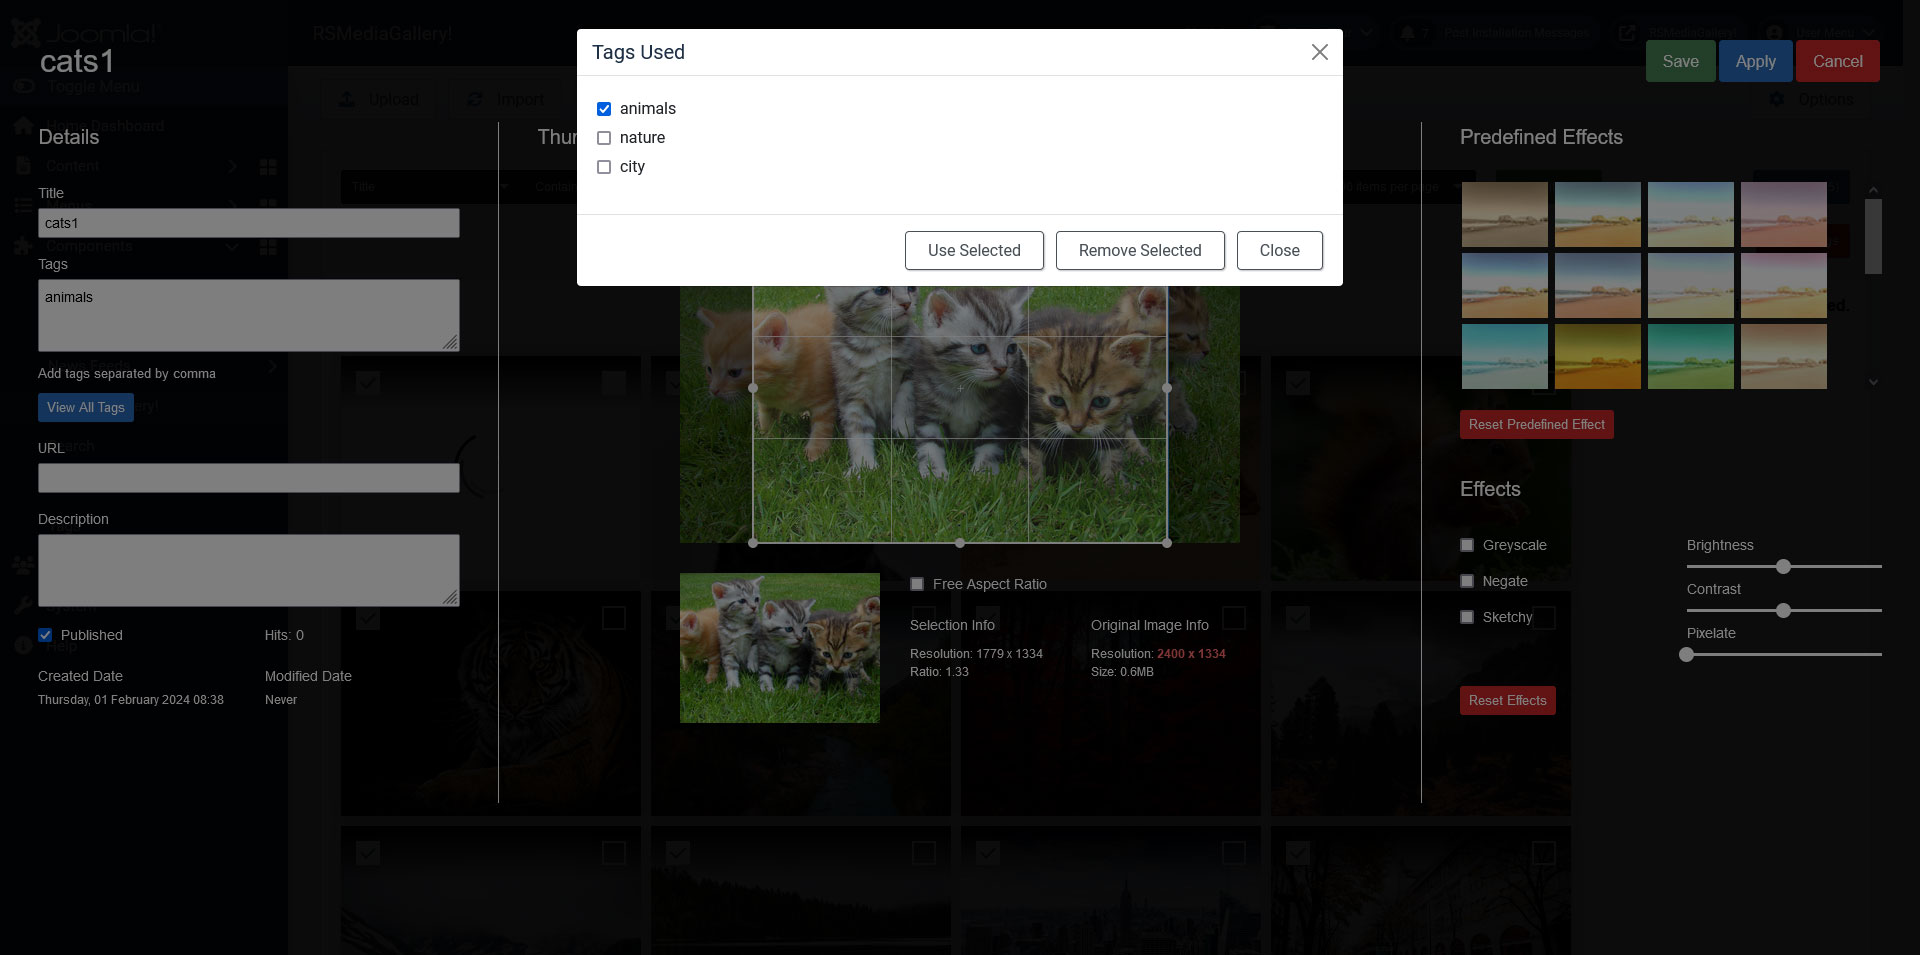
The following attributes can be configured here: title, tags, URL, description, hit counter. The creation date and the last modification date are also displayed here.
The Free Aspect Ratio option allows you to select any portion (of any size and ratio) for your thumb image.
You also have the possibility to add tags directly from a used tags listing. All you need to do is check / uncheck the tags for each image.
Tips:
- You can use standard HTML inside the description area.
- You can adjust the generated thumbnail image by clicking and holding on the image corners.
The Predefined effects tab
A number of 21 predefined effects were introduced in order to allow image customization. The option to Reset Predefined Effect (restores the image to its original state) is also present.
The Effects tab
Aside from the predefined effects, you can also tweak the images by the following parameters: Greyscale (converts all color into shades of grey), Negate (applies the negative effect), Sketchy (turns the image into a cartoon-ish sketch), Brightness (allows brightness scaling), Contrast (allows contrast scaling) and Pixelate (scale the number of pixels in the image).
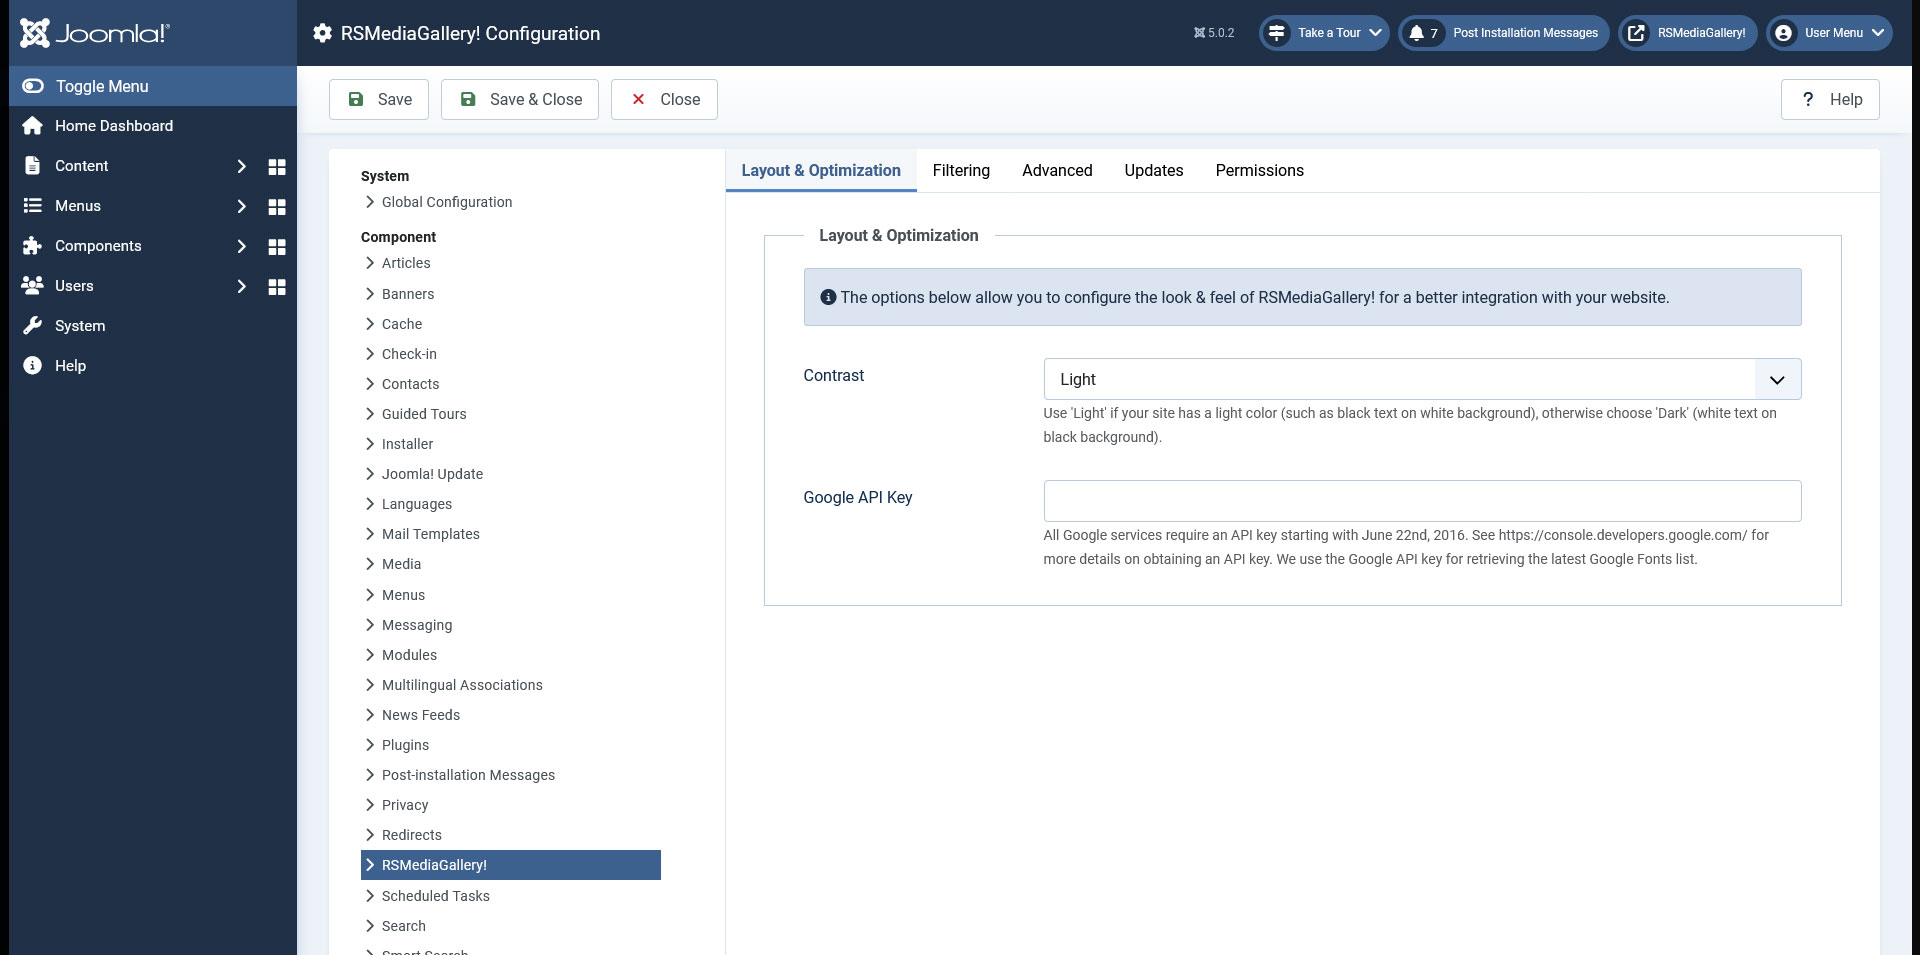
Options
Clicking on the Options icon will allow you to set up the following:
Layout & Optimization
The Contrast option allows you to improve image visualization. For example, if your template has a light color theme (black text on white background for example), then choose the Light option, otherwise, Dark.
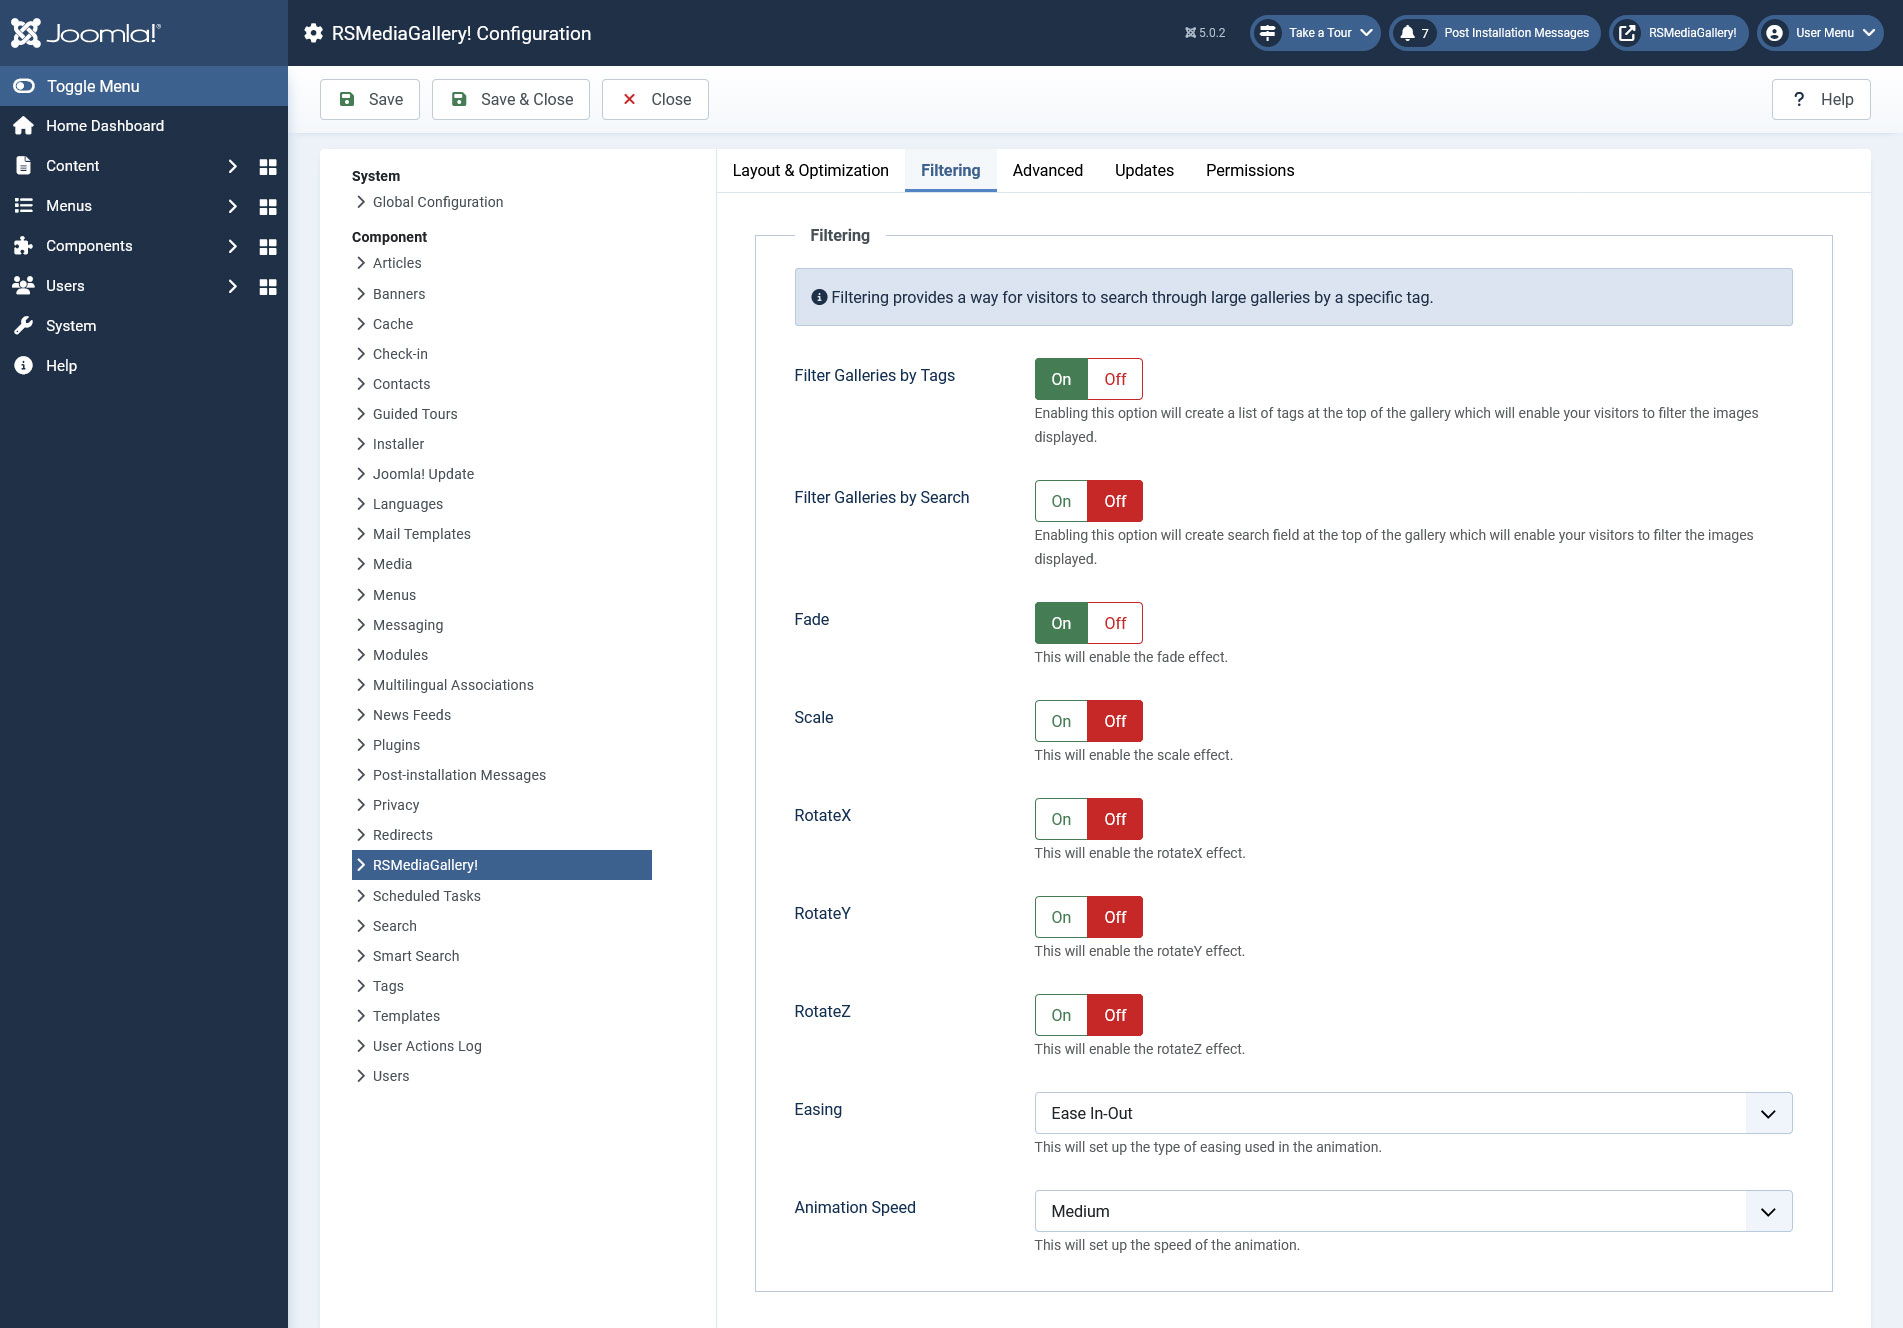
Filtering
When enabling Frontend Filtering Options a listing of all tags used in the Gallery Layout menu item will be displayed. You can choose in which manner the images will be listed after clicking on a tag in the frontend, these parameters can be configured in the backend, in RSMediaGallery! >> Options >> Filtering. The following animations are available:
- Filter galleries by Tags: Yes / No - choose whether to enable / disable the frontend filter.
- Filter galleries by Search: Yes / No - Enabling this option will create search field at the top of the gallery which will enable your visitors to filter the images displayed.
- Fade: The images will fade in / out.
- Scale: The images will be enlarged / shrinked when the filter is adjusted.
- RotateX: The images will be slightly rotated around the X axis.
- RotateZ: The images will be slightly rotated around the Z axis.
- RotateY: The images will be slightly rotated around the Y axis.
- Blur: The images will be blurred in / out.
- Easing: The manner in which the transition will be made.
- Animation Speed: The speed of the animations.
Advanced
Advanced options should only be changed in special cases, noted in the description of each setting below.
Folder permissions: Images are arranged in folders by resolution in the main RSMediaGallery! /gallery folder. When new folders will be created these should inherit the permissions specified here. Usually, 755 will work, but some insecure servers will need 777.
File Permissions: as with the above, the newly created images will inherit the permission specified here. The 644 default option usually works, but if your server demands otherwise, please specify it here.

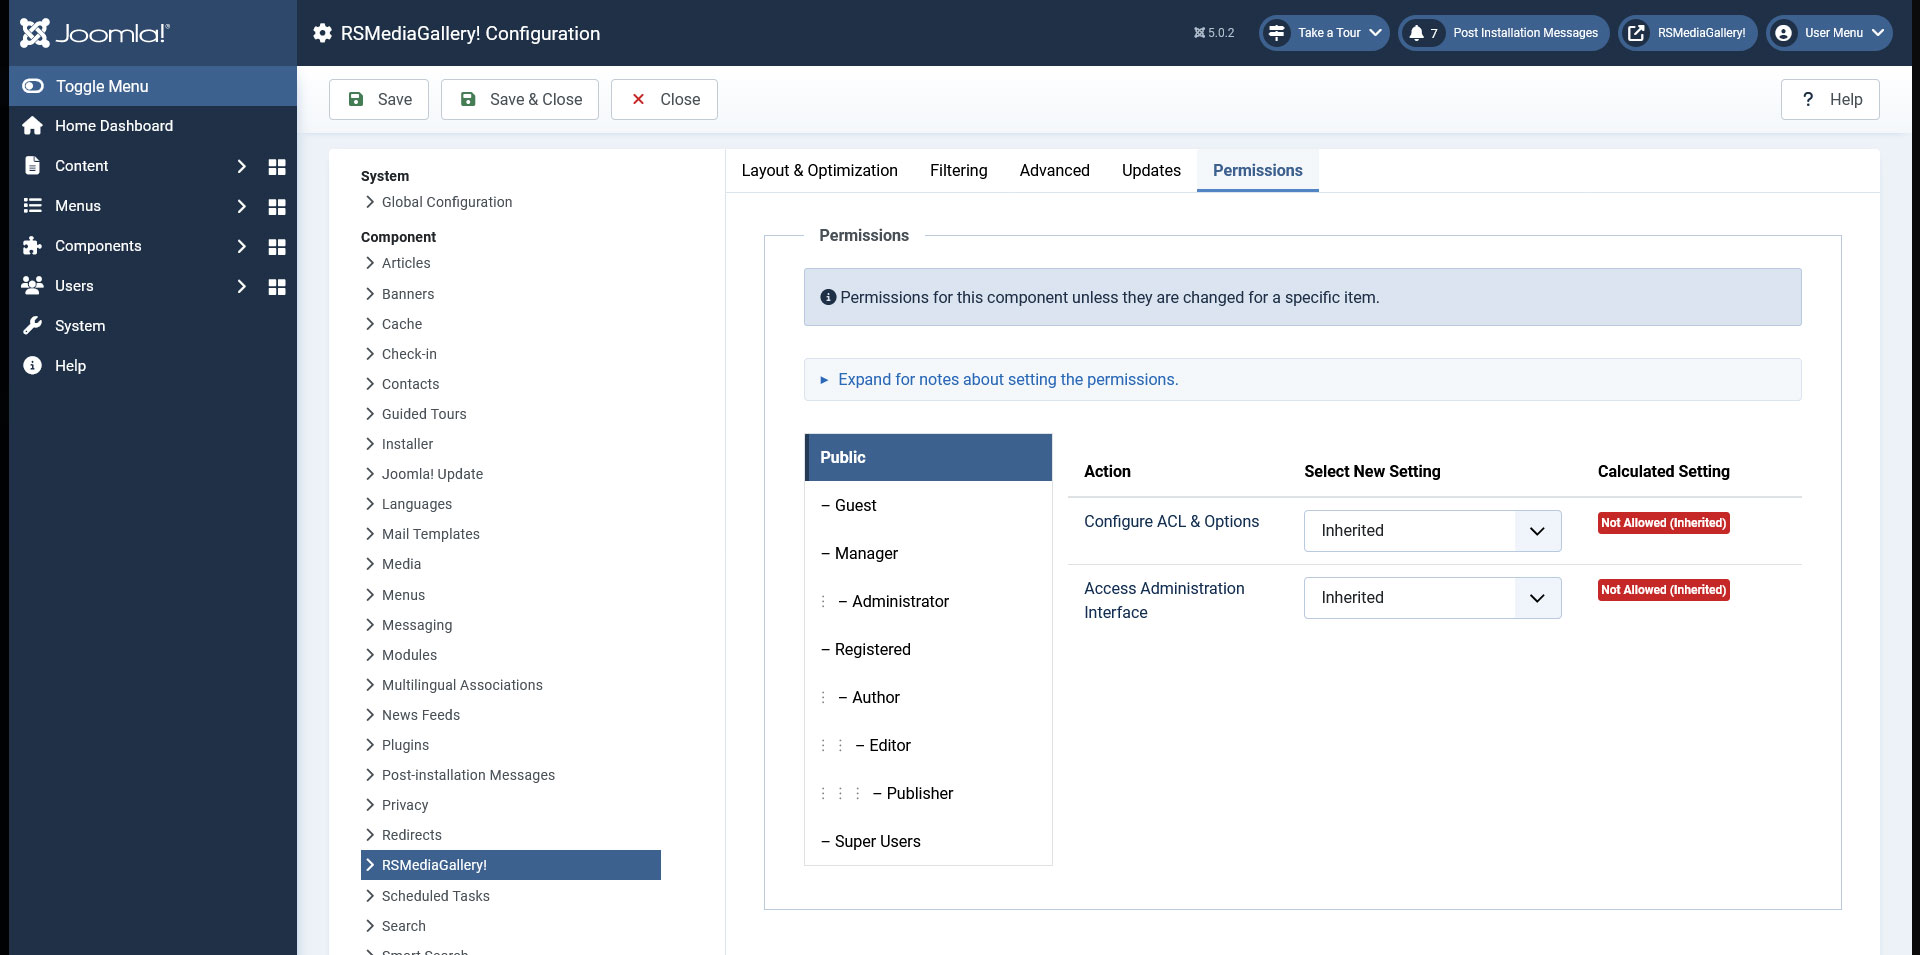
Permissions
Basic Joomla! ACL configuration options are available here. Basically here you can specify who (what user groups) can configure and access the RSMediaGallery! administration interface.
11 persons found this article helpful.