RSSeo! System Plugin
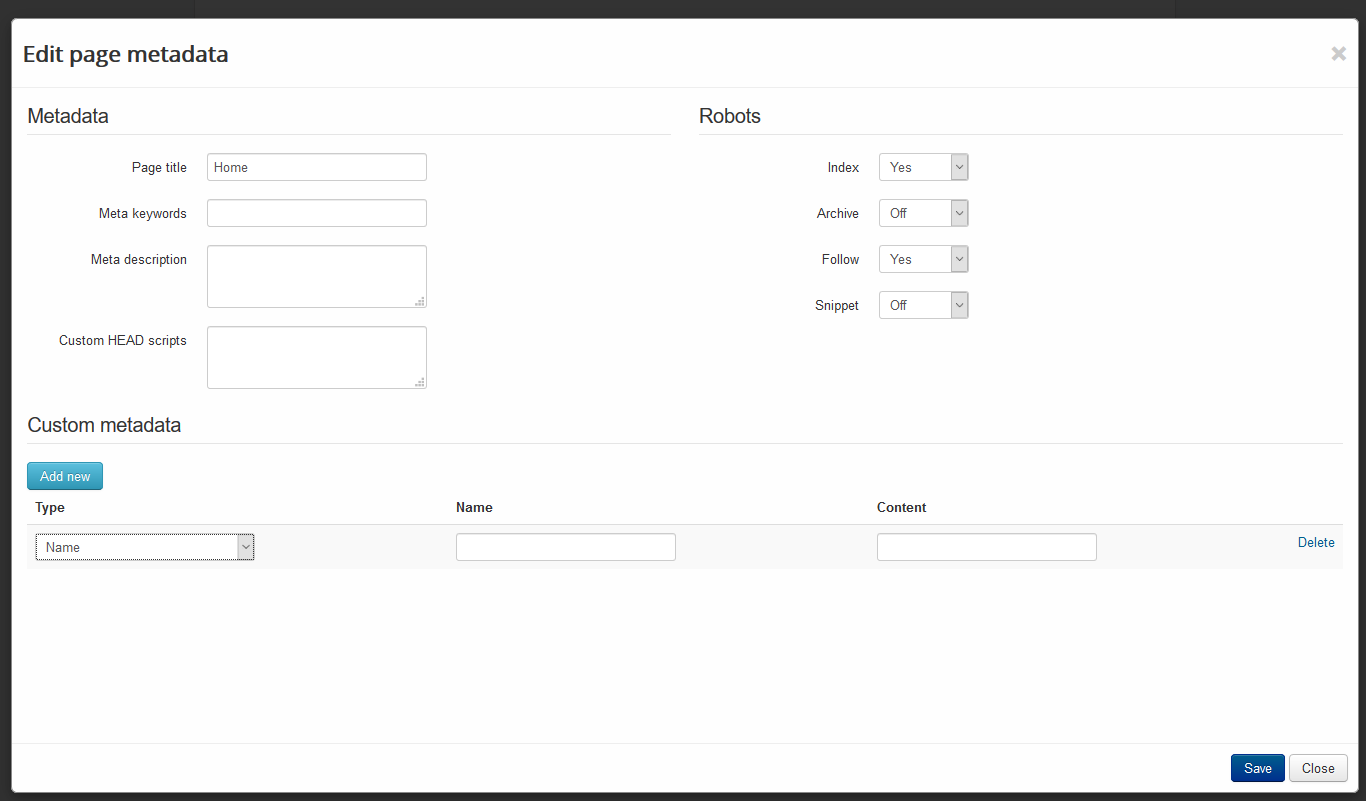
- Frontend metadata: Yes / No. Enablind this option will allow you to edit the page metadata from the frontend.
- Who can edit frontend metadata: Select which Joomla! groups can edit page metadata trough the frontend.
- Remove generator link: Yes / No. By default Joomla! adds a generator link. This is used to identify a website that has been created with Joomla!. By enabling this option you can remove this particular meta tag.
- Enable Cookie info: Yes / No. This option will allow you to add a Cookie notice to your site. You can read more about this feature in the following article.
- Cookie info URL: The cookie notice window also contains a link where you can explain why this notice appears on the site. You can use this field to set the URL of the article where the Cookie law is explained.
- Cookie info position: The notification window can be configured to appear at the top or bottom of the page.
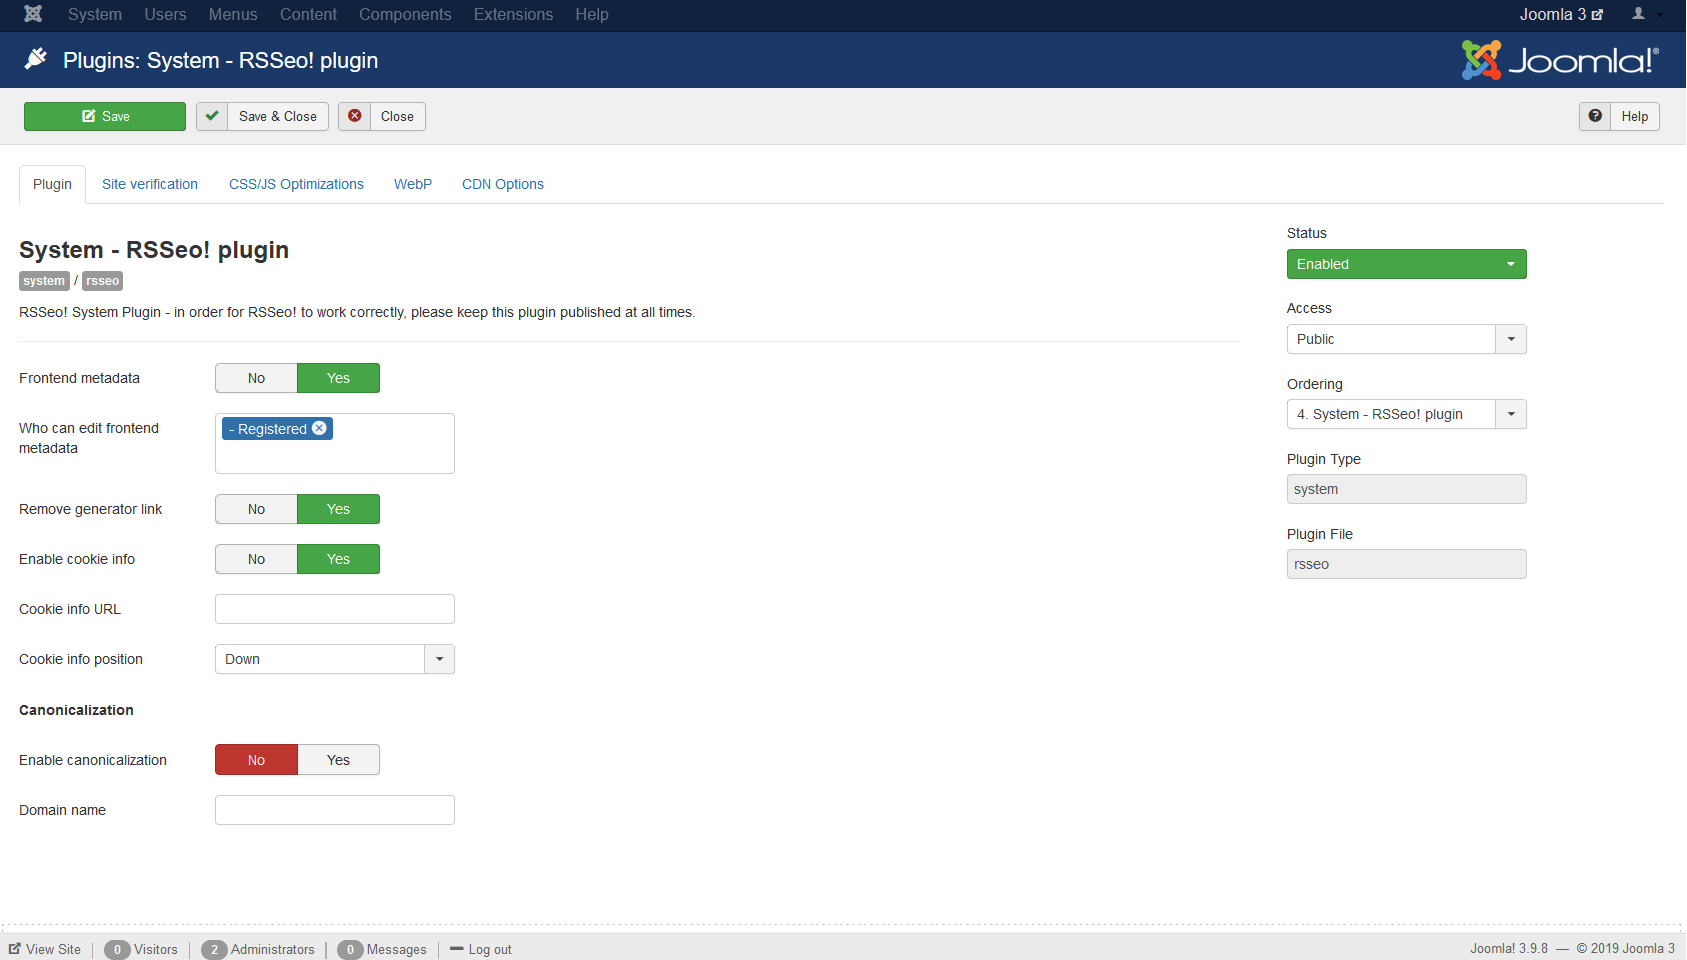
Canonicalization
With the System RSSeo! plugin you can be set a permanent redirect from the non-www version to the www-version or viceversa to avoid duplicate content.
- Enable canonicalization: Yes / No. Enable canonicalization setup. Canonicalization allows you to redirect both non-www. and www. versions of your domain to the version of your choice, specified below.
- Domain name: This is the domain name the redirect will be applied for.. Make sure that you have entered the right domain. Example: www.yourdomain.com or yourdomain.com
Examples:
- If you want a permanent redirect from www.mydomain.com to mydomain.com write in the Domain Name the version without www.
- If you want a permanent redirect from mydomain.com to www.mydomain.com write in the Domain Name the version with www.
- If you want a permanent redirect from mydomain.com to mydomain.net write in the Domain Name mydomain.net
Watch the video tutorial:
Ep.15 - Enable canonicalization for your Joomla! website with RSSeo!
Google site verification
Google Webmasters Tools must verify the website before submitting a sitemap using one of the methods: meta tag verification or upload an HTML file. Site verification can be done easier with System RSSeo! plugin by placing a meta tag in the page source code.
To enable meta tag verification, in the backend panel click on Extensions > Plugin Manager > System RSSeo!. In the Plugin Parameters, set to "Yes" the sitemap verification.
In the Webmasters Tools account select from the verification method "meta tag". A meta tag will be generated. Copy the content and paste it to the System RSSeo! Parameters to the Content box. After site verification, you can disable the sitemap configuration.
- Enable Google site verification: Yes / No.
- Verification name: 'google-site-verification' / 'verify-v1'. This will set the name of the meta tag used for the verification.
- Content: here you can enter the code that Google provided you.
Yandex site verification
Yandex site verification is a service that provides you with information about the indexing of your websites. Webmaster lets you inform Yandex of new and deleted webpages, customize the indexing of your site and improve the ranking and appearance of your website in Yandex search results.
- Enable Yandex site verification: Yes / No.
- Content: here you can enter the code that Yandex provided you.
Bing site verification
Bing site verification is a service that provides you with information about the indexing of your websites. Webmaster lets you inform Bing of new and deleted webpages, customize the indexing of your site and improve the ranking and appearance of your website in Bing search results.
- Enable Bing site verification: Yes / No.
- Content: here you can enter the code that Bing provided you.
Video tutorials

CSS/JS Optimizations
Compress the JavaScript / CSS files and the HTML output:
- Minify JavaScript - Yes/No. This will enable the feature, by default two files will be created, one including the template .js files and one including components/plugins .js files.
- Merge JavaScript files - Yes/No. If enabled, all the JavaScript files loaded on your website will be merged into a single one.
- Merge Inline JS - Yes/No. Enabling this option removes all the empty spaces from the inline scripts loaded on your page and if there are multiple scripts present on the page, they will all be combined into a single one.
- Minify CSS - Yes/No. If enabled, template CSS files as well as the components/plugins CSS files will be combined into two separate CSS files.
- Merge CSS files - Yes/No. If enabled, all the CSS type of files loaded on your template will be merged into a single one.
- Merge Inline CSS - Yes/No. This option removes all the empty spaces from the inline style declarations and if there are more inline style definitions, these will be combined into a single one.
- Compress JavaScript and CSS - Yes/No. If enabled, this will gzip compress the JavaScript and CSS files, to reduce the file size.
- Suppress javascript errors - Yes/No. Enable this option to suppress errors from JavaScript files loaded on your page by using a try-catch statement. In order for this to actually work, the Minify JavaScript option needs to be enabled.
- Minify HTML - Yes/No. Minifying your HTML can improve your PageSpeed Score, if enabled, this option will reduce the size of HTML code and will reduce your website page size.
- Exclude CSS/JS files - The files added in this area will be excluded from compression.
- Exclude the following URLs - On the URLs added here, the optimization plugin will not run.
The excluded files as well as URLs needs to be added each on a separate row. Use {??} to ignore 2 characters and {*} to ignore a variable number of characters.

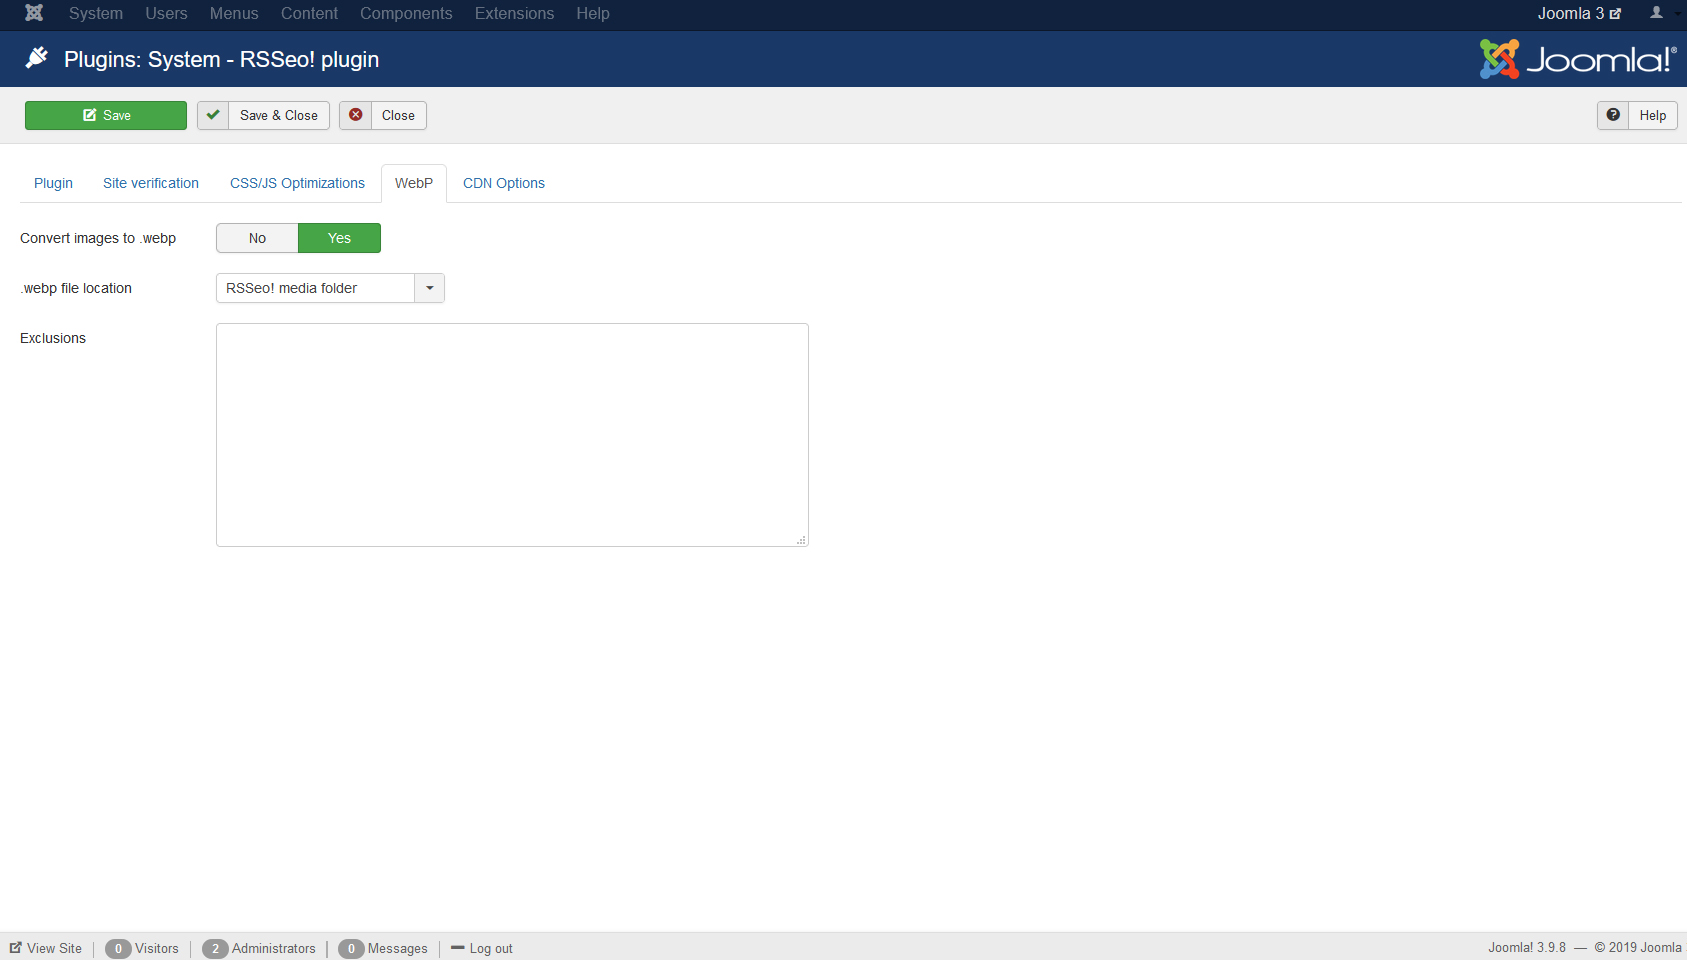
WebP
- Convert images to .webp - No/Yes - Set this to Yes if you would like to convert your site's images (jpg,jpeg,png) to the .webp format
- .webp file location - RSSeo! media folder / Exact folder as original - Select where you want to write the new webp files created.
- Exclusions - Image paths that are excluded from WebP. You will have to add them on separate lines.
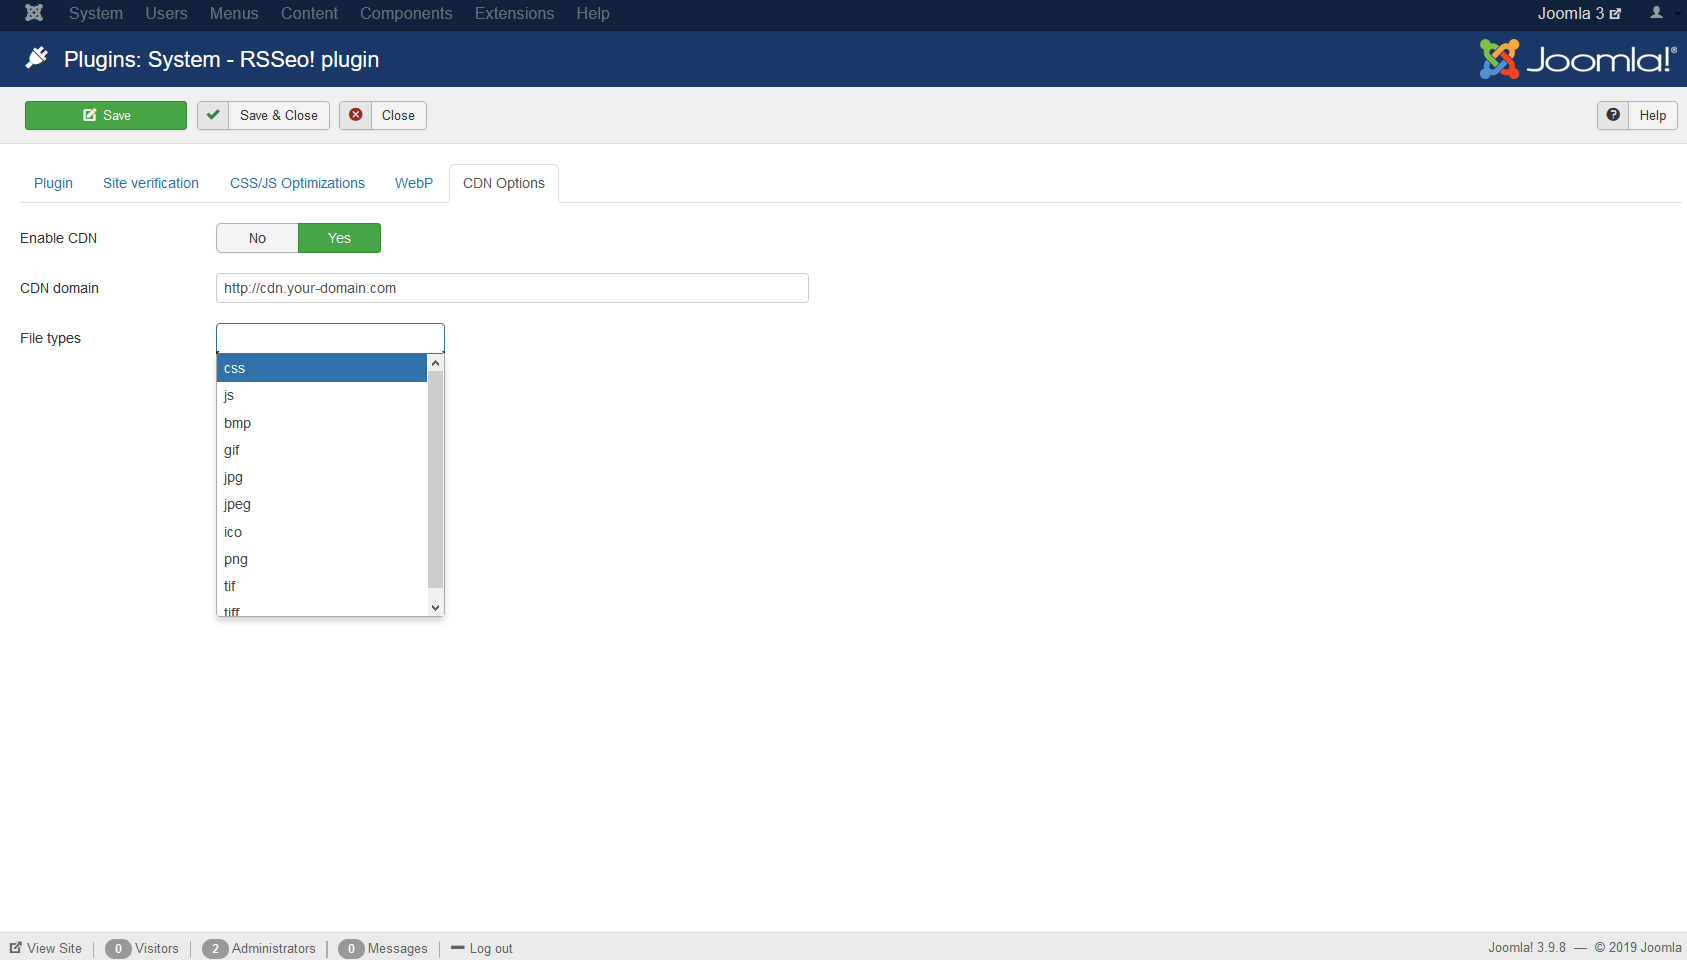
CDN options
- Enable CDN - Yes/No. If enabled, this will load all of your static files from the CDN.
- CDN Domain. Enter the CDN domain you want to use.
- File Types. Select the file types you wish to apply the CDN domain. Available options: css, js, bmp, gif, jpg, jpeg, ico, png, tif, tiff.
8 persons found this article helpful.