RSMail! Settings
The Components > RSMail! > Settings tab allows you to set up different types of settings that model the general component behavior. This tab is divided into the following sections:
1. General tab:
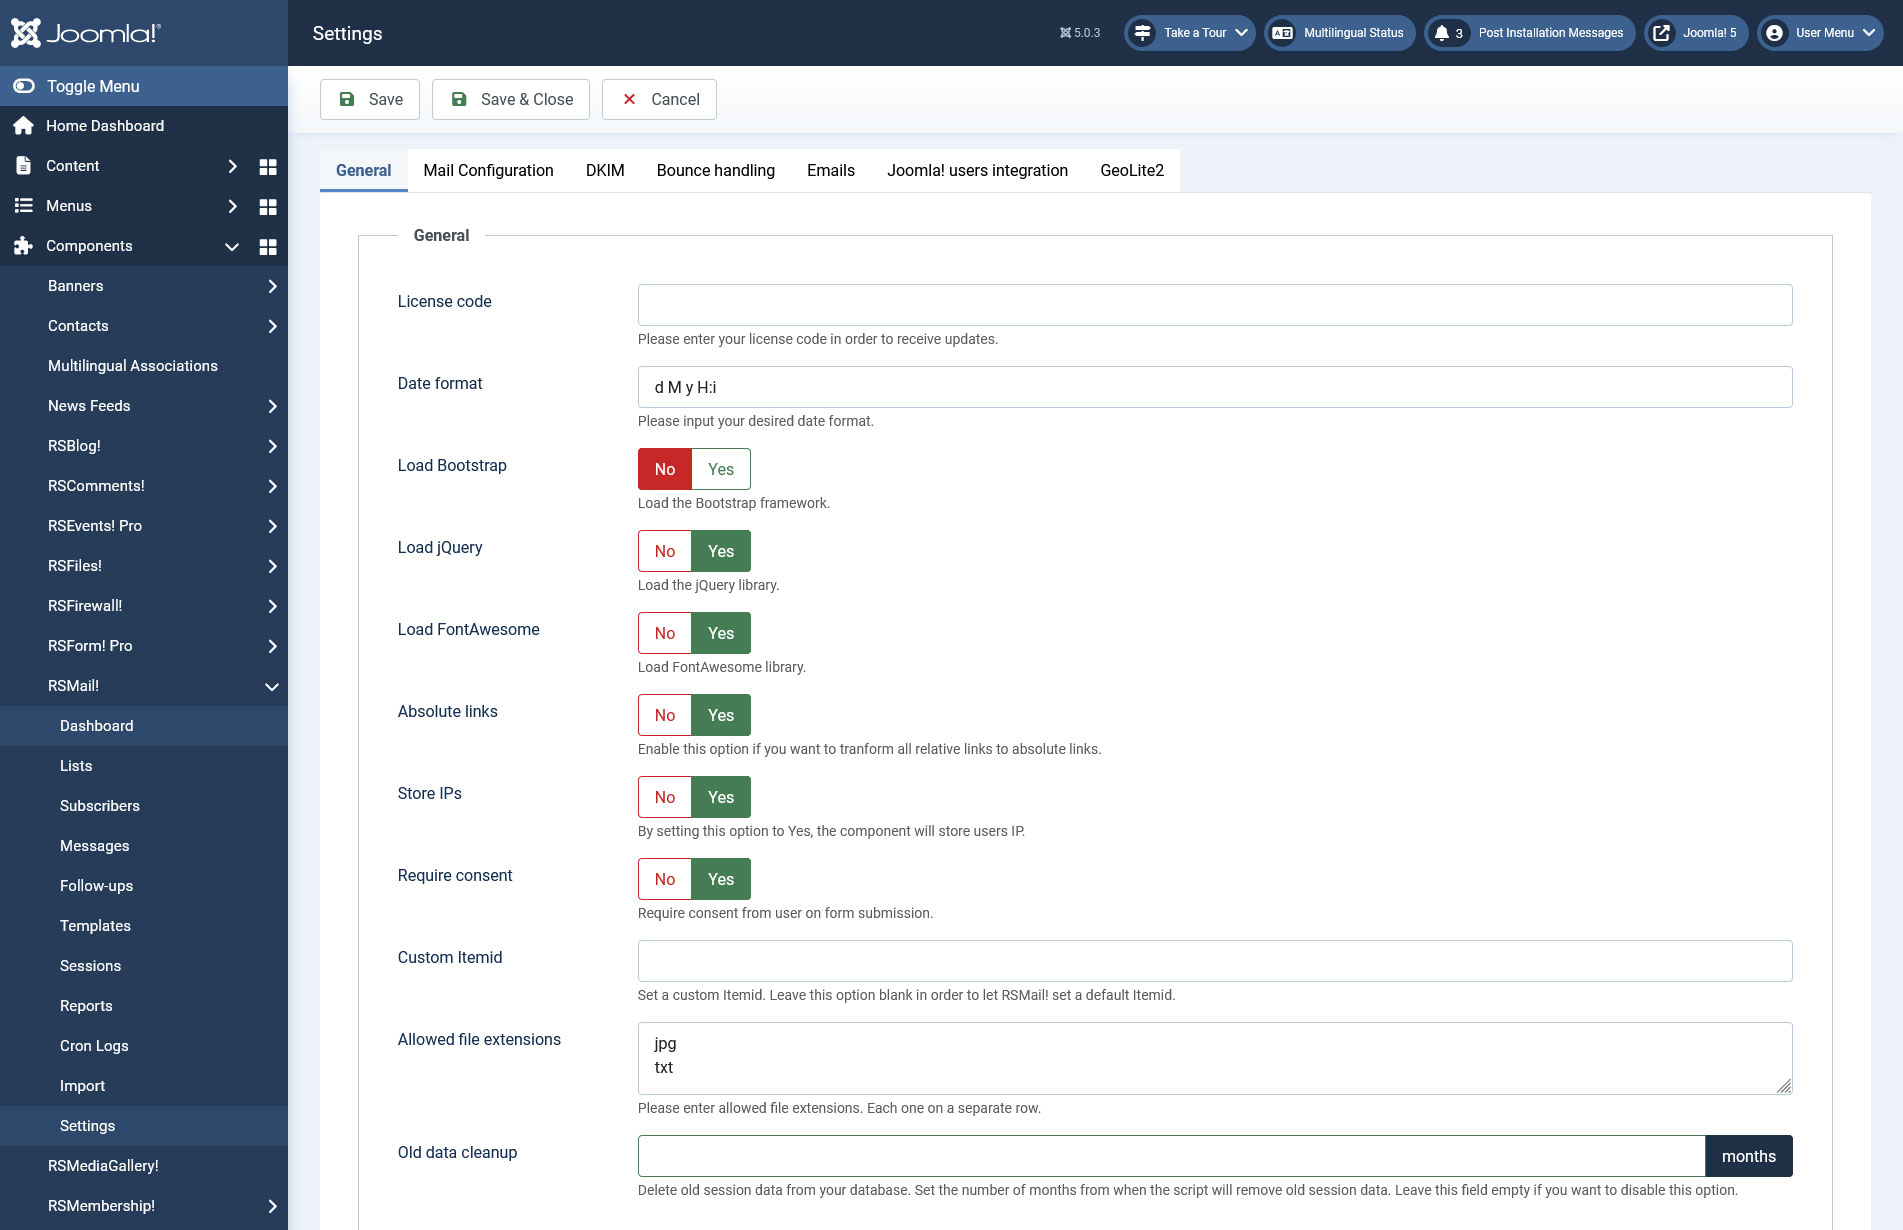
General:
- License code - The code that gives you access to future updates and support, provided when purchasing from us
- Date format - The date format that will be used through out the RSMail! component
- Load Bootstrap - Used to load the Bootstrap framework
- Load jQuery - Set this to yes to load the jQuery library.
- Absolute links - Enable this option if you want to transform all relative links to absolute links.
- Store IPs - Enable this option if you want to store users IP.
- Require Constent - Set this to Yes if you want to require consent from user on form submission.
- Custom Itemid - This field sets a custom item id. You can leave this blank in order to let RSMail! set a default one
- Allowed file extensions - The allowed extensions of the files to be uploaded from within the RSMail! component, add each one on a separate row.
- Old data cleanup - Delete old session data from your database. Set the number of months from when the script will remove old session data. Leave this field empty if you want to disable this option.
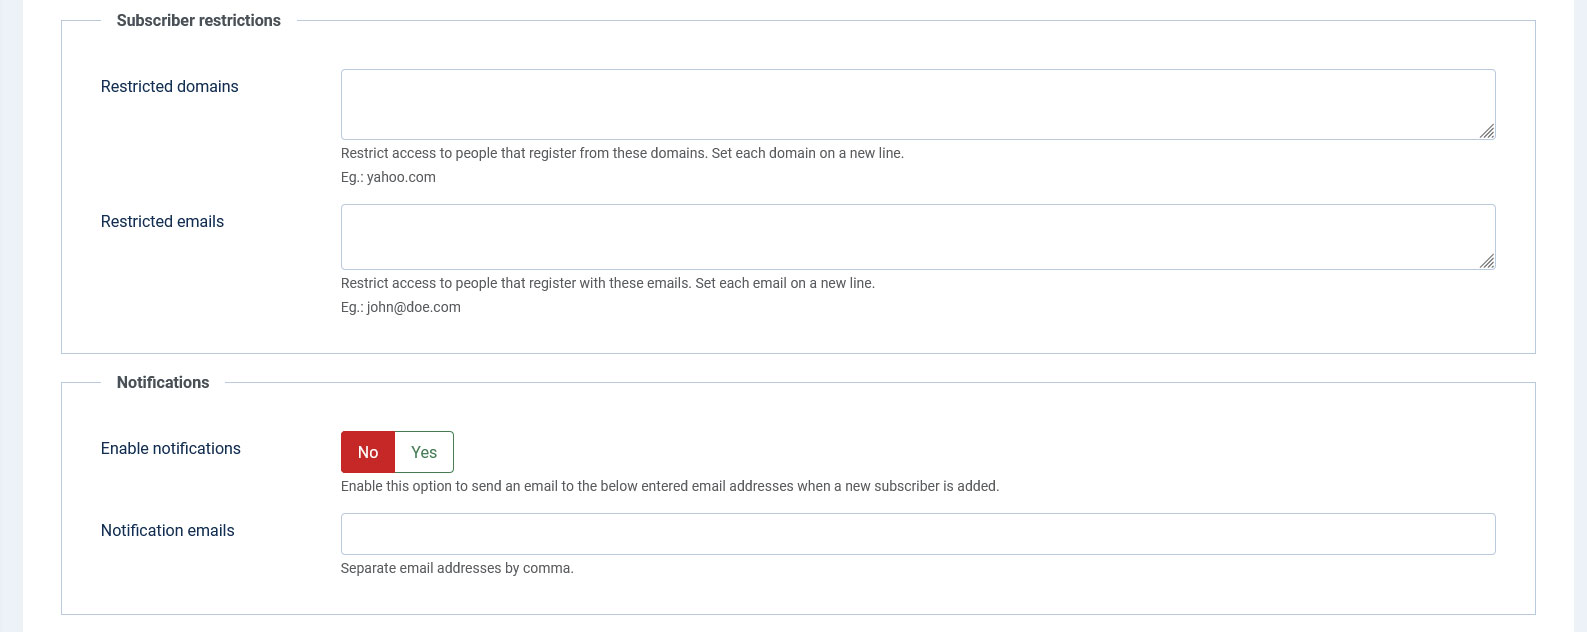
Subscriber restrictions:
- Restricted domains - Restrict access to people that register from these domains. Set each domain on a new line, without using '@', for example: yahoo.com
- Restricted emails - Restrict access to people that register with these emails. Set each email on a new line.
Eg.: john@doe.com
Notifications:
- Enable notifications: no / yes - if enabled, whenever a guest subscribes, a notification email will be delivered. Information about customizing this email can be found in the following article: How to change subscription notification email
- Notification e-mails: the email addresses that will receive the notification email. Multiple recipients can be added, separated by comma (,).
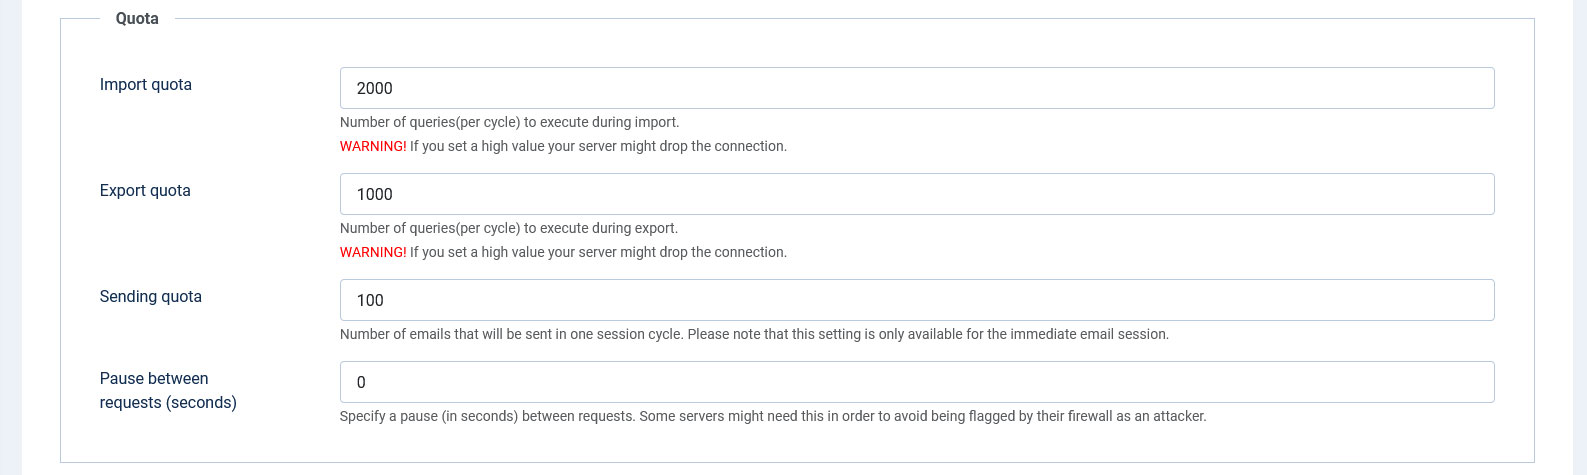
Quota:
- Import quota - Number of queries(per cycle) to execute during import - Depending on your server performance you can increase or decrease this setting in order to optimize the importing process. Warning! if you set a high value your server might drop the connection.
- Export quota - Number of queries(per cycle) to execute during export - Depending on your server performance you can increase or decrease this setting in order to optimize the exporting process. Warning! if you set a high value your server might drop the connection.
- Sending quota - Number of emails to send per session - Depending on your email server performance (can be different then the one your Joomla! installation resides) you can increase or decrease this setting in order to optimize the email sending process (this applies to immediate sending session, not scheduled).
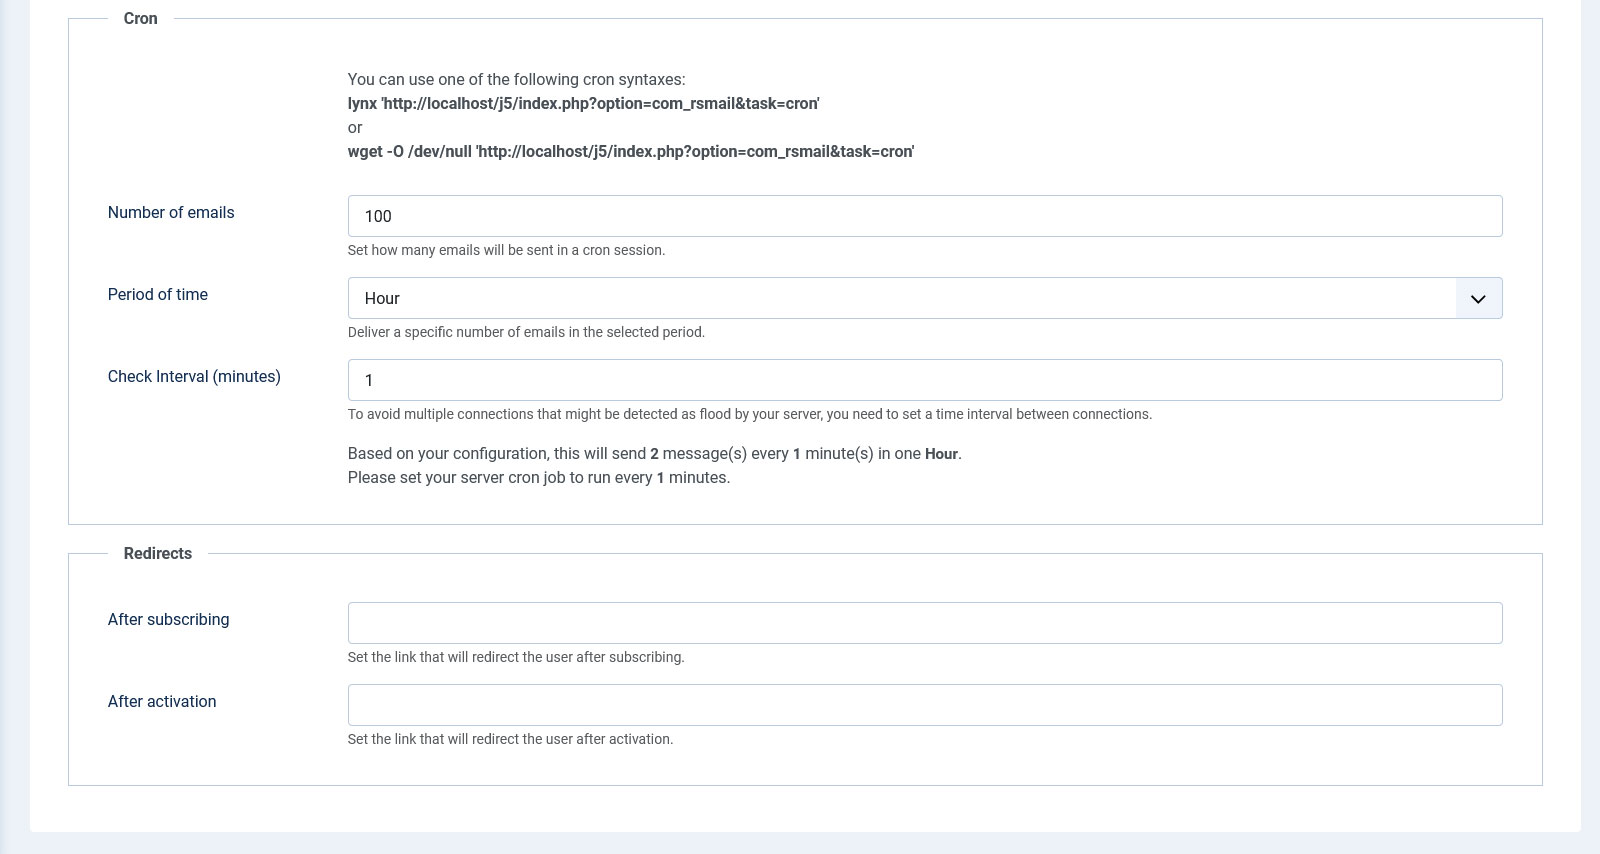
Cron settings:
These settings are applied when scheduled email sending sessions are used (are not sent imediately).
- Number of e-mails: how many emails will be delivered in the sending sesssion.
- Period of time: deliver the above number of emails within the selected time frame.
- Check Interval (minutes): how often should the cron be triggered. Note that this is different from the server side cron interval setting.
Redirects:
- After subscribing: the configured URL will be used for redirecting upon completing the subscribe process. Instead of the subscription fields a Continue button will appear that will perform this action.
- After activation: after the subscription has been confirmed, RSMail! will redirect to the configured link.
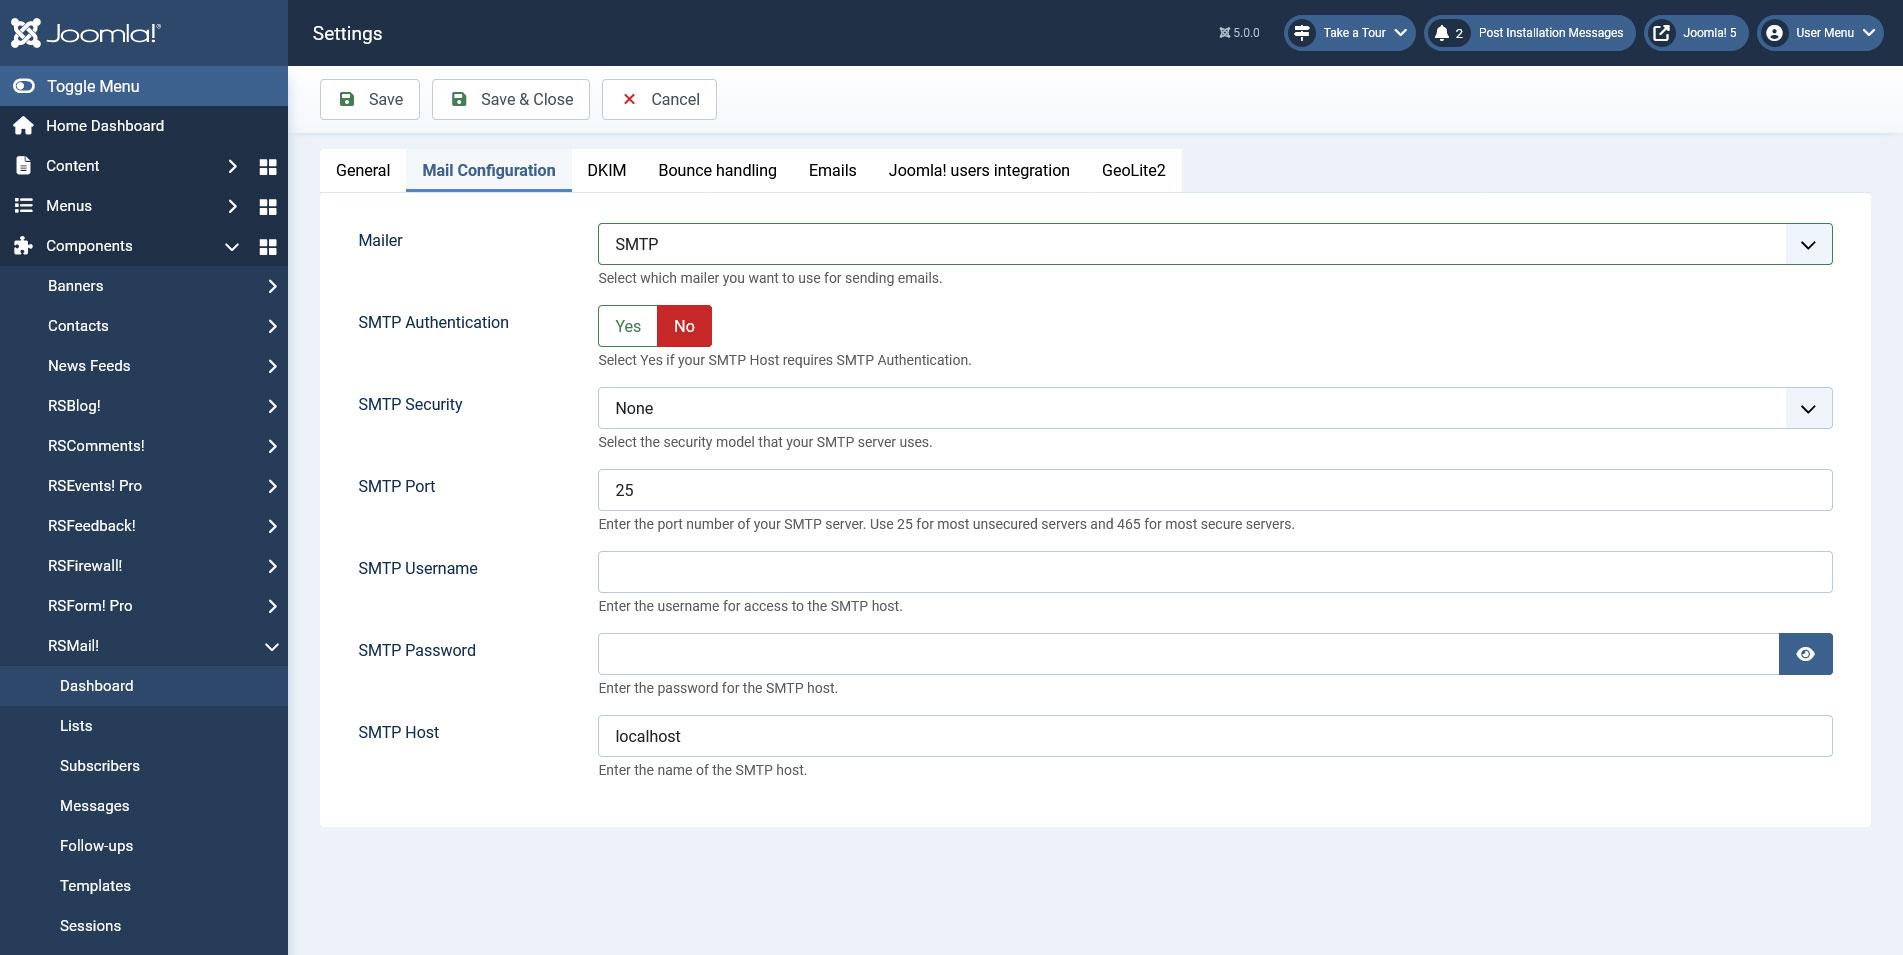
2. Mail Configuration
- Mailer: PHP Mail / Sendmail / SMTP - choose which mailing settings the component should use, making it no longer dependent on the Joomla! Global Configuration
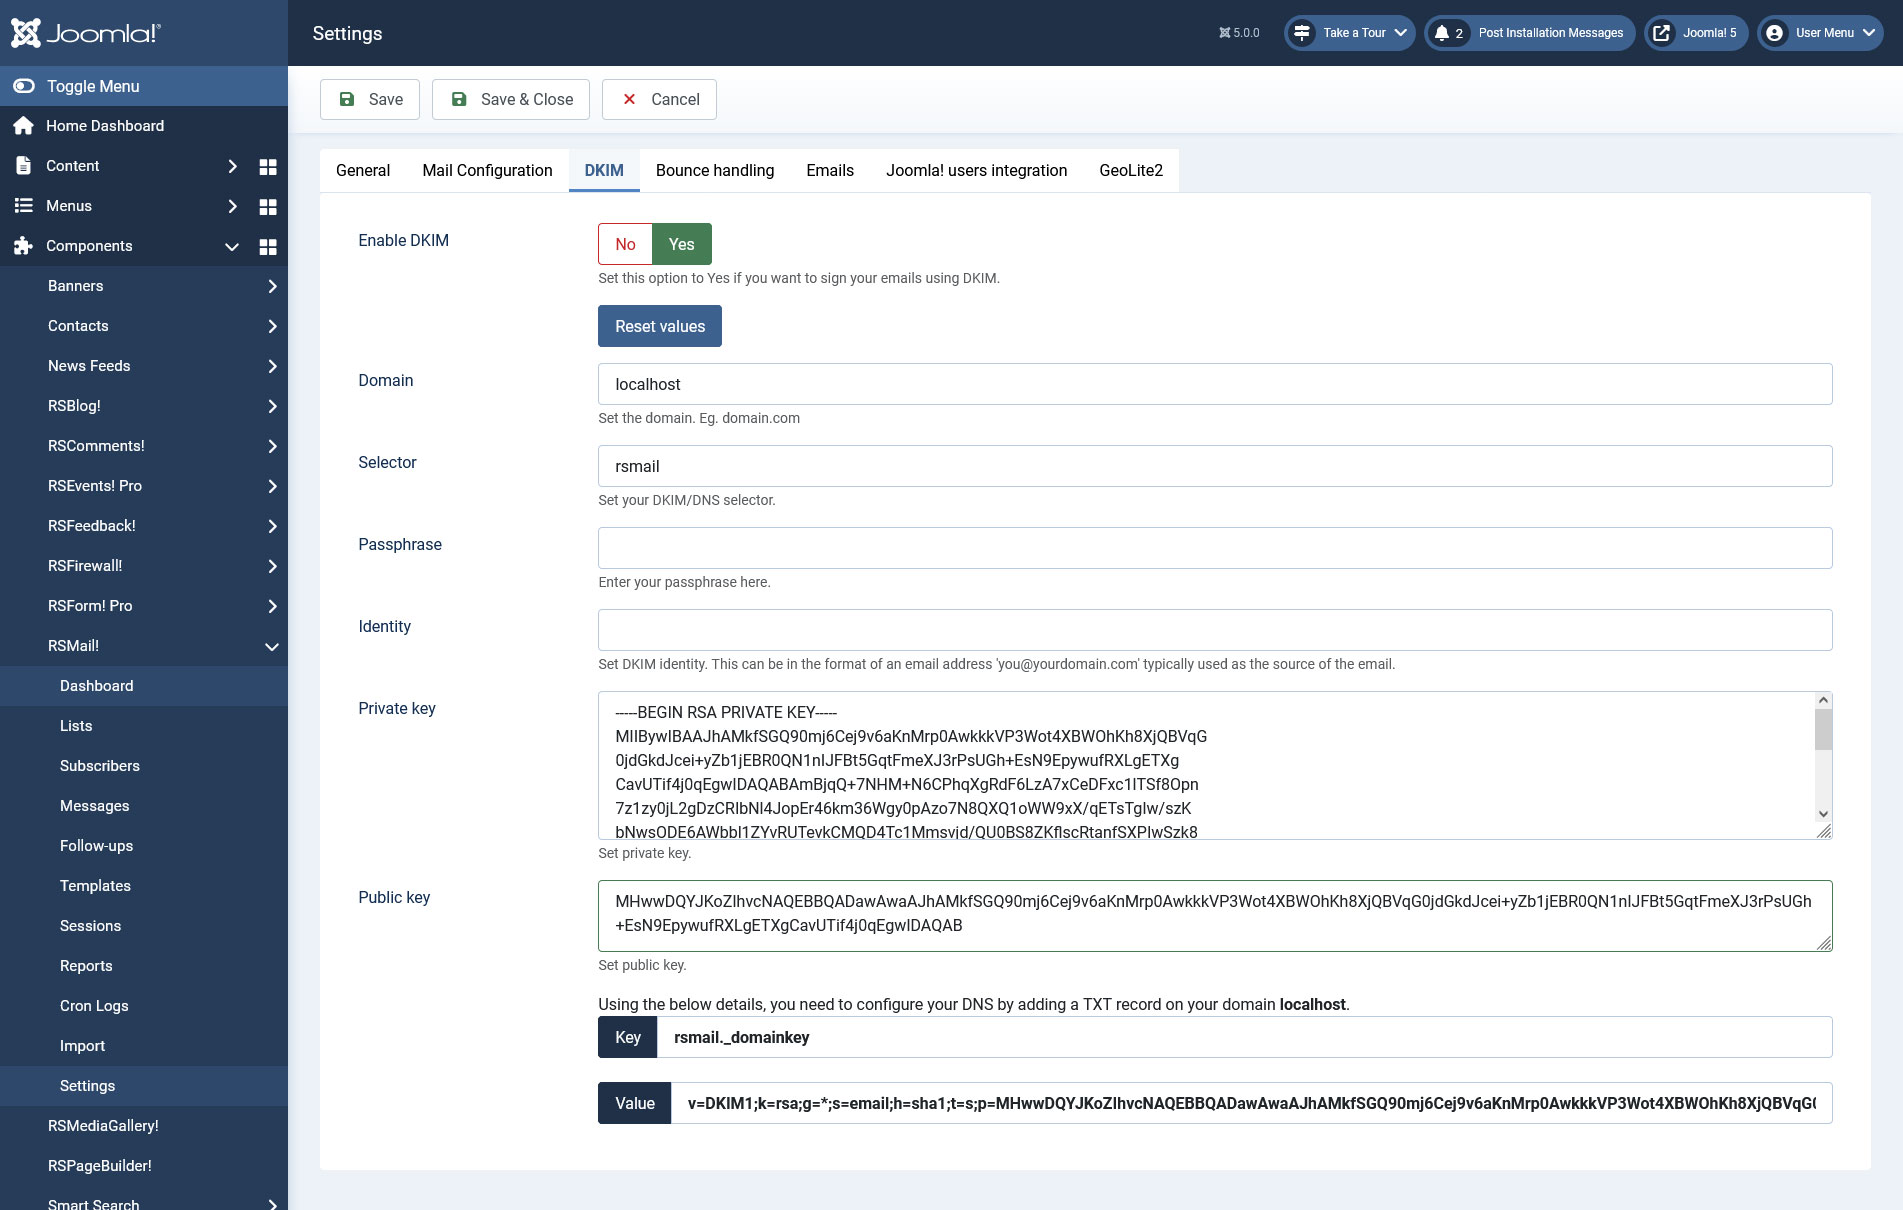
3. DKIM
- Enable DKIM: Yes/No - enable or disable DKIM signing (Reset Values button will reset all of your DKIM values to their initial state);
- Domain: this field should contain your domain;
- Selector: to support multiple concurrent public keys per signing domain, the key namespace is subdivided using "selectors". For example, selectors might indicate the names of office locations (e.g., "sanfrancisco", "coolumbeach", and "reykjavik"), the signing date (e.g., "january2005", "february2005", etc.), or even the individual user.
- Passphrase: used to encrypt the private key
- Identity: this can be in the format of an email address, typically used as the source of the email
- Private Key: your private key must be inserted here. You can generate one from here: dkimcore.org
- Public Key: your public key must be inserted here. You can generate one from here: dkimcore.org
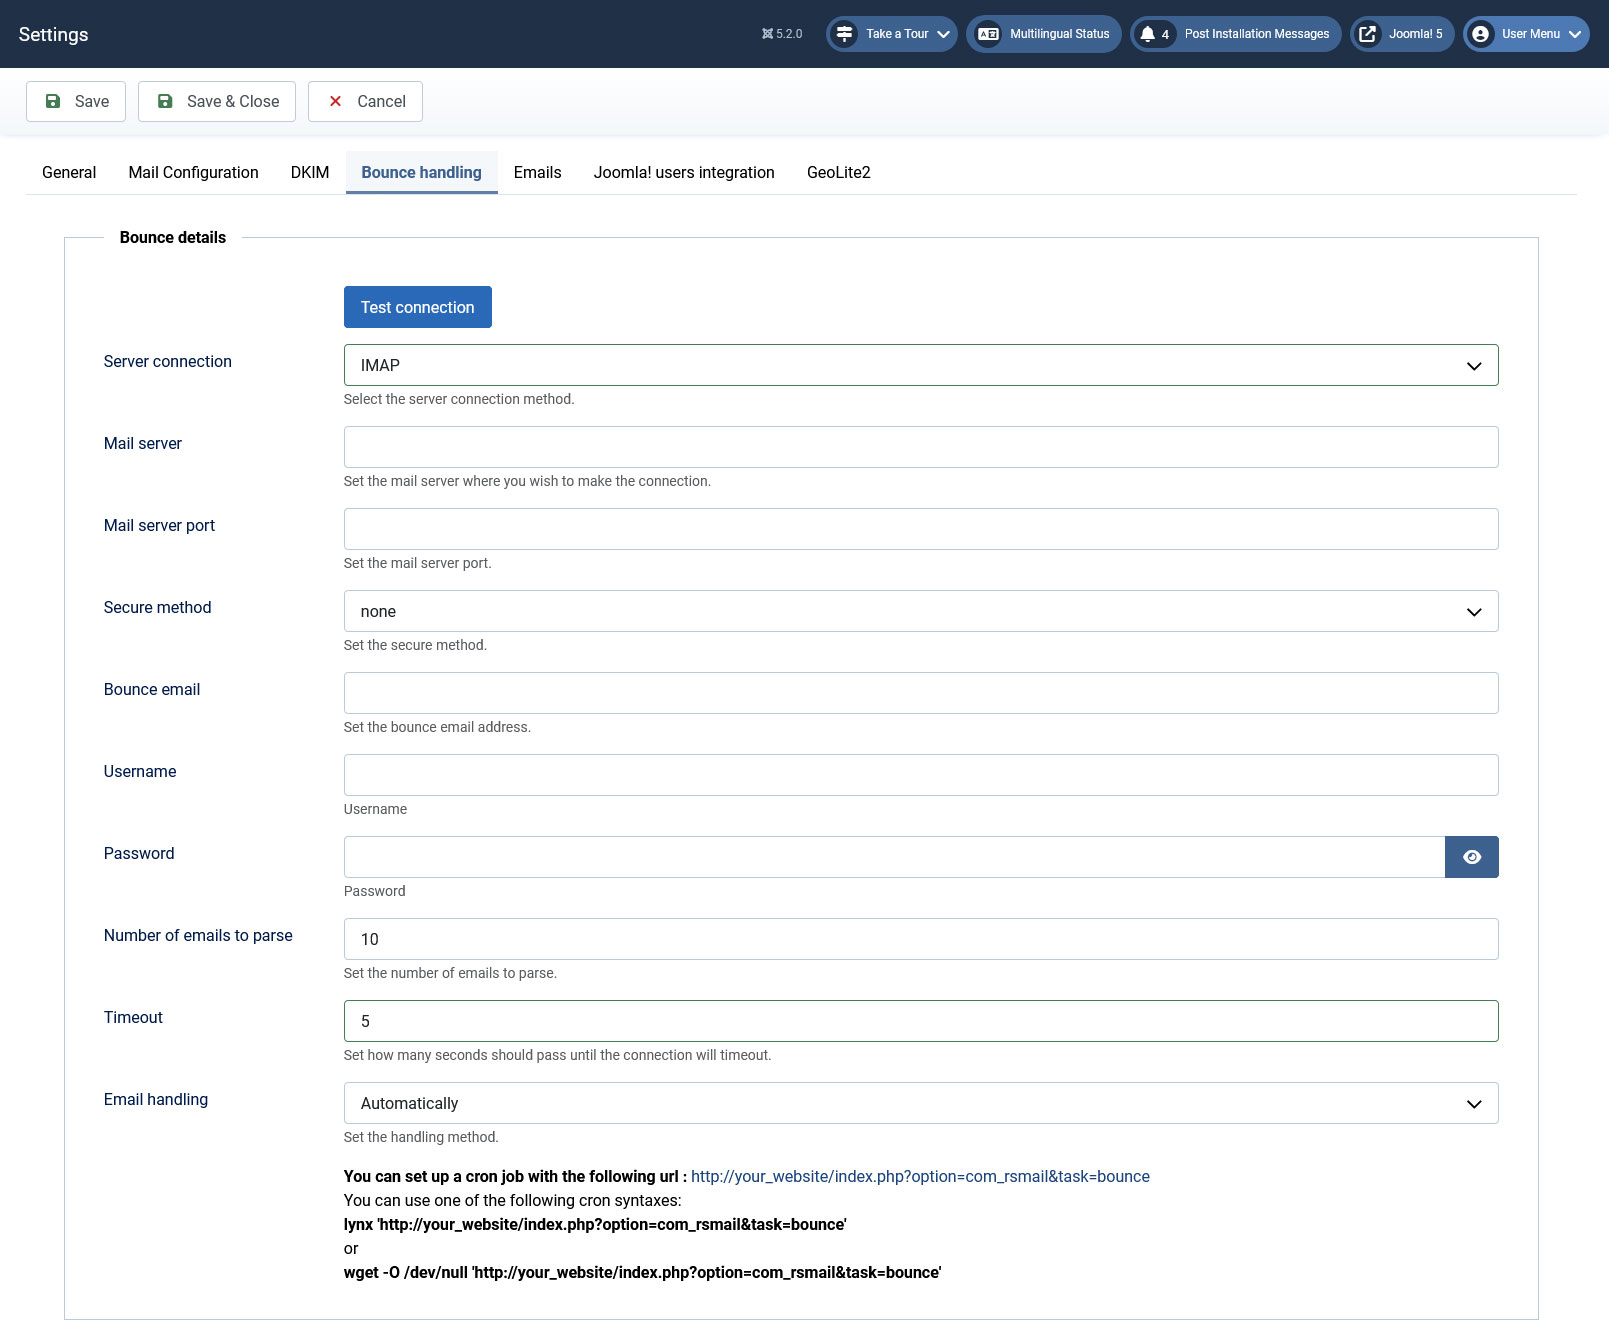
4. Bounce handling:
Bounce details:
- Server connection: POP3/IMAP.
- Mail server: address of the email server that hosts the above mentioned email address.
- Mail port: the email server port.
- Secure method: none/TLS/SSL.
- Validate Server Certificate: validate the server's certificate (option available when setting a secure method). Set this to No if you're using self-signed certificates .
- Bounce e-mail: the email address that will handle the bounces.
- Username: enter your username.
- Password: enter your password.
- Number of emails to parse: how many emails should the bounce process check in one cycle.
- Timeout: Set how many seconds should pass until the connection will timeout.
- Email handling:
- Manual: the bounce email handling will be triggered when you access RSMail! pages. Note that this will affect the page loading time
Automatic: you can set up a cron job with an URL and command of the following form:
lynx "http://www.mywebsite.com/index.php?option=com_rsmail&task=bounce"
If this command does not work, then you can consider usign the following alternative command for this:
wget -O /dev/null "http://www.mywebsite.com/index.php?option=com_rsmail&task=bounce"
- Both manual and automatic: use both methods presented above
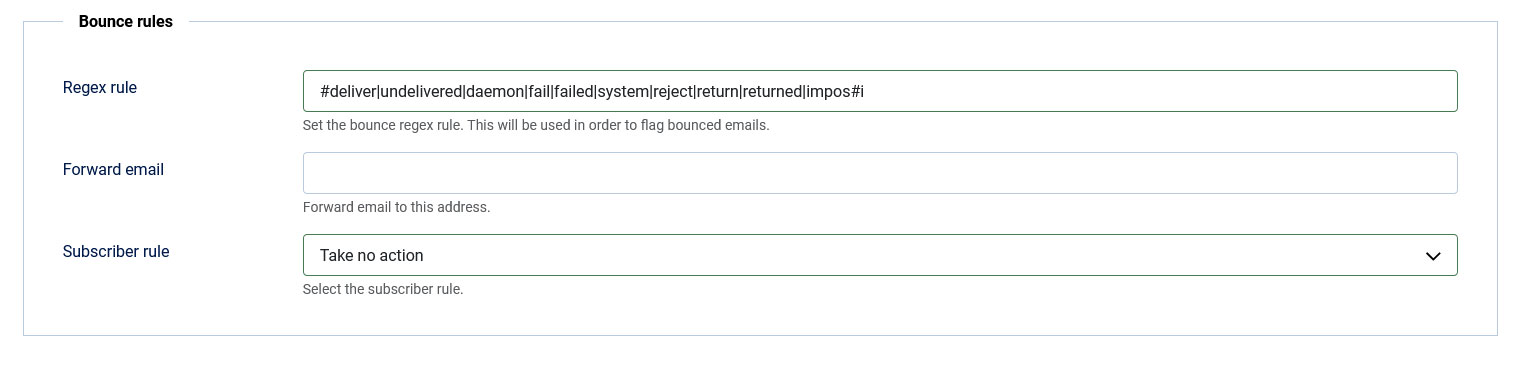
Bounce rules:
Bounce e-mail (sometimes referred to as bounce mail) is electronic mail that is returned to the sender because it cannot be delivered for some reason. Unless otherwise arranged, bounce e-mail usually appears as a new note in your inbox. Since revision 9 RSMail! provides a way to handle these type emails.
When detecting a bounce email some actions can be implemented. RSMail! offers the following configuration:
- Regex rule: - Set the bounce regex rule. This will be used in order to flag bounced emails. By default a regex rule is already provided: #deliver|undelivered|daemon|fail|failed|system|reject|return|returned|impos#i
- Forward email, an address to which the message will be forwarded
- Subscriber rule:
- Take no action no action will be taken
- Unsubscribe the user the user will be unsubscribed from the lists he was associated with (having the possibility to resubscribe using the related features)
- Delete the user The user will be completely deleted from the RSMail! tables
When a bounce email is detected, by default, a specific message is sent to the configured email account. This contains the destination address. The action chosen in the Subscriber rule will be applied to the subscriber that is associated with that specific email address.
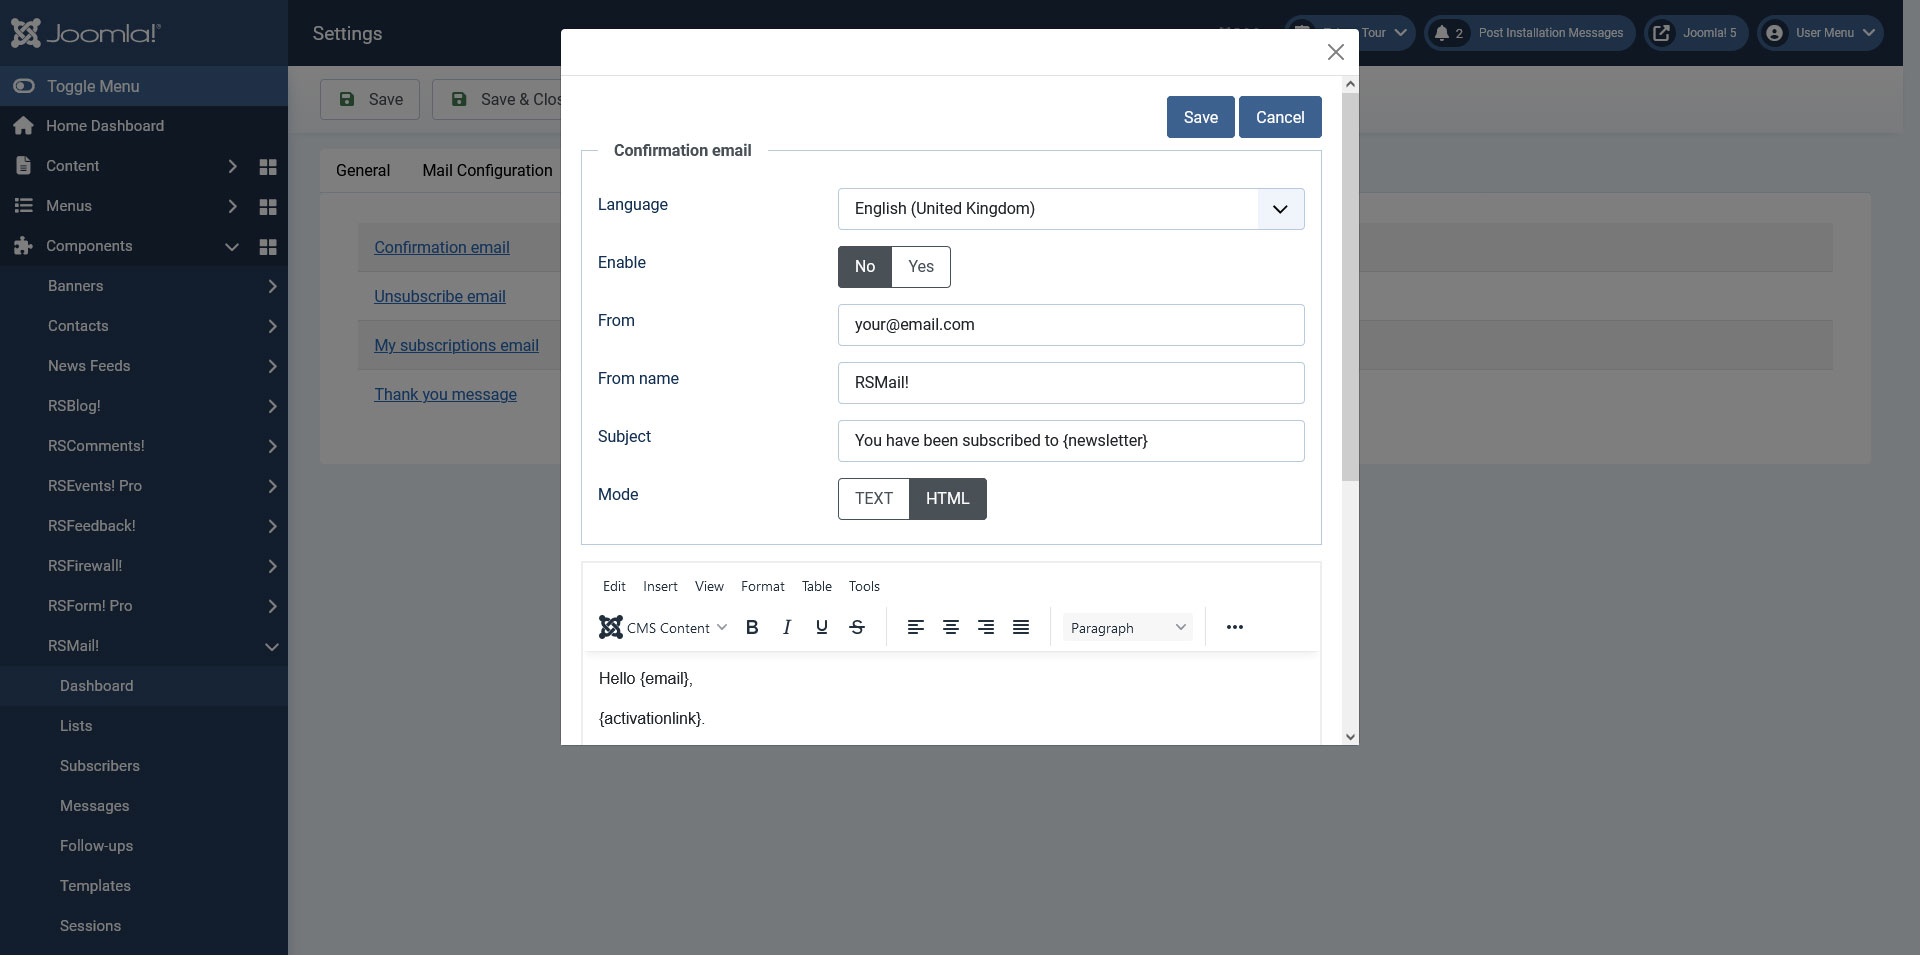
5. Emails:
-
Confirmation email:
This email is used to send out the subscription confirmation email. The following placeholders are available: {newsletter}, {email}, {activationlink}.
-
Unsubscribe email:
This email will be sent after the user has completed the unsubscribe process. The following placeholders can be used: {newsletter}, {email}, {activatesubscription}.
-
My subscriptions email:
This email is sent to the subscriber in order to view his subscriptions. The following placeholders can be used: {link}, {email}.
-
Thank you message:
This message will be displayed after the subscribe process has been completed. Below the message, a Continue button will also be displayed.
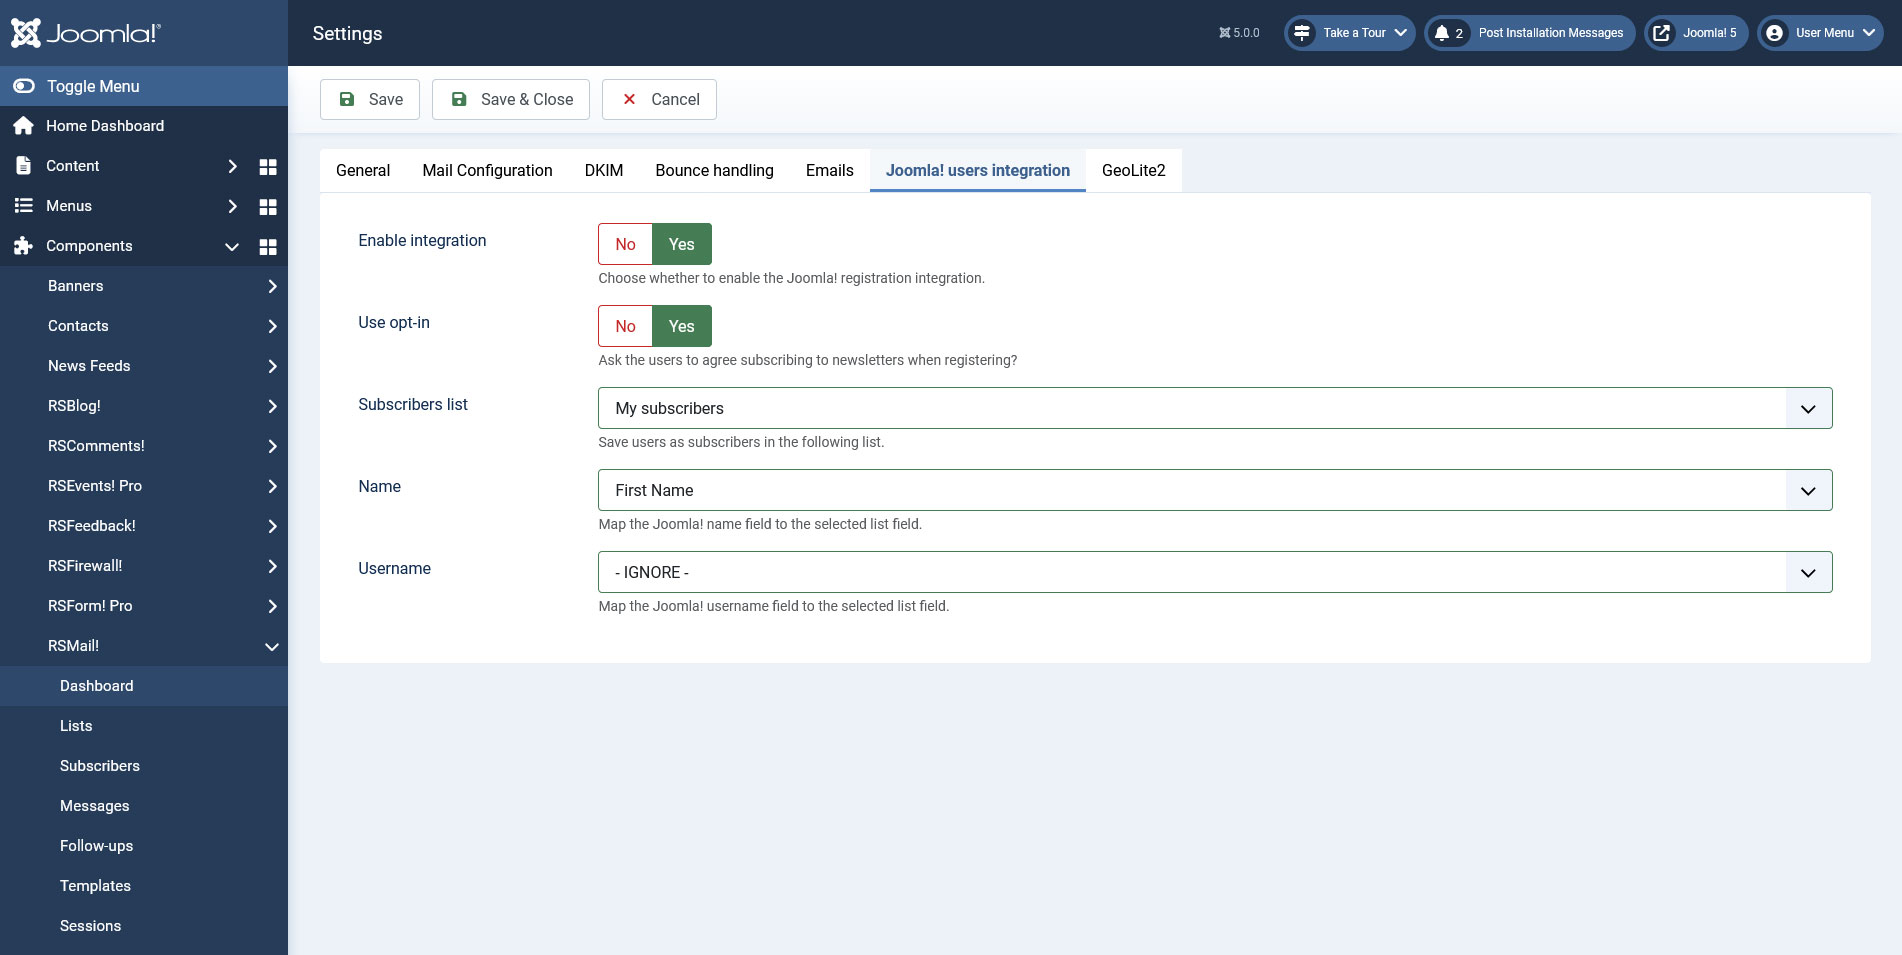
6. Joomla! user integration:
This feature is used to automaticaly add users to a RSMail! list when they register using the standard Joomla! registration form. The following options are available:
- Enable integration - Yes/No, choose whether to enable the Joomla! registration integration.
- Use opt-in - Yes/No, ask the users to agree subscribing to newsletters when registering?
- Subscribers list - choose the list in which subscribers will be added.
- Name - used to map the Joomla! name field to the selected list field.
- Username - used to map the Joomla! username to the selected list field.
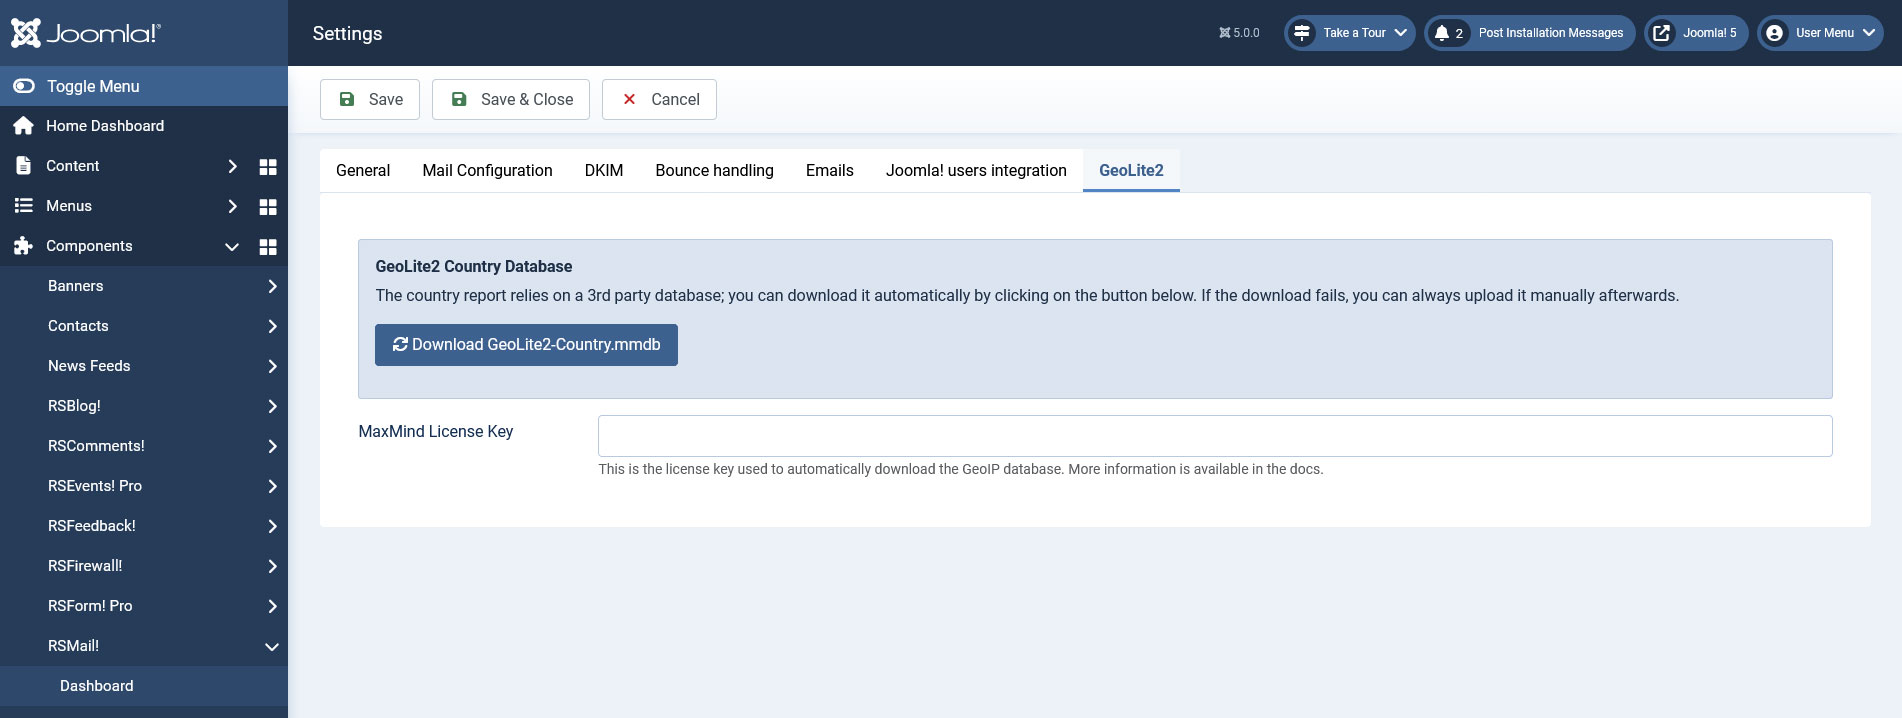
7. GeoLite2:
GeoLite2 Country Database
The country report relies on a 3rd party database; you can download it automatically by clicking on the button below. If the download fails, you can always upload it manually afterwards.
MaxMind License Key - this feature will not work unless you install an IP database package; for a step by step tutorial regarding obtaining GeoIP.dat, please click here (though the article refers to RSFirewall!, the process of obtaining a key is similar for RSMail!).
5 persons found this article helpful.
You Should Also Read
Could not instantiate mail function error |
How to customize the subscription notification email |