Plugin - Google Sheets (send form data to your Google Sheets)

Your form submitted data can be sent to your Google Sheets using this plugin. The RSForm!Pro Google Sheets plugin allows you to connect to your Google Sheets and map form data within the desired sheet columns. When the form is submitted, the data you map is passed to your spreadsheet as well.
Downloading and Installing the plugin
Download
You can download the plugin by logging with your purchase user, then head to My Downloads > RSForm!Pro - Modules & Plugins > Plugins > "Google Sheets".
Install
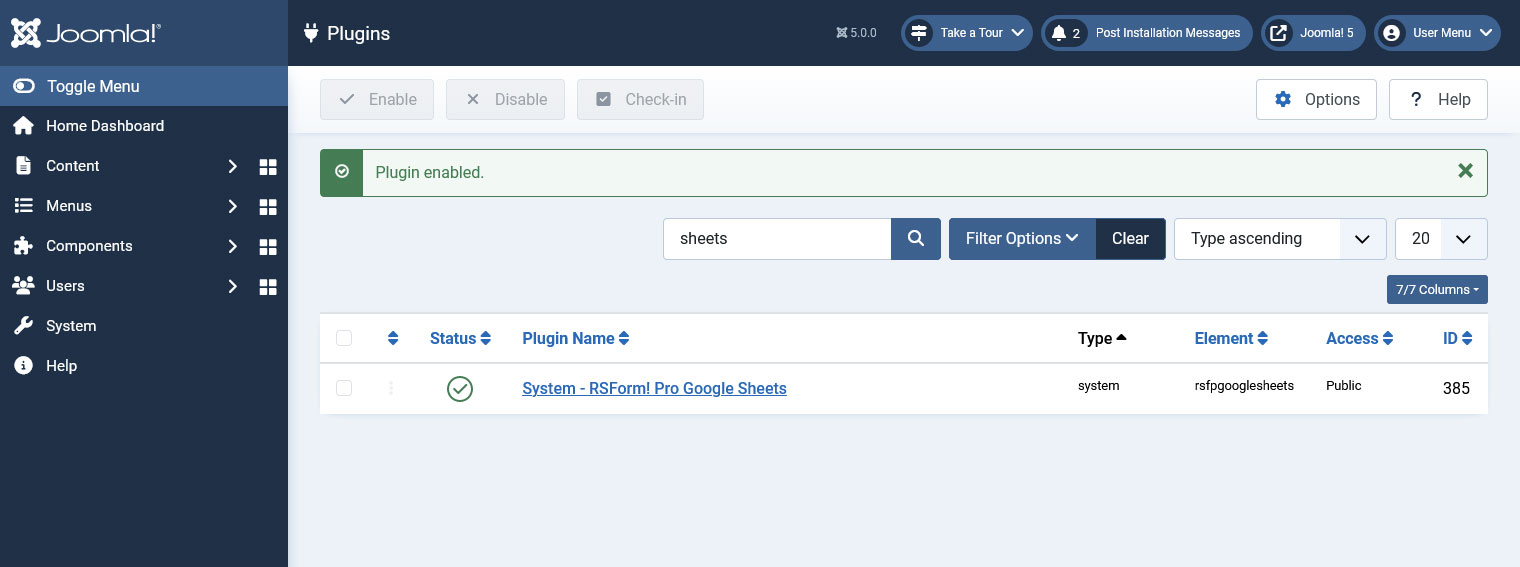
Go to the System > Install > Extensions > install the plugin. Next thing is to publish the plugin from Extensions > Plugins, search for the "System - RSForm! Pro Google Sheets" plugin.
Connecting to Google Sheets
- Access Google Developers Console.
- Login using your Google account and Create a new Project.
- Add a project name, organization, location and click on the "Create" button (wait a few moments after you click the create button to load your project, otherwise you can manually select it).
- In the Dashboard view search for "Google Sheets API" and access it.
- Enable the "Google Sheets API" by clicking on the "Enable" button at the top.
- Click on "Credentials" from the left sidebar.
- Next click on the "Create Credentials" button and select the "OAuth client ID" option.
- Select "Web application" and add a Name.
- Within the "Authorized JavaScript origins" add your website (for example: https://www.rsjoomla.com). If you're on localhost you can leave it blank.
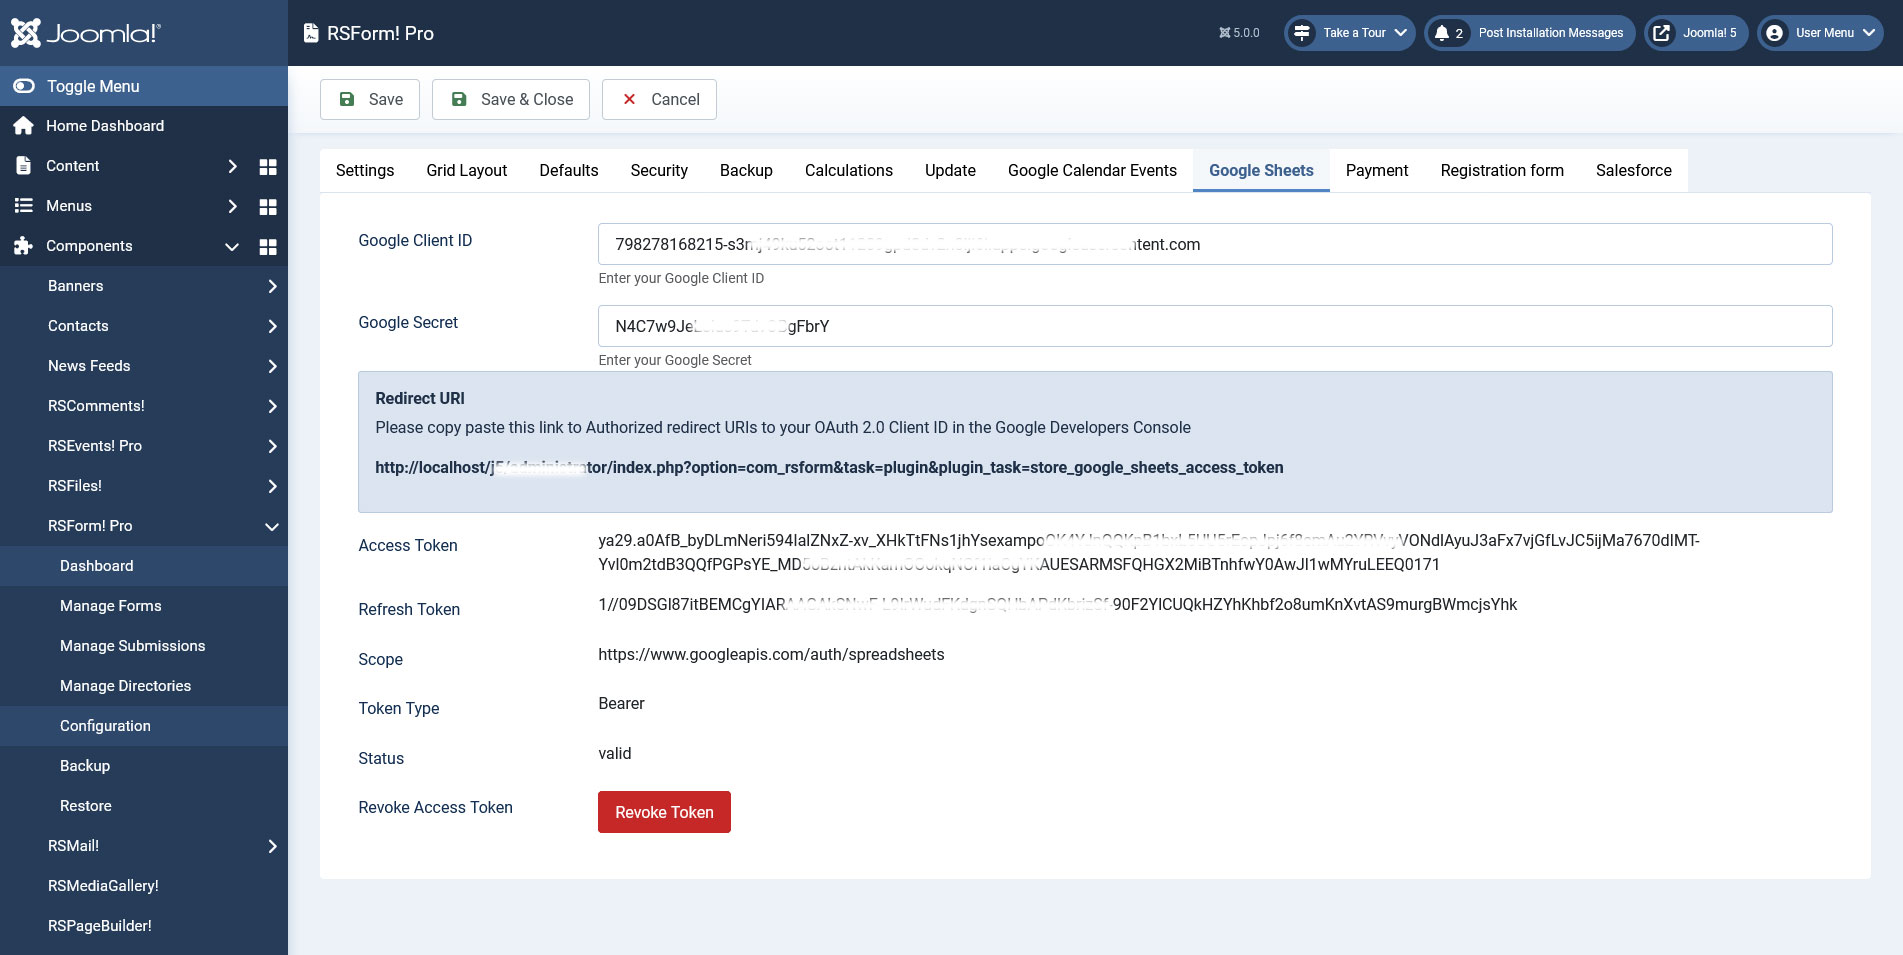
- Within the "Authorized redirect URIs" add the already generated URL found via backend > Components > RSForm!Pro > Configuration > Google Sheets > "Redirect URI".
- Click the Create button.
- Now, two keys will be generated, client ID and client secret that you have to be placed in your installation within backend > Components > RSForm!Pro > Configuration > Google Sheets > "Google Client ID" respectively "Google Secret" fields.
- Use the top "Save" button to save your keys (these have to be firstly saved).
- After the page refreshes, you'll find a new button "Authenticate" which you'll have to click. Doing so will redirect you to Google to choose your Google account and will ask you to Allow the application.
- Clicking the Allow button will redirect back to your website where a successful green "Access token successfully stored!" message should be encountered if everything was properly configured. Eventually you'll view more data being specified within the Google Sheets tab of your RSForm!Pro configuration, though there's no need to further change anything here.
Note:
If you're receiving a 'No request found for this application.' message upon authenticating, go to Extensions > Plugins > search and disable the System - miniOrange OAuth Client plugin, afterwards head back to Components > RSForm!Pro > Configuration > Google Sheets tab and authenticate once more.
Mapping Submission Data
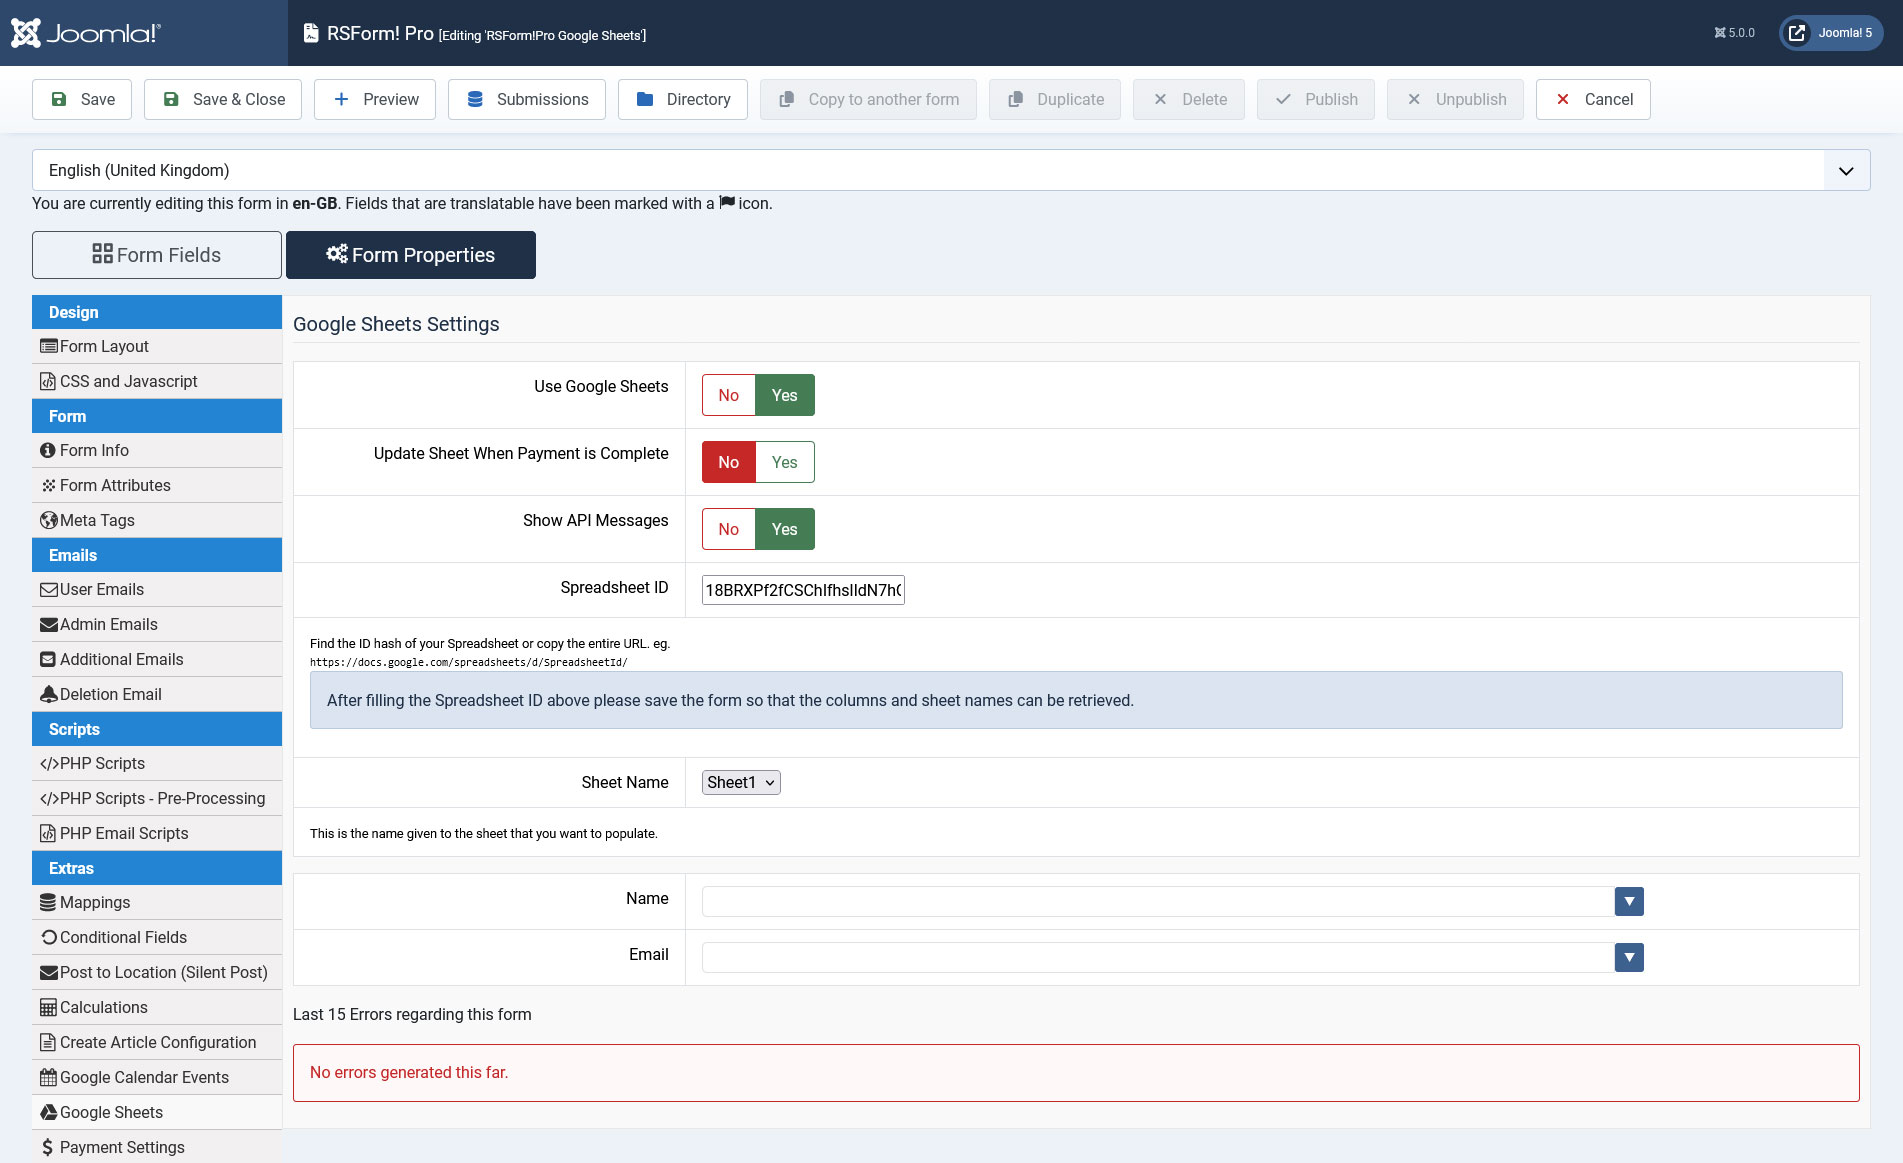
- Access your form in the backend > Components > RSForm!Pro > Manage Forms > your form > Form Properties > Google Sheets Settings tab.
- Enable the "Use Google Sheets" option.
- If the 'Update Sheet When Payment is Complete' option is enabled, the Google Sheet will be updated only after the payment has been confirmed by using the 'Confirm Payment' button while editing the submission. Confirming a payment is used when for some reason the gateway did not confirm it or when using Wire Transfer methods were payment is confirmed manually by you.
- When enabling the 'Show API Messages' the error messages will be displayed upon submission.
- Add your "Spreadsheet ID". This can either be the exact ID of your spreadsheet or its entire URL (more details below).
- Click top Save button (this has to be firstly saved to retrieve your sheets and their columns).
- If your spreadsheet has multiple sheets, you can then select the one you need from the "Sheet Name" dropdown.
- Finally, if your sheet has columns, these will be available for your to map with your form's data. A placeholder selector is also provided for each column that can be used to include the needed placeholder of your form.
- go to Google Sheets.
- access your spreadsheet.
- notice top browser URL. For example:
https://docs.google.com/spreadsheets/d/UkFHSrjrhN9TzRRp47fr4JFJSA83rjFH1eFGr438v4/ - either use its URL or take its ID from the URL, in this case the ID is the following:
UkFHSrjrhN9TzRRp47fr4JFJSA83rjFH1eFGr438v4
Version 3.0.3
- Fixed - PHP 8.2 was throwing some Deprecated messages.
Version 3.0.2
- Added - Joomla! 5 native compatibility - no longer needs the 'Behaviour - Backward Compatibility' plugin.
Version 3.0.1
- Fixed - When an error occurred, the log wouldn't be saved and threw an error on Joomla! 4.
Version 3.0.0
- Updated - Joomla! 4.0 and RSForm! Pro 3.0 compatibility.
Version 1.0.4
- Fixed - Google error messages were not escaped in the log.
Version 1.0.3
- Added - Option to update sheet when the payment is completed (accepted).
Version 1.0.2
- Fixed - Columns containing special HTML characters were not being saved.
Version 1.0.1
- Added - Debug option to display errors.
- Fixed - Timezone was not correctly applied.
Initial Release
39 persons found this article helpful.