Events
The Events view can be accessed here: Components >> RSEvents!Pro >> Events. This area is designed to provide a listing for your saved events, along with some key functions, making this an essential part of RSEvents!Pro.
The Events view consists out of three areas:
Toolbar
The toolbar area, offers most of the view's functionality, as described below:
- New - clicking on this button will allow you to create a new event. You can read more on the event creation workflow here
- Add Event - clicking on this button will allow you to create a new event in a modal box.
- Edit - selecting one event and clicking on this button, will allow you to edit the event details
- Preview - selecting one event and clicking on it will allow you to view the event in the Joomla! front-end area.
- Delete - clicking on this button will permanently delete all the selected events
- Duplicate - selecting one event and clicking on this button will create an exact replica of the event with a "copy" text appended to the event name.
- Publish - this will publish all selected events. Published events can be displayed int-o the front-end area
- Unpublish - this will unpublish all selected events. Unpublished events are not displayed into the front-end area
- Archive - clicking this button will archive the selected events. An archived event implies that this will be excluded from front-end listings (unless specified otherwise)
- Cancel event - select one or more events and click on this button to cancel them
- Featured - select one or more events and click on this button to make them 'Featured' events
- Export to iCal - you can select multiple events and export them into an iCal compatible format. This will produce a standard ICS file. This includes the following event information: name, description, start and end date, location, city and address
- Export to CSV - you can select multiple events and export them into a CSV format. The following event details are included: name, start and end date, description, URL, email, phone, location name, location address and city
- Clear ratings - this will clear the ratings of all selected events. Once cleared, these can't be restored
- Clear hits - this will clear the hits of all selected events. Once cleared, these can't be restored
- Sync dates - using this button you can synchronize all day events that were created in another timezone to your current global timezone
- Batch - this option allows you to configure the frontend settings for groups of events (select the events, in the listing, using their associated checkboxes). Please use this option with caution, we recommend to test it first before applying such changes on your live site.
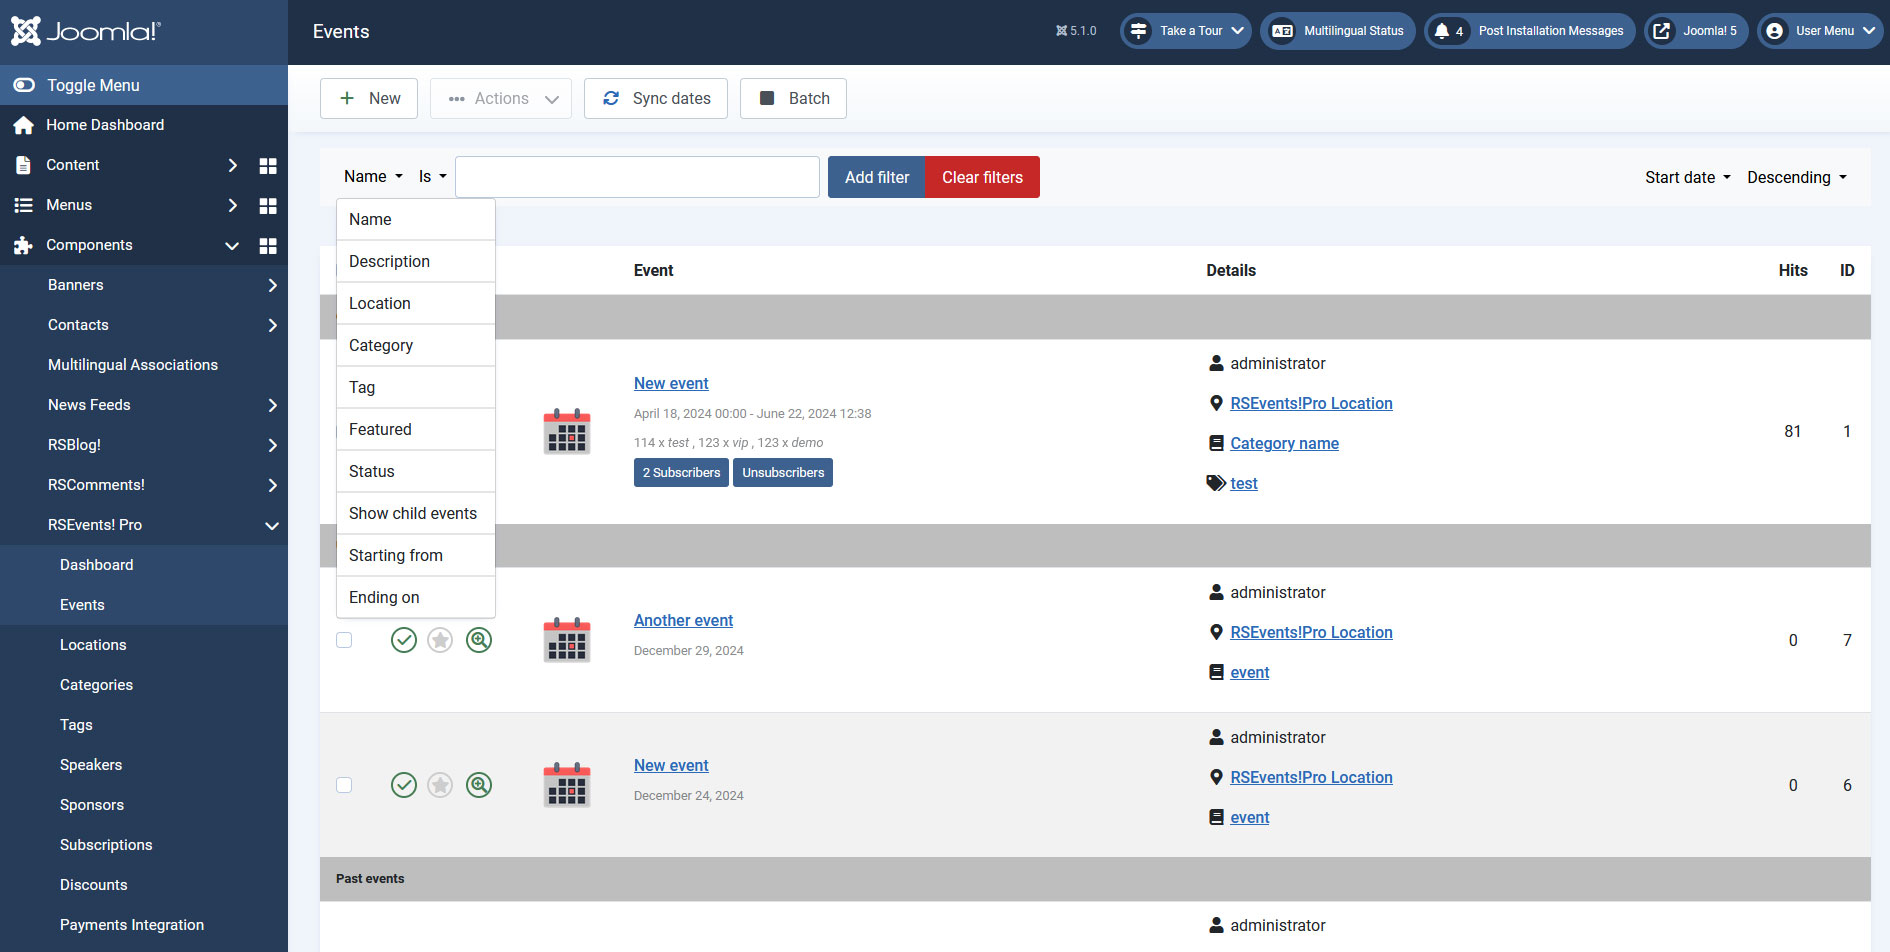
Display filters
The display filters offer complete means of controlling what is displayed within your event listing areas. This only applies for the back-end view. This is composed out of three fields:
- searching area: where the search will be made. Essentially this is a dropdown with the following options: name, description, location, category, tag, featured, status, show child events, starting from and ending on.
- searching rule: is, is not, contains, does not contain
- keyword: the word by which the search will be done
- ordering option: depending on what parameter do you wish to have the searched events ordered when displayed. This includes the following options: start date, end date, name, location and owner
- order: the order in which the events are displayed. You can order them: ascending or descending.
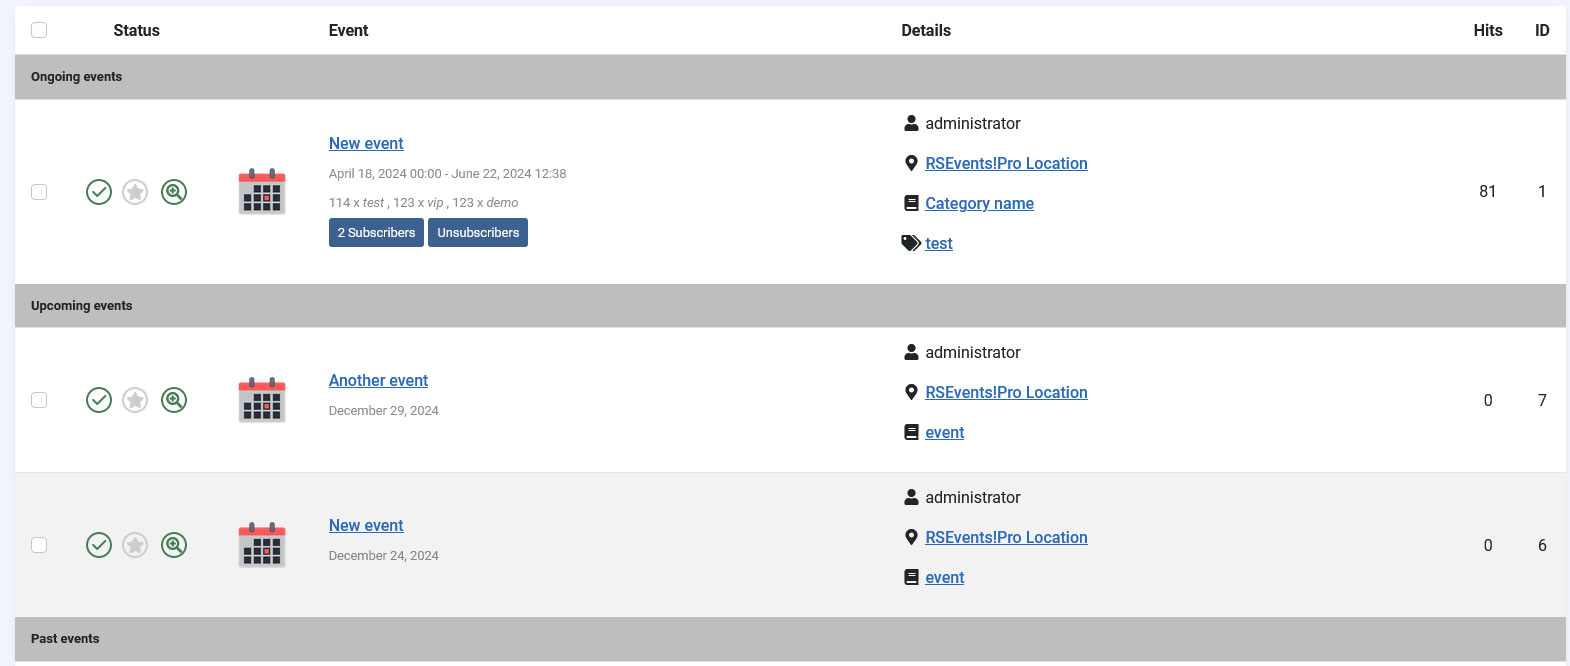
Event listing
List your events, according to the configured display filter. By default, it includes the following information: event name, rating, start and end date, rating, location, owner, category, tags and publishing status.
To improve the event management workflow the listing can be divided within the following areas:
- ongoing events: events that are running, e.g. the current date is in between the event start and end dates.
- this week events: events that will occur in the current week.
- this month events: events are occurring within the current month.
- next month events: events that will occur next month.
- upcoming events: will display the events that will occur within two months from the current date.
- past events: events that have past, e.g. the event end date is older then the current date.
RSEvents!Pro allows you to mark as featured. This is associated with the Featured events module, you can read more about it here.
Tips:
Within the listing area, an event can be present only in one area. For example an event will not be displayed in the past events and within the this week area.
Each event will display the number of Subscribed users as well as the Unsubscribed ones. The event owners will be able to view a list of unsubscribed users while logged in to the frontend area > Admin Options area of his event.
Users can also remove their ratings given to a specific event.
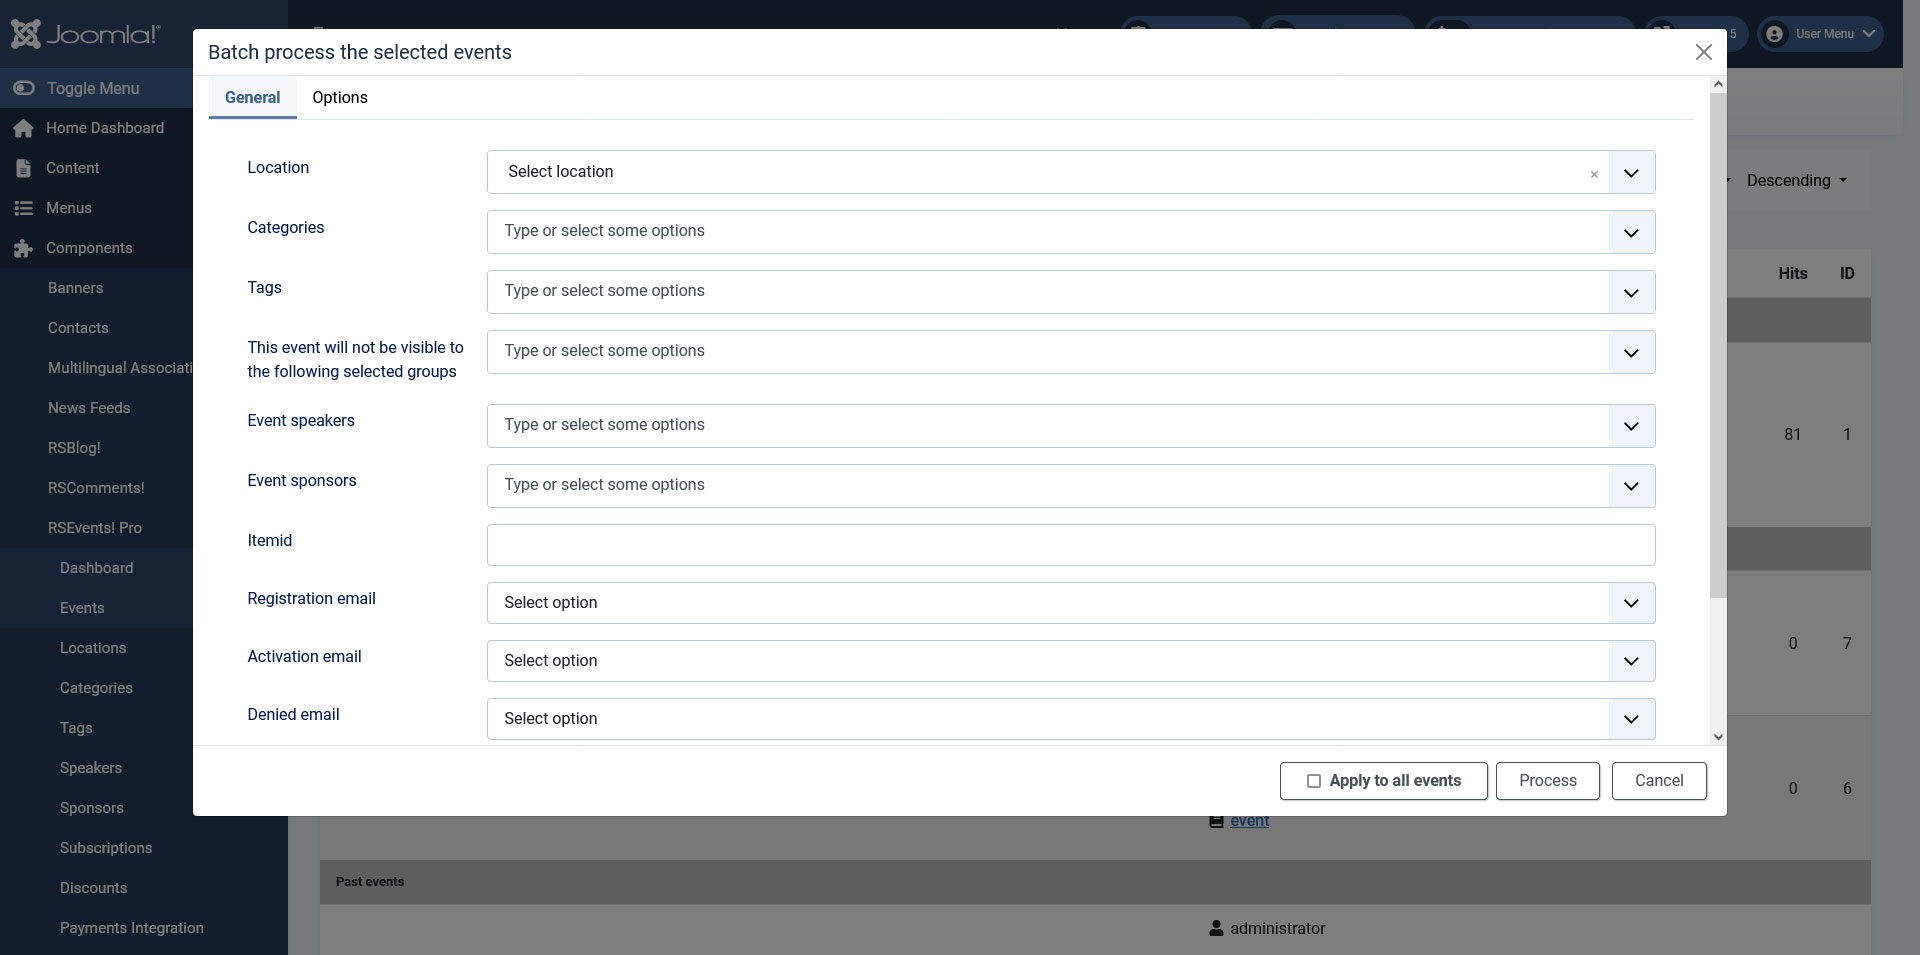
Batch process the selected events
By clicking on the 'Batch' button, a modal will be displayed with two configurable tabs:
General tab:
- Location: Select the location
- Categories: Type or select some categories.
- Tags: Type or select some tags.
- This event will not be visible to the following selected groups: You can select what RSEvents!Pro group cannot view / participate at this event.
- Event speakers: Select the event speakers after adding them in the component configuration.
- Event sponsors: Select the event sponsors after adding them in the component configuration.
- Itemid: you can replace the inherited Itemid from the event listings with this custom Itemid. This will be appended to the event URL when previewing it from the admin panel.
- Registration email: enable or disable the registration email.
- Activation email: enable or disable the activation email.
- Denied email: enable or disable the denied email.
- Refund email: enable or disable the refund email.
- Batch Type: Add or Replace.
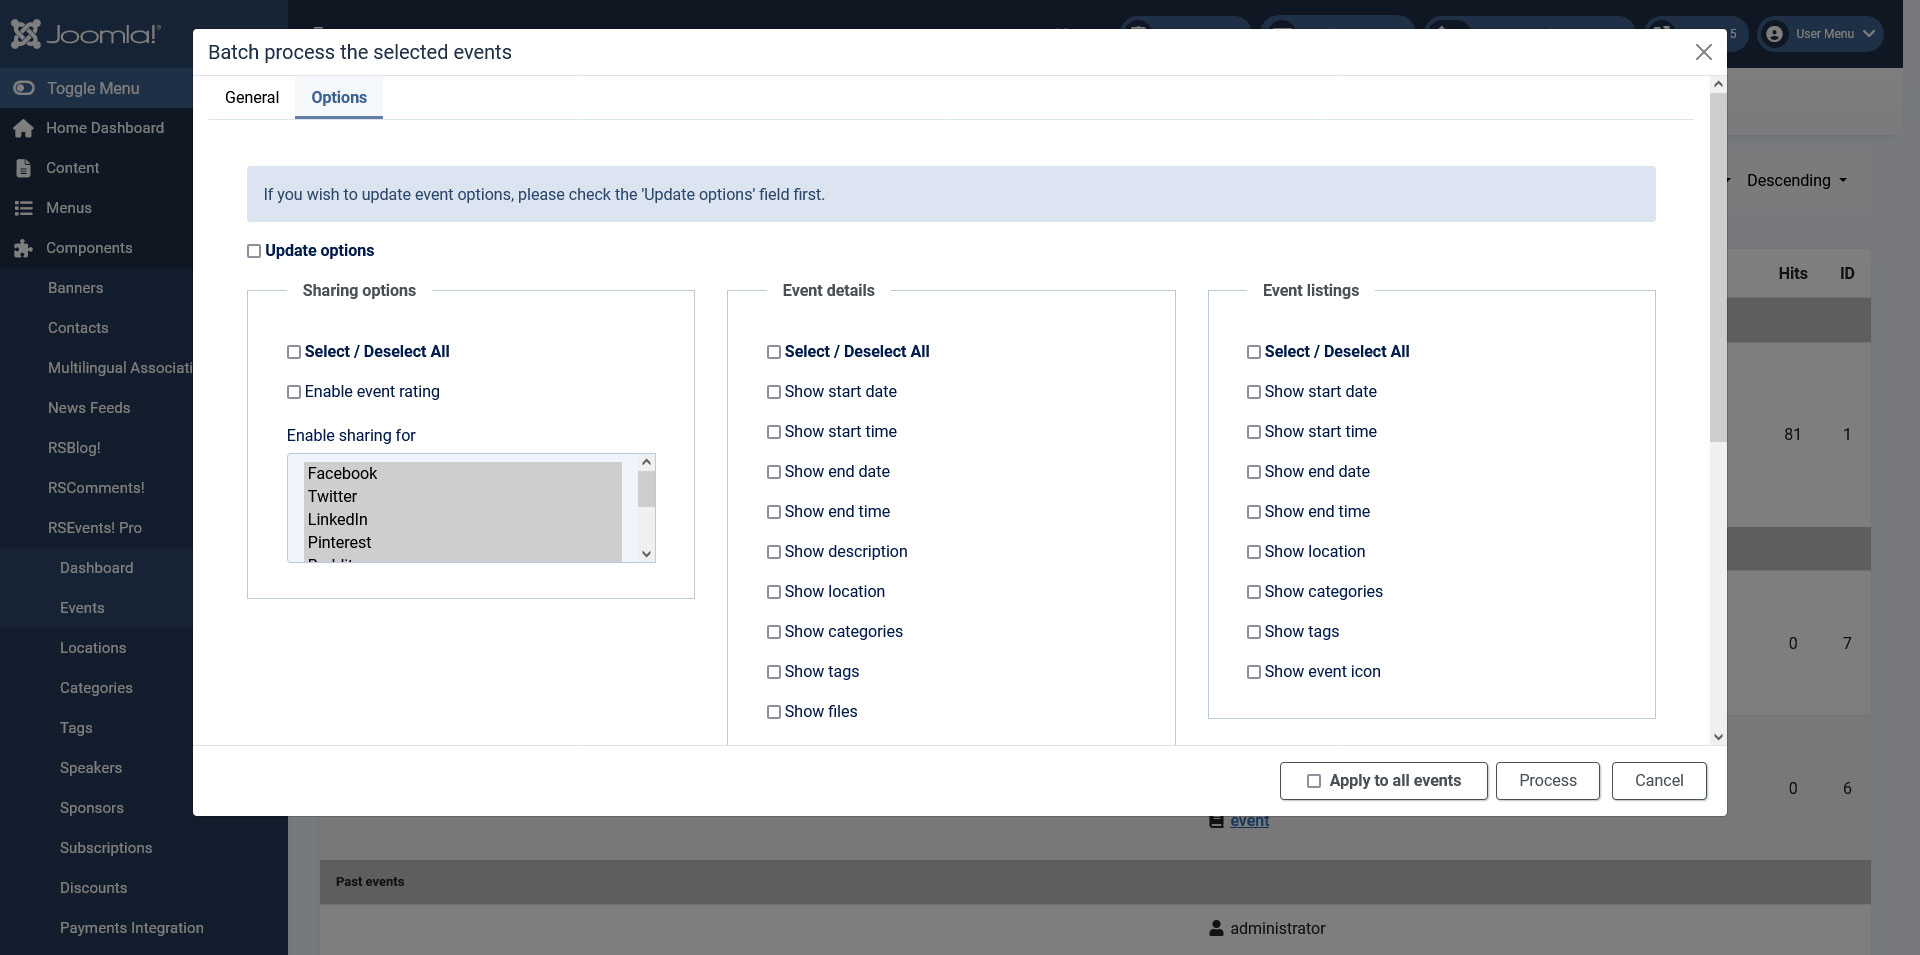
Options tab:
- Update Options: If you wish to update event options, please check the 'Update options' field first.
- Sharing options: Type or select some categories.
- Select / Deselect All
- Enable event rating
- Enable sharing for:
- Pinteres
- Buffer
- Mix
- Event Details: Type or select some categories.
- Select / Deselect All
- Show start date: the start date of the event will be displayed. The format will be according to the RSEvents!Pro date format setting.
- Show start time: If checked, the event's start time will be displayed
- Show end date: the end date will be displayed.
- Show end time: If checked, the event's end time will be displayed
- Show description: the event description will be displayed.
- Show location: location info will be displayed.
- Show categories: the categories in which the event has been published. Note that you can assign an event to multiple categories.
- Show tags: enabling this option will display the tags of the event.
- Show files: enabling this will display a download link for each of the configured event files.
- Show contact information: having this enabled will display the information added within the Contact area.
- Show map: if the Google Maps is being used, you can choose whether to display it or not.
- Show export event: if enabled, an export to calendar option will be displayed. This generates a standard ICS file.
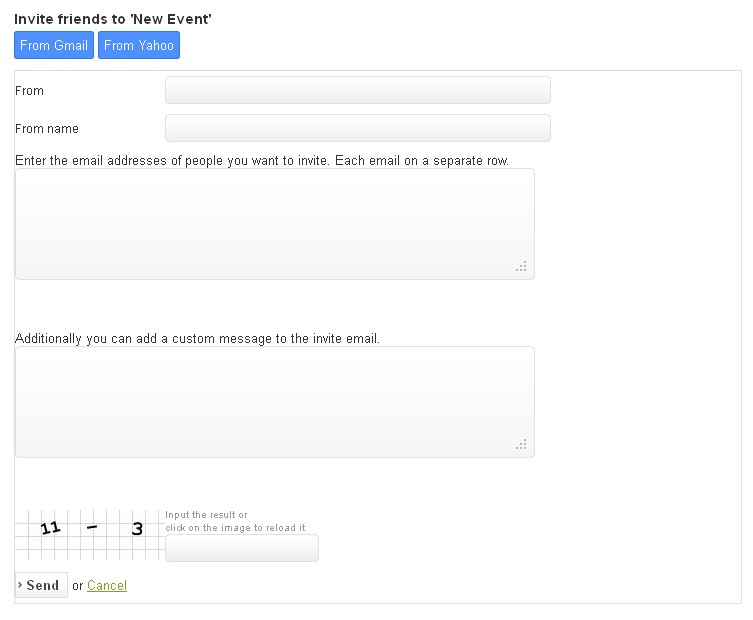
- Show invite: if enabled, an invite button will be displayed on the event details page. Clicking on it will open a standard invitation form. This also allows you to import contact from Gmail and Yahoo (follow these steps in order to enable the Gmail contacts invite functionality).
- Show posted by: if enabled, the event poster will be displayed within the front-end area.
- Show repeated events: Check this option to show all of the event's repetitions on the event page
- Show only active child events: Check this option to show only the active child events on the event page
- Show hits: Check this option to show the number of times the event's page was accessed
- Show print: Check this option to add a Print button to the event's page
- Show counter: This will show a counter for when the event will start.
- Use user's browser time?: If checked, the counter will take into consideration your browser time and not the UTC time.
- Event Listings: Type or select some categories.
- Select / Deselect All
- Show start date: the start date of the event will be displayed. The format will be according to the RSEvents!Pro date format setting.
- Show start time: If checked, the event's start time will be displayed
- Show end date: the end date will be displayed.
- Show end time: If checked, the event's end time will be displayed
- Show location: location info will be displayed.
- Show categories: the categories in which the event has been published. Note that you can assign an event to multiple categories.
- Show tags: enabling this option will display the tags of the event.
- Show event icon: enabling this option will display the event's icon.
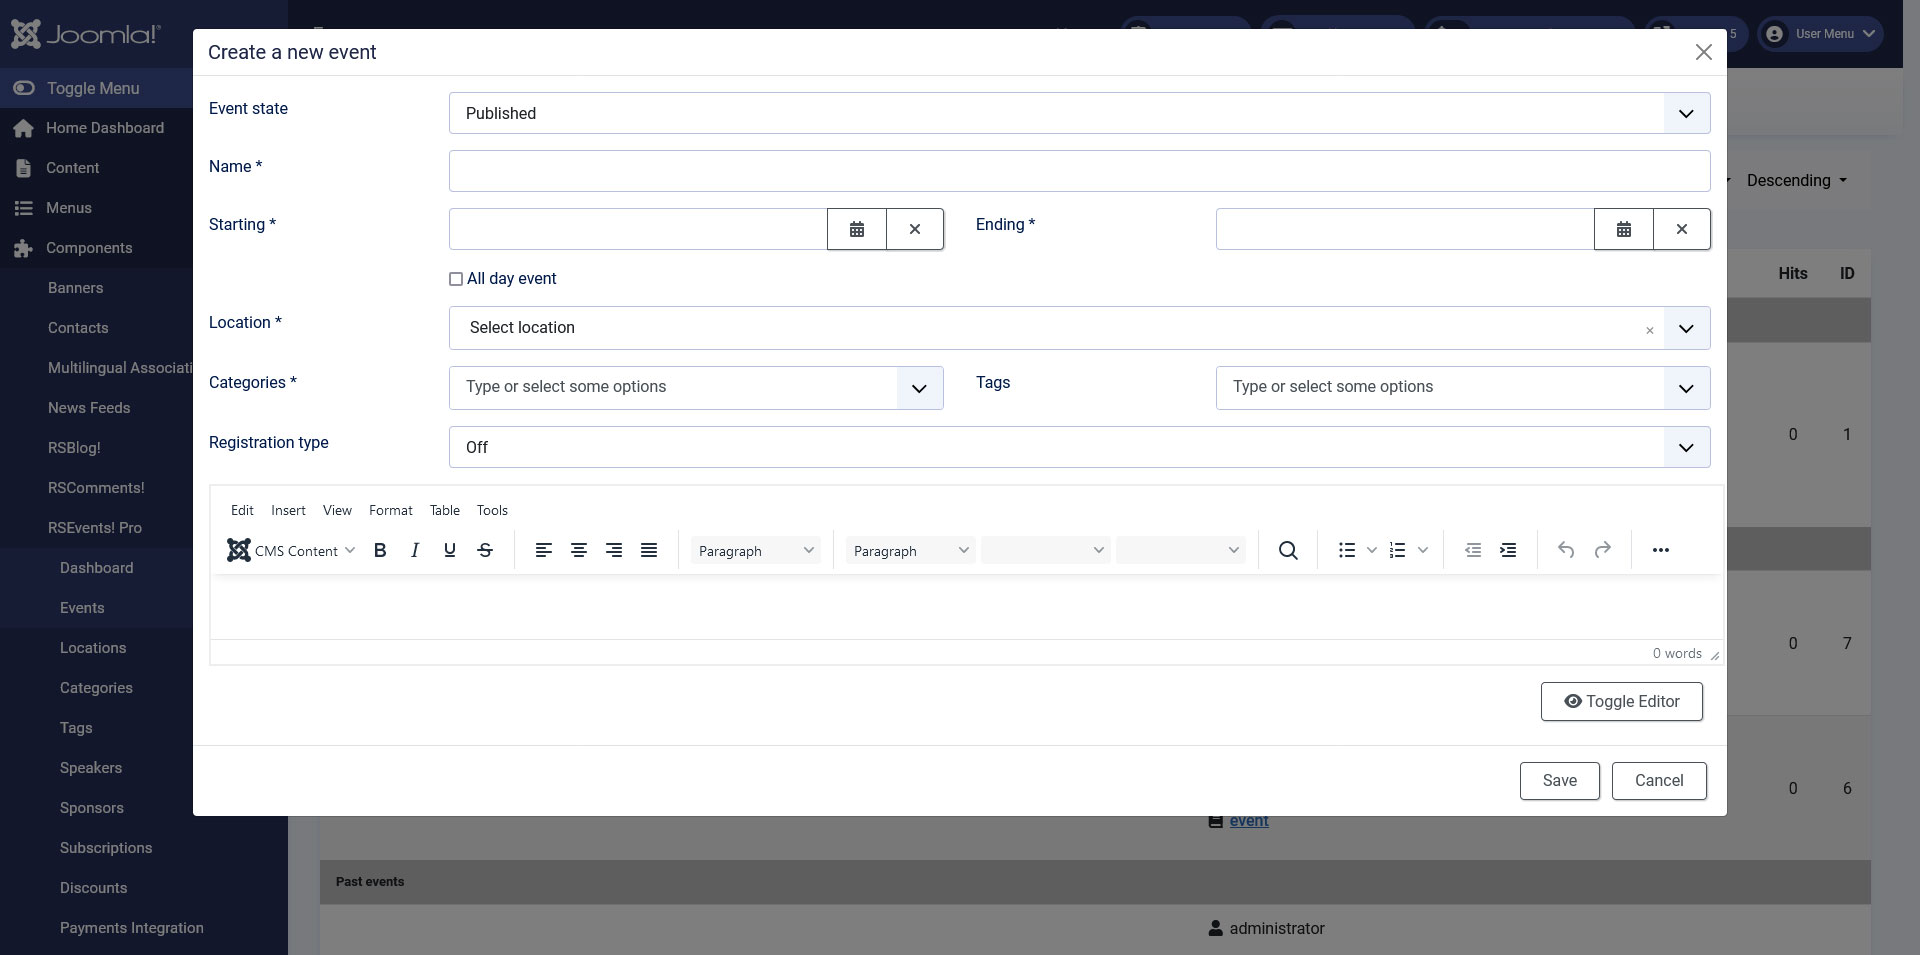
Create a new event
By clicking on the 'Add Event' button, a modal will be displayed with the following configurable options:
- Event state: Published / Unpublished / Archived / Canceled
- Name: type in the name of the event.
- Starting: set the event start date.
- Ending:set the event end date.
- All day event:if this option is checked, the Ending option won't be available.
- Location:Select the location of the event.
- Categories: Type or select some categories.
- Tags: Type or select some tags.
- Registration type: select the type of registration. Choose from:
- Off
- Ticket based: If this option is enabled, the following will be displayed:
- Add ticket
- Ticket name
- Ticket price
- Ticket quantity
- RSVP Based
- Event description: Type a description for your event.
9 persons found this article helpful.