How to configure a waiting list for your event?
Waiting list feature
In this article we'll explain how the Waiting List functionality available for RSEvents!Pro works and how to properly configure it.
The waiting list feature comes in handy if you still want to collect attendee information event after the event is full or all its tickets have been sold out.
How to configure a waiting list?
1. First, you will have to make sure that the "Enable registration" option is enabled within your event "Event details" tab.
2. In the "Event registration" tab, that will become available after enabling the "Event registration" option, you will have to check the "Enable waiting list" option.
3. In the same tab, you will have to configure the "Waiting list limit" (the total number of people who can join the waiting list) and "Waiting list - time to respond" (the amount of time the user has to claim his ticket) options as per your needs.

4. In order to notify the event owner when a user joins the waiting list, you will have to check the "Send an email to the event owner when someone joins the waiting list".
When this option is enabled, the event owner will receive the "Event owner confirmation" email, that can be configured from Components > RSEvents!Pro > Emails > Waiting list
5. In order to send an email notification to the user that joins the waiting list, when a ticket is available, you will have to check the "Send an email to the user that joins the waiting list".
When this option is enabled, the user will receive the "Claim ticket" email, that can be configured from Components > RSEvents!Pro > Emails > Waiting list
Note!
The Waiting list approval type can be set to either:
- Manually: You manually choose who receives a claim.
- Automatically: when a registration is canceled, a claim is automatically offered to the first person on the waiting list.
The Force Close Registration option (in the Waiting List section) automatically closes the event’s registration once all tickets have been sold (recommended when the Waiting list approval type is set to Automatically). This means that even if someone later cancels and a ticket becomes available, registration will stay closed. The Registration Closed option (in the Registration section) indicates that registration has been closed because of this setting. In other words, the waiting list option controls when registration is closed, and the message in the registration section shows that it was closed for this reason.
The 'Automatic' approval type requires a cron job to be set in your server hosting administrator panel with one of the following commands (this would depend on your hosting provider):
wget -O /dev/null "https://yoursite.com/index.php?option=com_rseventspro&task=waitinglist"
curl --silent https://yoursite.com/index.php?option=com_rseventspro&task=waitinglist &>/dev/null
How it works?
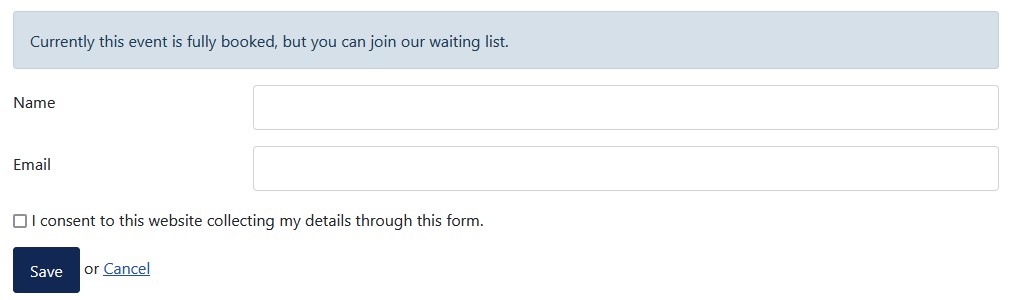
- When the event is fully booked, instead of the "Join now" button, the "Join waiting list" button will be displayed on the event's details page.

- After clicking on the "Join waiting list" button, the user will be asked to complete a form with his name and email address.
- When the user submits the join waiting list form, the event owner will be notified with the "Event owner confirmation" email and will be able to go to "Components > RSEvents!Pro > Events > select the event in question > and click on the "Waiting list" button associated with it. Afterwards the event owner will be able to "Approve" the user's waiting list request.

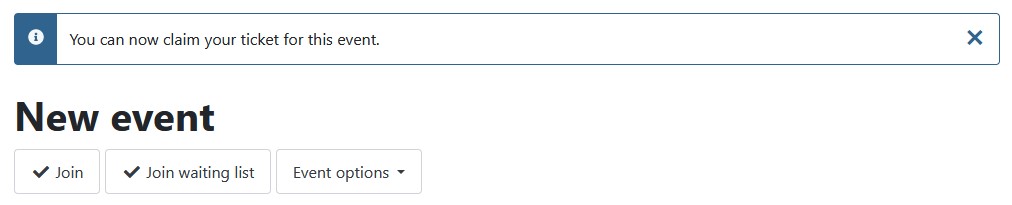
- After the request has been approved by the event owner, the user will be notified through the "Claim ticket" email and will need to claim his/her ticket in the time frame configured by the event owner (using the "Waiting list - time to respond" option in the "Event Registration" tab).

- When the user clicks on the link in the email notification, he/she will be redirected to the event registration form, where he/she will be able to Join the event.
- After the user confirms his ticket using the link in the email, his action will be confirmed by the "User confirmation" email, that he/she will receive.
