File upload
General
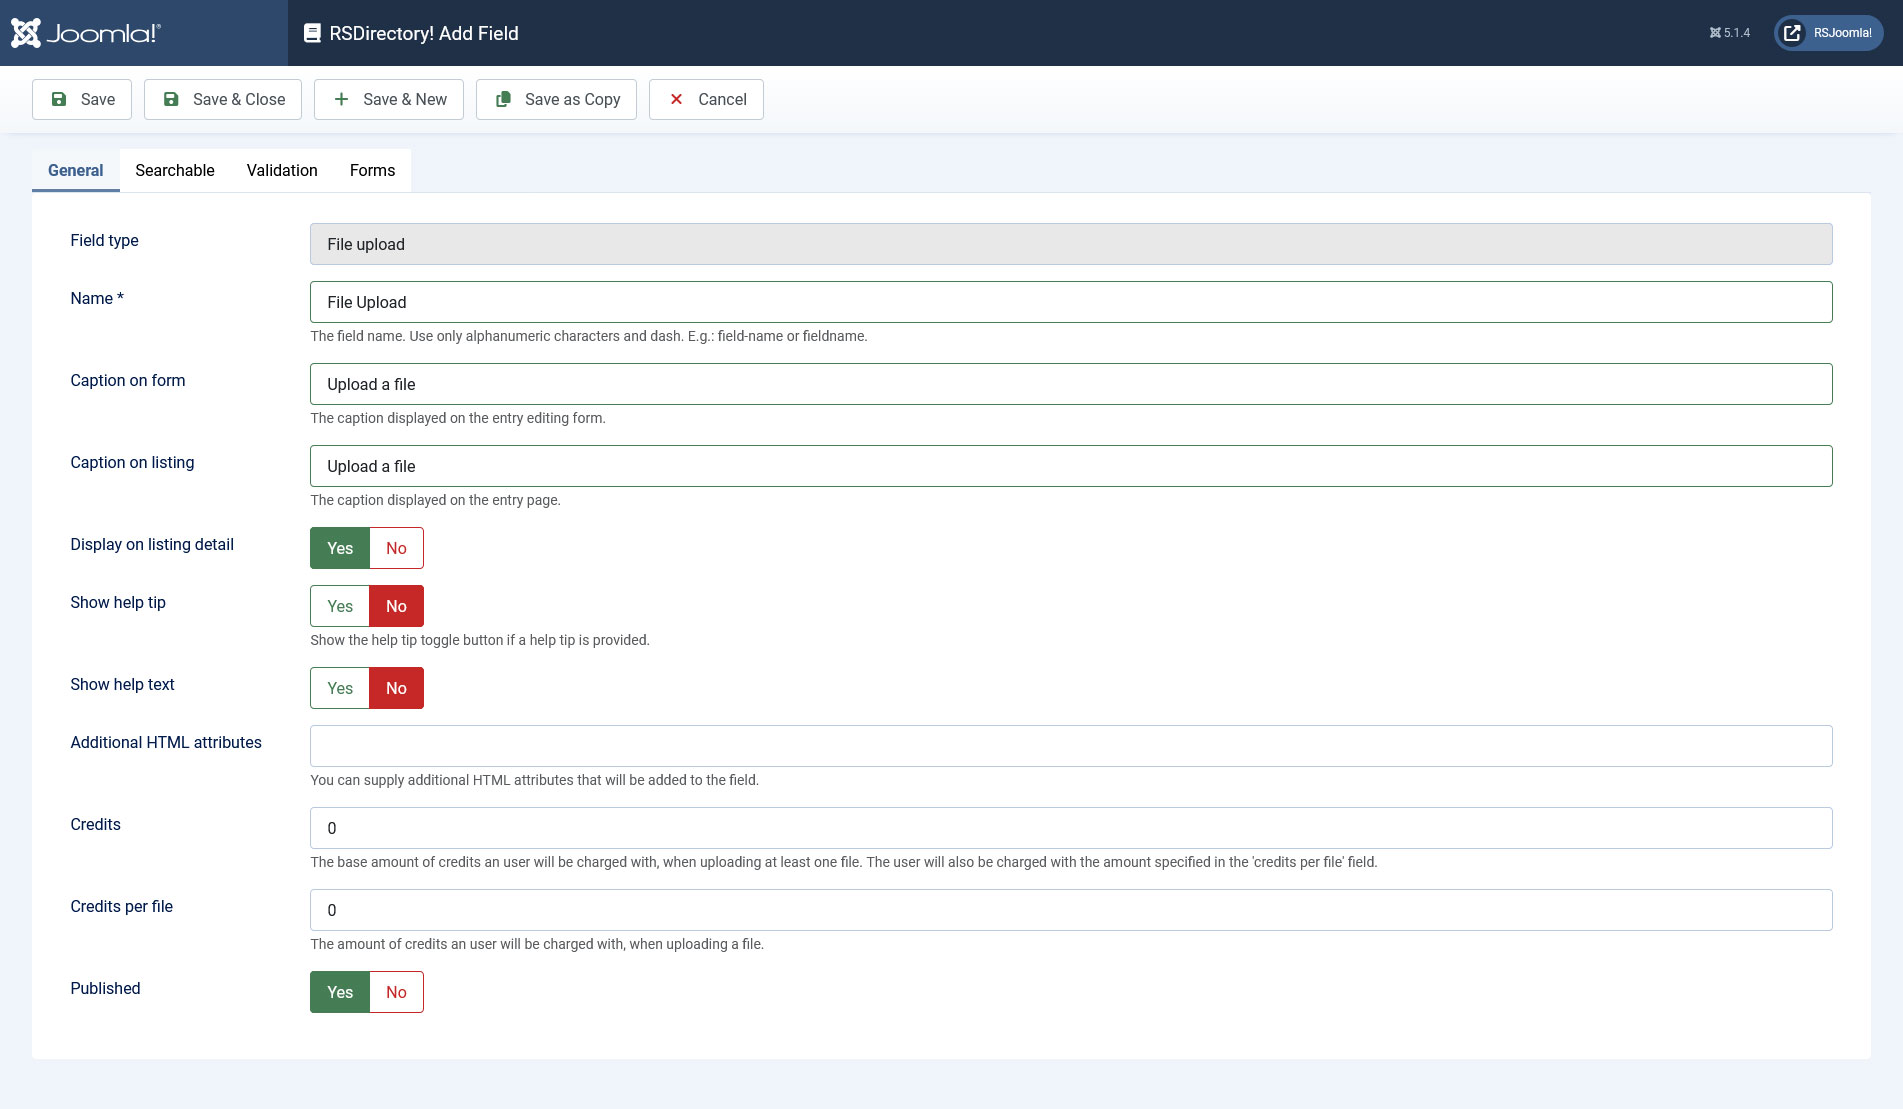
In this tab you can set up an internal name, frontend caption, default value and other frontend displaying options for your field.
- Field type: Specifies the field's type
- Name: The field's internal name (not visible in the frontend)
- Caption on form: The field name that will be displayed in the entry submission form
- Caption on listing: The field name that will be displayed in the listing
- Show help tip: Choose whether to display a help tip associated with the field or not. The help tip will be displayed as a clickable questionmark button to the right side of the field.
- Help tip: The text to be displayed in the help tip
- Show help text: Choose whether to display a help tip associated with the field or not
- Help text position: The help text's positioning: Inline / Block
- Help text: The text to be displayed
- Additional HTML attributes: You can specify additional HTML attributes for the field, for example readonly="readonly"
- Credits: Specify the base credit cost
- Credits per file: Specify an additional credit cost for each uploaded file
- Published: Render the field as published or unpublished
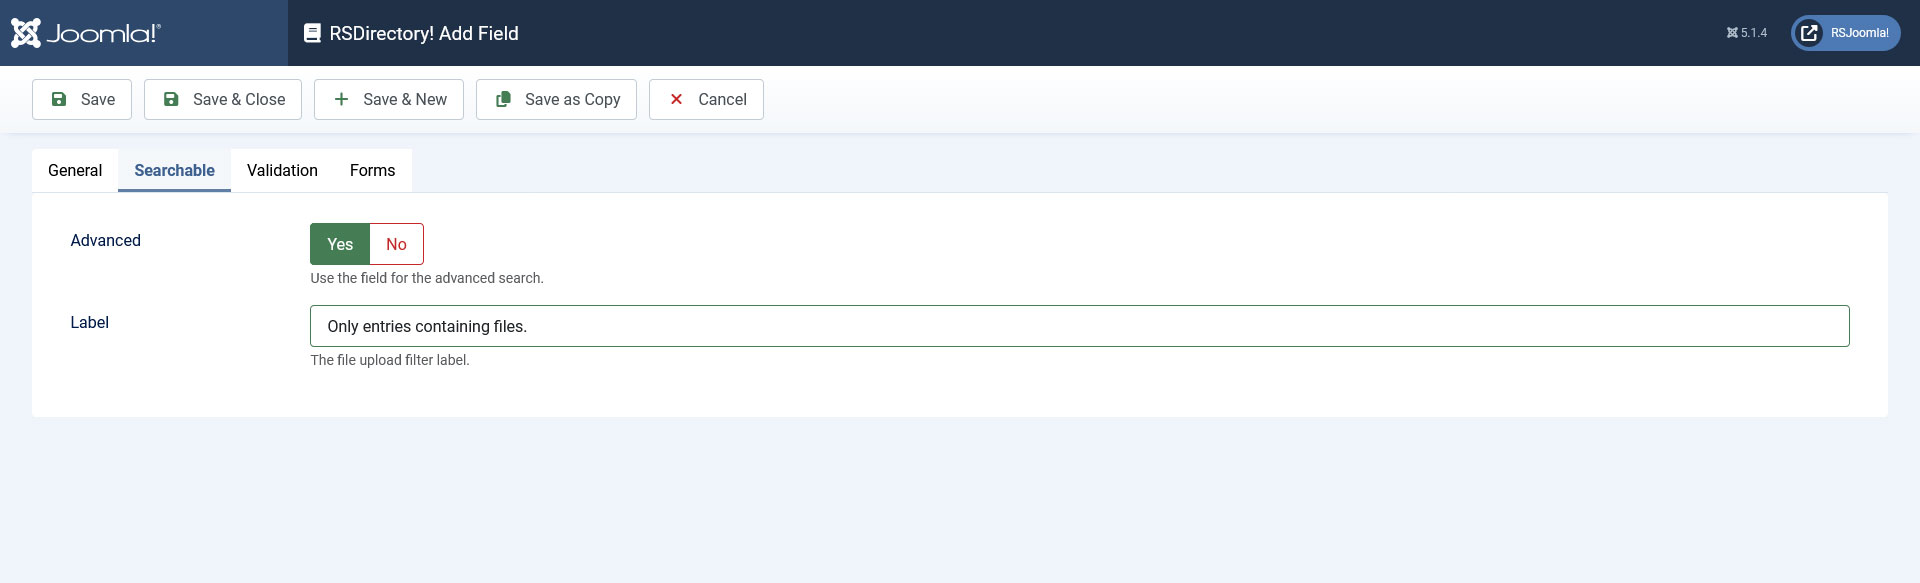
Searchable
- Advanced: Set whether the field will be searchable through the Filtering module or not. Only entries containing files will be included in the results listing
- Label: The label to be displayed in the frontend
Note: Only fields that are common for each category form will be available in the Filtering module. In other words, for a field to show up in the Filtering module, it is a must for it to be associated with every available form.
Validation
- Required: Set whether the field is required or not.
- Maximum file size (KB): Set the maximum size per file, in KB. Set to 0 for no size limit
- Max number of files: Set the maximum number of files that can be uploaded. Set to 0 for no limit
- Accepted files: Provide the allowed extensions, one per line
- Validation message: Set a message that will be displayed when the submitted information does not pass validation.

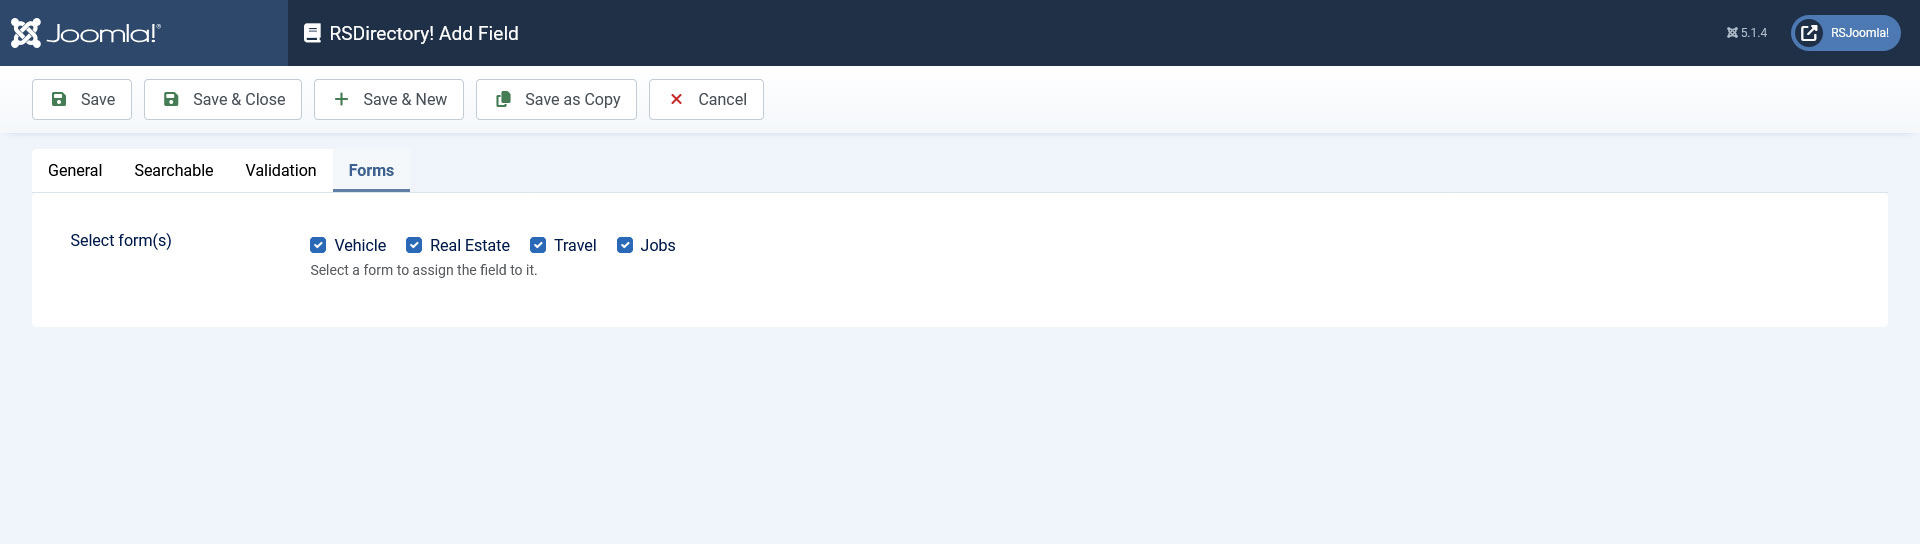
Forms
A simple layout containing a checkbox group whose items are consisted of all available forms. You can simply check which forms you want to have the field assigned to.
- Select form(s): Select the form(s) that you want to associate the field with