Ep. 57: RSForm!Pro Constant Contact Integration
Constant Contact is an email marketing solution that allows you
to send newsletters to your subscribers.
You can create custom subscription forms for Constant Contact using
the RSForm!Pro-Constant Contact plugin.
After the form submission, user's details will be passed further
to your Constant Contact account.
This video tutorial explains step by step, how to install and configure the RSForm!Pro - Constant Contact plugin.
Step 1: Install the Constant Contact plugin
- To install the RSForm!Pro Constant Contact Plugin, head to Extensions >> Install/Uninstall and upload the package
Step 2: configure the Constant Contact plugin
- In the RSForm!Pro "Configuration" tab, add your Constant Contact account details: username, password and the API key. You can get the Constant Contact API key from http://community.constantcontact.com/t5/Documentation/API-Keys/ba-p/25015
Step 3: create the Constant Contact subscribers list
- 1. Access your Constant Contact account and click on the "Contacts" tab.
- 2. Create a new Constant Contact list. This list will include all the user details submitted through the subscribing form.
-
Step 4: Create the subscription form
- In this example, we've added 3 form fields to collect subscriber's email, first name and last name, a drop-down with the subscriber's interests, a radio-group, so users can choose whether to subscribe or unsubscribe from the newsletter, a radio-group so users can choose the email type: HTML or text.
Step 5: Map the form fields with the Constant Contact list
- 1. First, enable the Constant Contact Integration.
- 2. You can allow users to choose their action: subscribe/unsubscribe. Notice that the chosen user value will be assigned to the corresponding Constant Contact list field.
- 3. Select the Constant Contact subscribers list that we've previously created.
- 4. You can allow users to choose their email type: HTML or text. Notice that the chosen email type will be assigned to the corresponding Constant Contact list field.
- 5. Map the RSForm!Pro fields with the corresponding Constant Contact list fields: email, first and last name.
- 6. You can add custom fields as well. In our example, the selected drop-down values will be assigned to the Constant Contact custom field.
- After the form submission, the user details are passed
to the Constant Contact list. The user interest will be saved in the Constant Contact custom field. The subscriber receives a notification email
from Constant Contact. The user is added in the Constant Contact newsletter list.
The submitted details are assigned to the configured Constant Contact list.
Video Tutorials Categories
- All Videos 104
- RSBlog! 4
- RSComments! 2
- RSContact! 1
- RSDirectory! 4
- RSEvents!Pro 5
- RSFeedback! 2
- RSFiles! 6
- RSFinder! 1
- RSFirewall! 8
- RSFirewall! for WordPress 0
- RSForm! 1
- RSForm!Pro 26
- RSMail! 5
- RSMediaGallery! 1
- RSMembership! 14
- RSPageBuilder! 0
- RSSearch! 2
- RSSeo! 7
- RSShowcase! 0
- RSSocial! 0
- RSTickets!Pro 4
- Templates 11
Comments
Related Videos

Episode 3 : Joomla! Form inside article - RSForm!Pro
The RSForm!Pro Content Plugin allows you to publish a Joomla! form inside a content item.
Step 1: Download the Content Plugin
To be able to embed Joomla! forms inside articles, you need to download the RSForm!Pro Content Plugin....
read more
Ep. 7 - How to send e-mails to recipients listed in a...
This video tutorial explains how to configure the RSForm!Pro "user and admin emails".
As an example, we have used a simple Joomla! contact form with 5 fields (name, email, message, staff and a submit button )that allows...
read more
Episode 8 : Creating forms for Joomla! with RSForm! Pro
In this tutorial, we will show you how to create a simple Joomla! form with 5 fields using the RSForm!Pro wizard:
1. Textbox- Standard HTML text field
2. Textarea - Standard HTML text area
3. Captcha Antispam for the user authentication
4. Submit...
read more
Ep.9 - Create a multilanguage form in Joomla! with RSForm!...
Starting with RSForm!Pro revision 36, RSForm!Pro has a built-in multilanguage option: you will be able to translate all the necessary form information. For further details, please refer to Ep. 52: Translate a Joomla! form using the RSForm!Pro...
read more
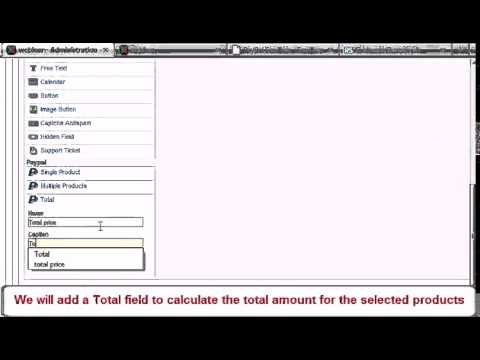
Ep. 25 - How to add Paypal functionality to your Joomla!...
Before we begin, please note that the following explanations, along with the video tutorial, are only available for the RSForm!Pro Joomla! 1.5 PayPal plugin. For more information and a video tutorial on how to implement a PayPal functionality to an...
read more
Ep. 32 - Using RSForm!Pro and Salesforce to create new...
Starting with RSForm!Pro 1.3.0, you can automatically assign the users submited details to your Salesforce.com account as new leads, using the Salesforce Web2Lead plugin
In this episode we will show you, step by step, how to integrate the Salesforce...
read more
Ep. 33 - Using RSForm!Pro with Mailchimp
RSForm!Pro allows you to create Joomla! subscription forms, pass users data to your Mailchimp account and assign them to the existing lists and groups using the RSForm!Pro Mailchimp plugin.
Step 1:
In the Joomla! backend panel, head to...
read more

Ep. 39: Create newsletter subscription forms with...
In this video, you'll learn how to create custom subscription forms with RSMail! and RSForm!Pro.
Suppose you have created a subscription form to collect data from your subscribers: First Name, Last Name, Company, Job title , etc. Upon the form...
read more
Ep. 40: Create custom Joomla! registration forms for your...
There are situations when you need more than a simple Joomla! registration form for your events. In this case, you'll need to use RSForm!Pro to create the custom form, RSEvents! to manage the event registration and the integration plugin.
Let's see...
read more
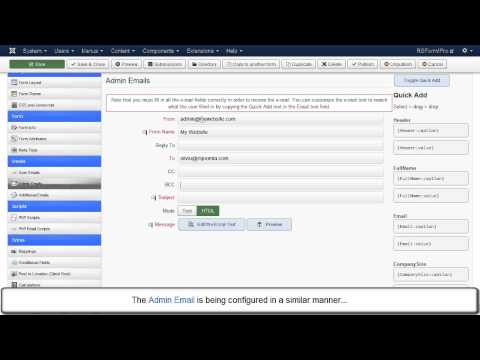
Ep. 51: How to configure the user and the admin email in...
RSForm!Pro allows you to send custom emails (user and admin emails) upon the form submission. These two types of email are configured separately in the "Manage forms" area >> Properties, in two corresponding tabs ("User Emails" and "Admin...
read more
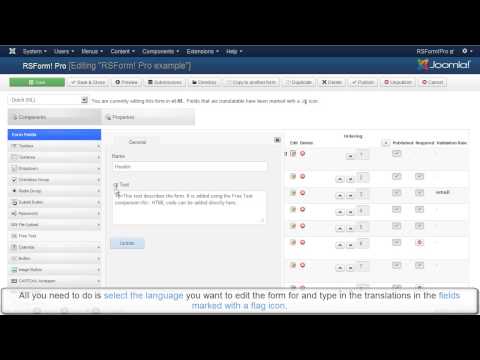
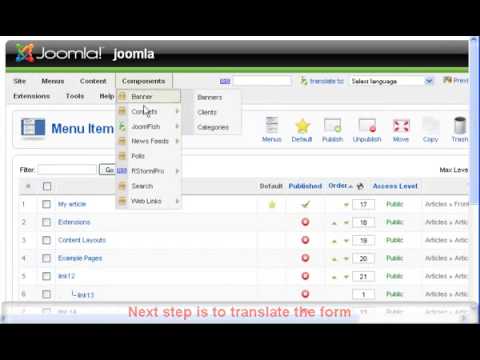
Ep. 52: How to translate a Joomla! form using the...
Starting with revision 36, the RSForm!Pro multi-language support allows you to easily translate your Joomla! forms from English to your native language.
This video tutorial explains how to use this new option to translate a Joomla! form from...
read more