Preview data before submit
With the introduction of this new advanced field type you can easily create a preview page for your site users without any custom scripting required. All you need to do is add the Field Preview to your form and select the other form fields that should be used in the preview. You can find step by step instructions on how to use this field type in the Field Preview documentation article.
In this article we will present how to create a simple form that allows the user to preview the data he is about to submit.
Create your form
First you will need to create a multi-page form from Components > RSForm!Pro > Manage forms > New.
Let's take the following form as an example:
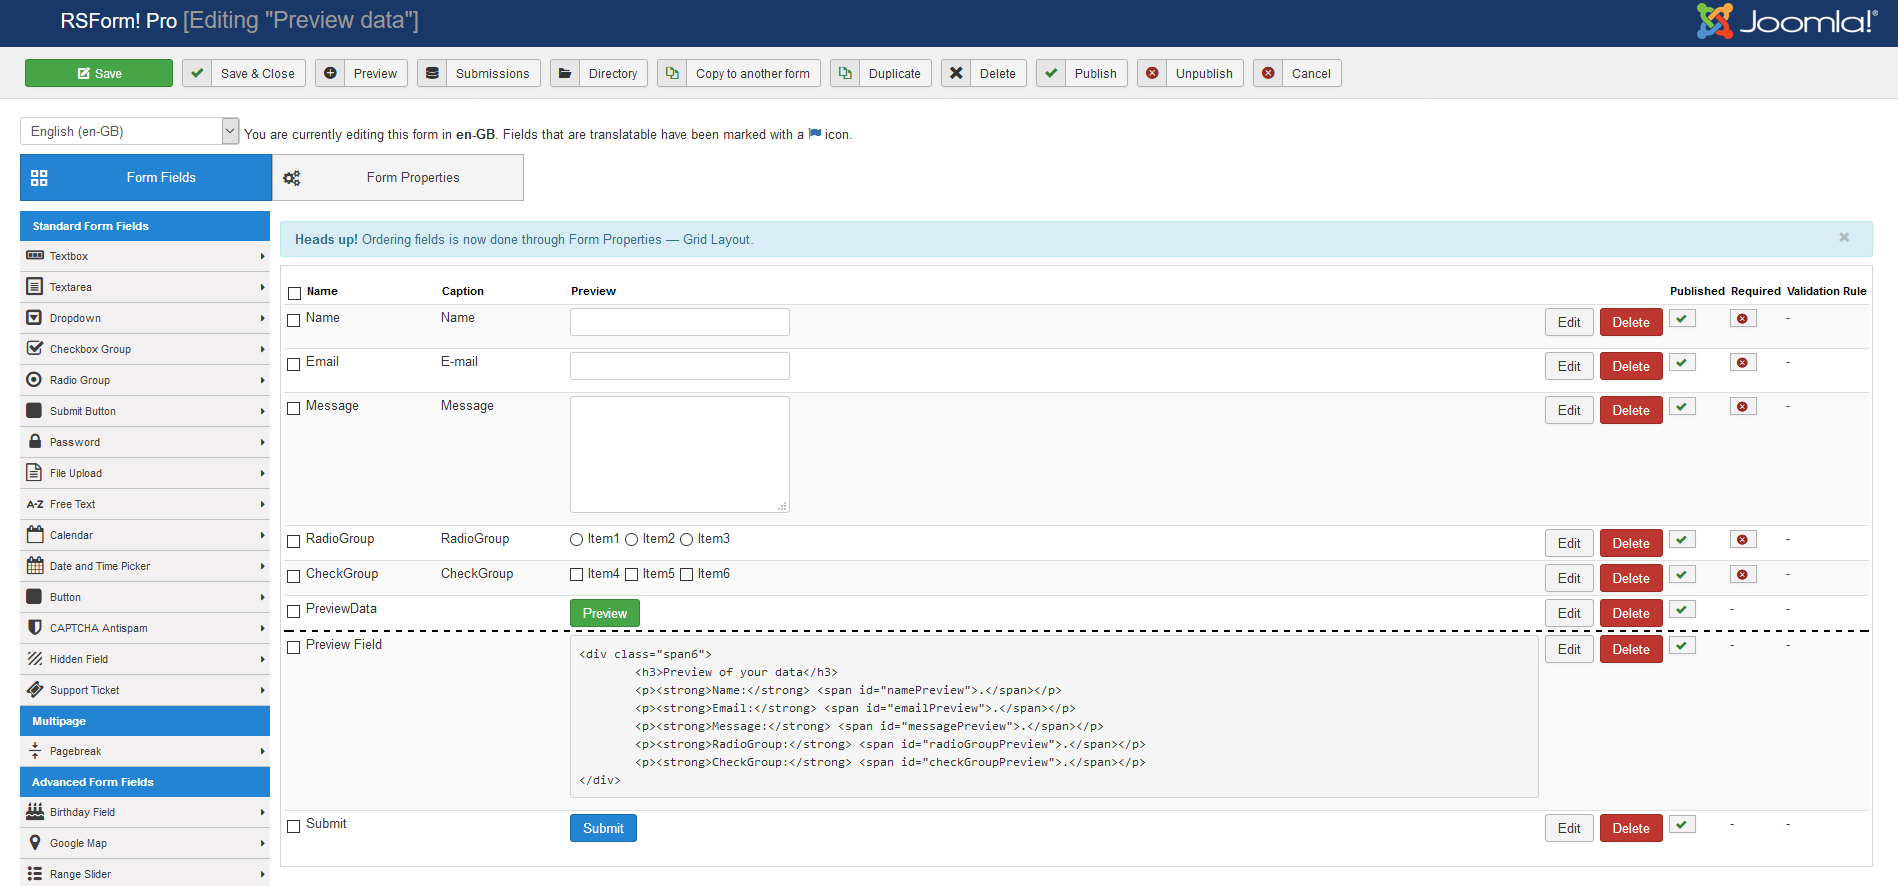
Add the Preview field
In this example we have used a simple FreeText field where we created a table that will display your entered data through a series of spans so you can perform a last check before submitting the form. Each span tag will have to use an unique id in order to display the information correctly. In order to create the table with that will display the information please go to Components > RSForm!Pro > Manage forms > select your form > Components, edit your FreeText field and enter the following code in the "Text" property of the field:
<div class="span6">
  <h3>Preview of your data</h3>
  <p><strong>Name:</strong> <span id="namePreview">.</span></p>
  <p><strong>Email:</strong> <span id="emailPreview">.</span></p>
  <p><strong>Message:</strong> <span id="messagePreview">.</span></p>
  <p><strong>RadioGroup:</strong> <span id="radioGroupPreview">.</span></p>
  <p><strong>CheckGroup:</strong> <span id="checkGroupPreview">.</span></p>
</div>
Add functionality
Next you will need to add a custom script that will copy the values you have entered in your fields in the spans from your second page. You will need to add this script in the CSS and Javascript tab:
<script type="text/javascript">
function previewBeforeSubmit(formIdValue, previewPageNumber, totalPages, validateOnChangingPage)
{
  if (previewPageNumber == 1 && totalPages == 1)
  {
  document.getElementById('namePreview').innerText = document.getElementById('Name').value;
  document.getElementById('emailPreview').innerText = document.getElementById('Email').value;
  document.getElementById('messagePreview').innerText = document.getElementById('Message').value;

  var i;
  for(i=0;i<document.getElementsByName('form[RadioGroup]').length;i++)
  if (document.getElementById('RadioGroup'+i).checked)
  document.getElementById('radioGroupPreview').innerText = document.getElementById('RadioGroup'+i).value;

  document.getElementById('checkGroupPreview').innerText = '';
  var j;
  for(j=0;j<document.getElementsByName('form[CheckGroup][]').length;j++)
  if (document.getElementById('CheckGroup'+j).checked)
  document.getElementById('checkGroupPreview').innerText += " " + document.getElementById('CheckGroup'+j).value;
  }
  rsfp_changePage(formIdValue, previewPageNumber, totalPages, validateOnChangingPage);
}
</script>
- * the formIdValue is the actual formId value that can be retrived from the "Manage forms" tab;
- * the previewPageNumber is the page number where you want to display the information summary;
- * the totalPages refers to the total number of pages your form will have.
- * the validateOnChangingPage refers to the 'Validate on changing page' functionality of a multipage form. You can set this value to either "true" or "false" depending if you want the form to validate the input when changing pages or not.
Additional information
In order to copy the value from a normal input field, you simply need to use a simple value declaration:
document.getElementById('namePreview').innerText = document.getElementById('Name').value;

/*...this will copy the value of the "Name" field in the "namePreview" span.

When dealing with radio groups, you will need to first identify the option the user has selected and then only copy that value. This can be done by going through all the elements of the radio group with a for statement: */

for(i=0;i<document.getElementsByName('form[RadioGroup]').length;i++)


/*
i=0 -> this will be the starting position (the first option of your radio group);
i<document.getElementsByName('form[RadioGroup]').length -> this will determine when the for statement will be finished(when all the radio group items have been inspected);
i++ -> this will change the radio group item that is verified to the next defined option
*/
Working with checkbox groups is similar, but you will need to add all the selected values (checkboxes allow you to select multiple options). In order to do this you will need to make a small adjustment to the way the span class used for your checkbox stores it's value:
document.getElementById('checkGroupPreview').innerText += " " + document.getElementById('CheckGroup'+j).value;

/*this will store the first value that it encounters in your span class, but does not delete it when you select an additional option, it simply adds a blank space then stores the next selected value.*/
Adding the trigger
The final step required is to trigger the function that will copy the values in your preview page when the Preview button is clicked. This can be done by replacing the function used by your Next page button, from the default one (rsfp_changePage) to the one you have previously created (previewBeforeSubmit). In order to do this you will need to add a simple script in Scripts called on form display:
$formLayout = str_replace('rsfp_changePage(','previewBeforeSubmit(',$formLayout);
65 persons found this article helpful.