Settings
RSSeo! settings are accessed through the backend administration. Go to Components > RSSeo!, then click on the "Options" button.
This panel is divided into nine sections:
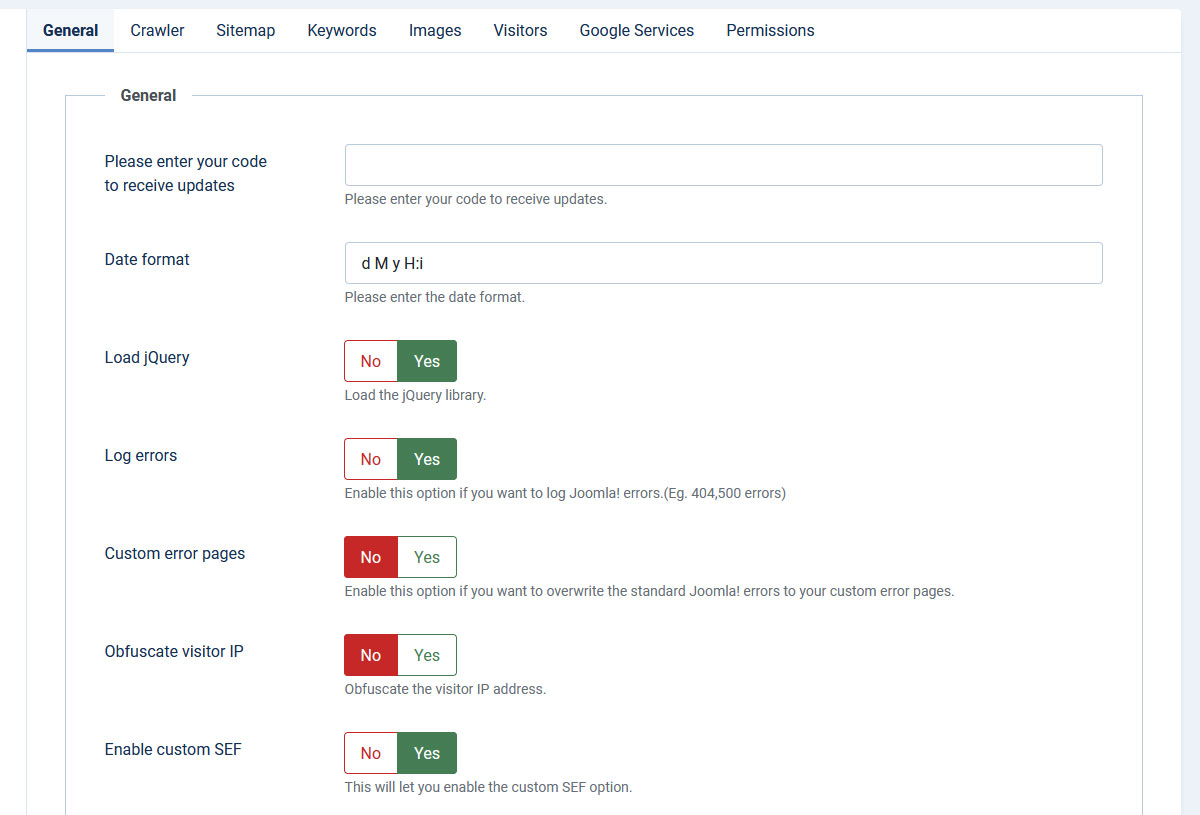
General
- Please enter your code to receive updates - you can get this code from "My Memberships" area, generated after you have registered a domain.
- Date Format - date format used through the RSSeo! component
- Load jQuery: Yes / No - load the jQuery library
- Log errors: Yes / No - Enable this option if you want to log Joomla! errors.(Eg. 404,500 errors)
- Custom error pages Yes / No - Enable this option if you want to overwrite the standard Joomla! errors to your custom error pages.
- Obfuscate visitor IP Yes / No
- Enable custom SEF Yes / No - If set to Yes, this will enable the custom SEF option
- Enable site statistics Yes / No - enable/disable statistics from the dashboard page.
- robots.txt file permission - Here you can override the default file permissions for the robots.txt file when this will be created. Recommended is 644 but you can set different permissions as needed. If you don't know what this is, no need to modify it.
- Title length (characters)
- Keywords length (words)
- Description length (characters)
- Custom HEAD scripts: Add custom HEAD scripts to all of your pages.
cURL
Here you can set up a usage with a Proxy server. This is particularly useful when your hosting provider does not allow loopback connections. Basically this will allow RSSeo! to perform page request via a third party server, thus bypassing the loopback limitation. Configuration options:- Enable proxy: yes/no
- Proxy server: the server address of the Proxy server
- Proxy port: the port that is used to make the connection
- Username: proxy username
- Password: proxy password
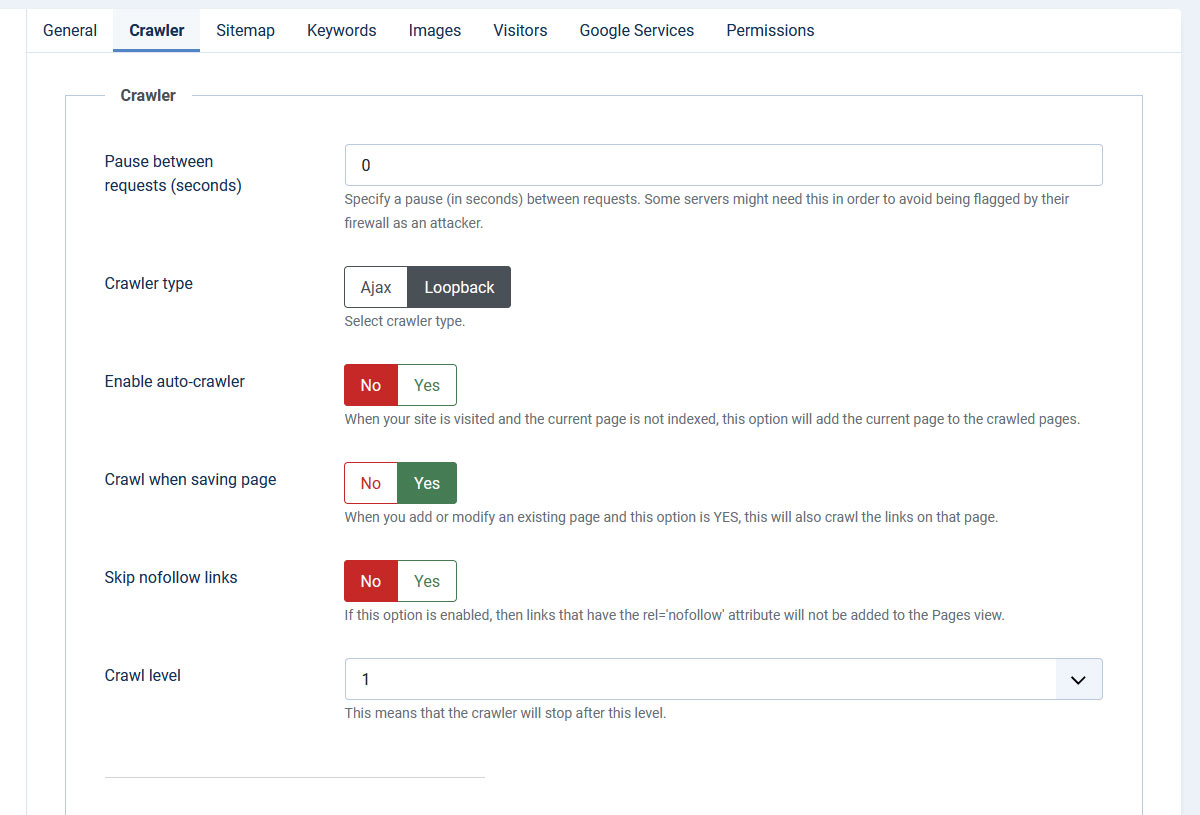
Crawler
- Pause between requests (seconds) - Specify a pause (in seconds) between requests. Some servers might need this in order to avoid being flagged by their firewall as an attacker.
- Crawler type Ajax / Loopback - Select crawler type
- Enable auto-crawler - when your site is visited and the current page is not indexed, this option will add the current page to the crawled pages.
- Crawl when saving page - with this option enabled, when adding or editing a page from the Pages tab, the component will also crawl this page and index all the links contained on it.
- Skip nofollow links - this option will allow you to skip links that have rel="nofollow" when crawling.
- Crawl Level - you can set the crawler only to go to a specified level, the frontpage being considered level 0. For each link that is found on the frontpage the crawler will reinitialize, thus achieving level 1, and so on. The crawler will stop after the selected level.
- Include Site Name in Page Titles - this will add the site name in the indexed pages titles.
- Title separator - the separator used for the titles.
- Checking URL for SEF Yes / No - this will check if the URL is Search Engine Friendly.
- Checking for duplicate title Yes / No - check if other pages have the same title.
- Checking title length Yes / No - check the title length.
- Checking for duplicate meta description Yes / No - check if other pages have the same meta description.
- Checking meta description length Yes / No - check for meta description length.
- Checking meta keywords Yes / No - check pave meta keywords.
- Checking page headings Yes / No - this will check for page headings.
- Checking for images Yes / No - this will check images within the page.
- Checking for images 'alt' attribute - this will check if images have the 'alt' attribute.
- Checking for 'height' and 'width' attributes Yes / No - check images that don't have the 'width' and 'height' attribute.
- Check internal/external links Yes / No - this will check internal and external links.
- Ignored links - you can set the crawler to ignore certain links by adding custom rules. For example if I were to tell the crawler to ignore links that contain "tmpl=component, I would fill specify this: {*}tmpl=component{*} ,{*} being a unspecified combination of chars with unspecified length
- Match URL parameters - Enable metadata matching for URLs that contain specific query parameters. When enabled, URLs containing the parameters defined below can inherit the metadata assigned to the base crawled URL.
- Parameter matching rules - Define the query parameters that should inherit metadata from the base URL. Enter one rule per line using either parameter or parameter=value. Parameter names match regardless of value unless a specific value is provided.
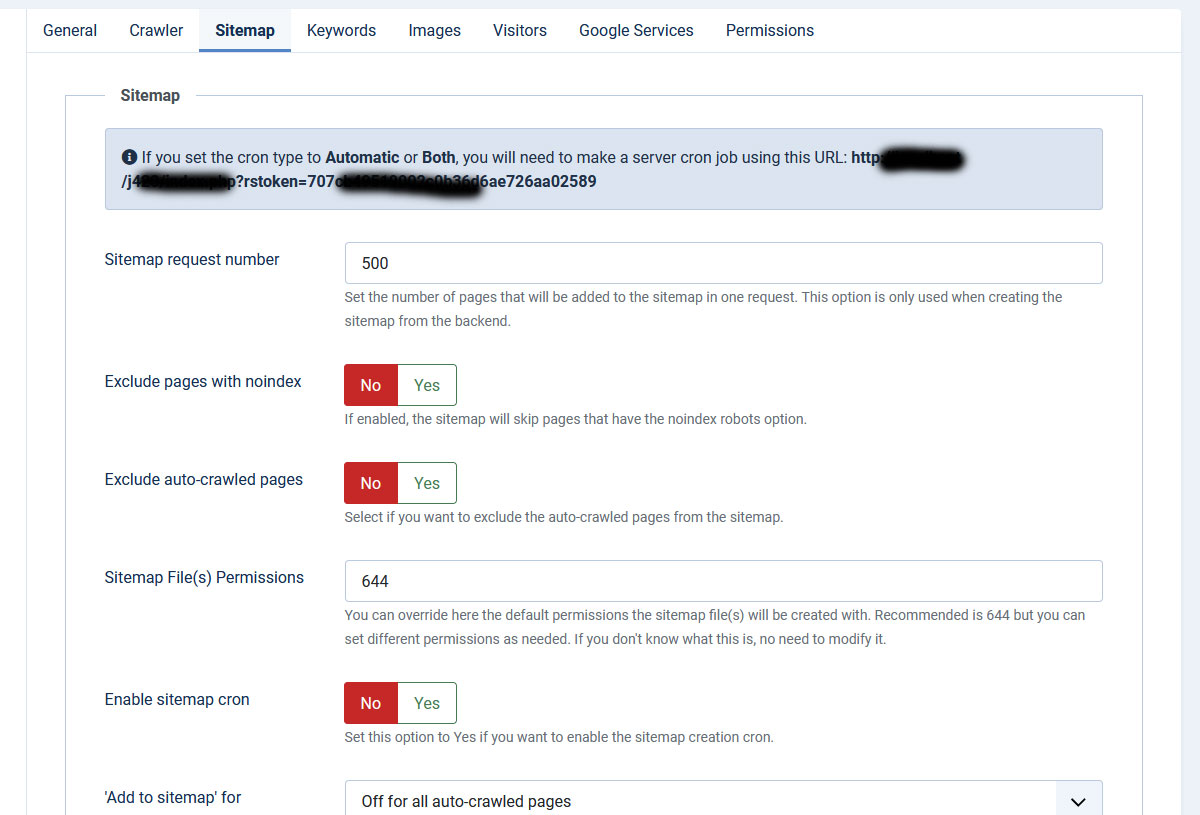
Sitemap
- Sitemap request number: - Set the number of pages that will be added to the sitemap in one request. This option is only used when creating the sitemap from the backend.
- Exclude pages with no index: - Yes / No - include or ignore pages with no index attributes when generating the sitemap
- Exclude auto-crawled pages: - Yes / No - Select if you want to exclude the auto-crawled pages from the sitemap
- Sitemap File(s) permissions - control the permissions level of the xml sitemap files created by the component
- Enable sitemap cron: - Yes / No - set to Yes in order to trigger the sitemap generation thrugh a cron job
- Cron type: - Manual / Automatic / Both
- Cron token: - Set a security token. One will be automatically generated upon installation
- "Add to sitemap" for auto-crawled pages: - you can globally enable or disable this option for automatically crawled pages or enable this only for pages that match a specific rule/syntax.
In your server hosting administrator panel you can add a new cron job with the following command (the Cron token might differ, this is the one generated automatically upon installation):
wget -O /dev/null "https://yoursite.com/index.php?rstoken=707cb49519002c0b36d6ae726aa02589"
Keywords
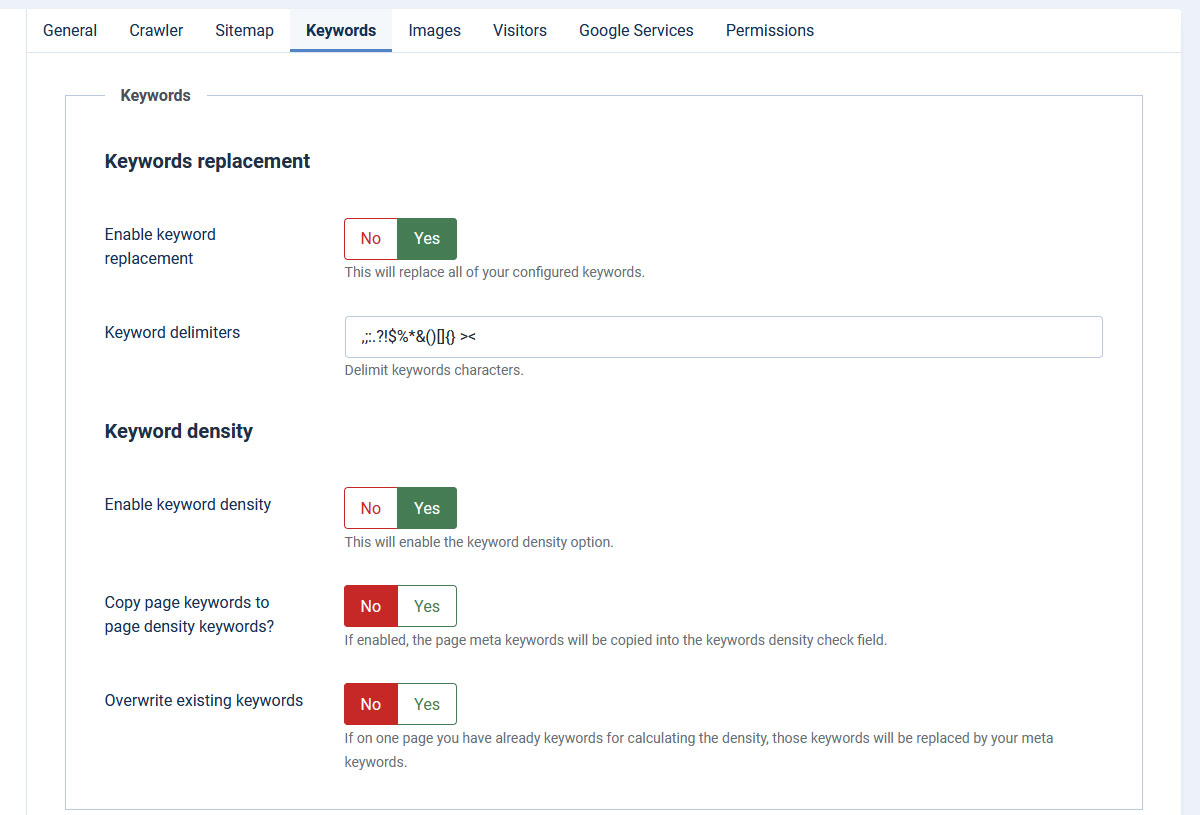
Keywords replacement:
- Enable keyword replacement: Yes / No - This will replace all of your configured keywords.
- Keyword delimiters - Delimit keywords characters.
Keyword Density:
- Enable keyword density: yes/no; enable or disable the keyword density.
- Copy page keywords to page density keywords: yes/no; by selecting this option you can copy the keywords that you have set in the "Meta Keywords" field of each page to the "Calculate keyword density" field.
- Overwrite existing keywords: yes/no; overwrite existing keywords in the "Calculate keyword density" field.
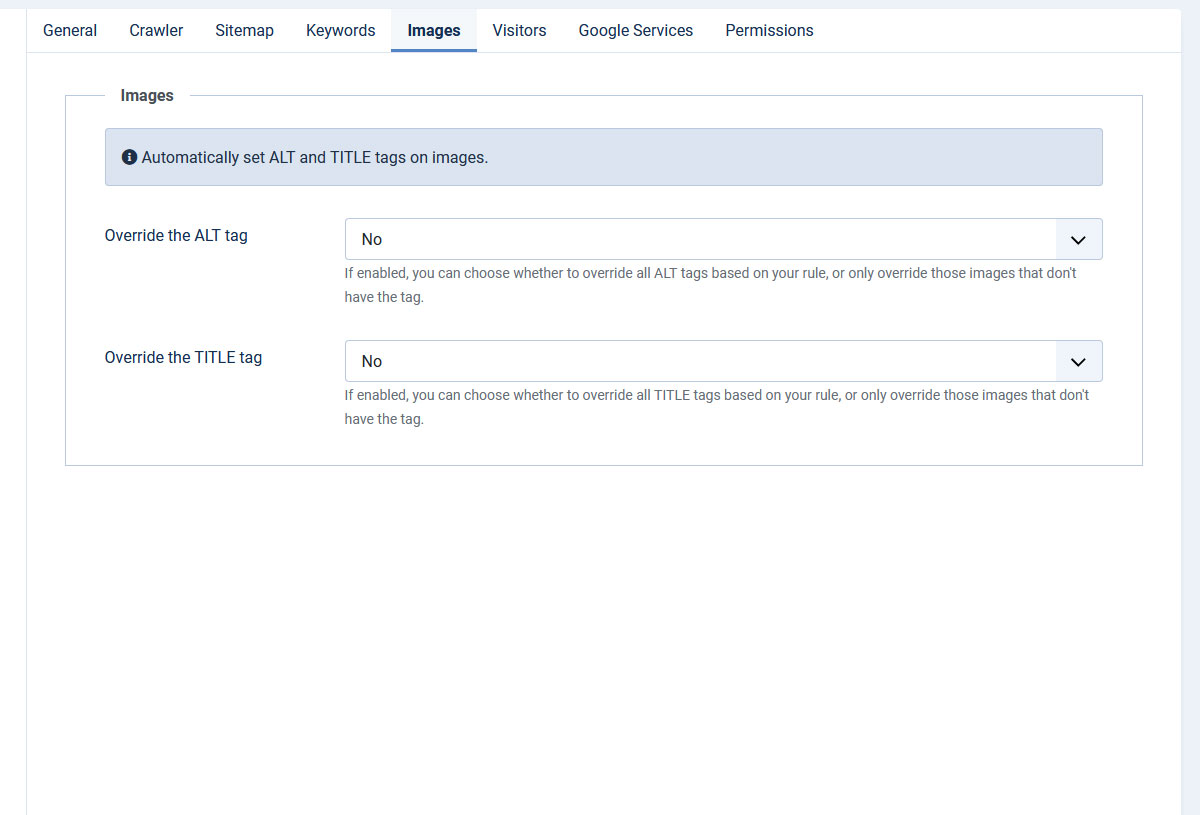
Images
- Override the ALT tag: Yes (empty or missing ALT tag) / Yes (all ALT tags) / No
- ALT rule: Set the ALT rule. Example: {name} {title}
- Override the TITLE tag: Yes (empty or missing TITLE tag) / Yes (all TITLE tags) / No - If enabled, you can choose whether to override all TITLE tags based on your rule, or only override those images that don't have the tag.
- TITLE rule: - Set the TITLE rule. Ex: {name} {title}
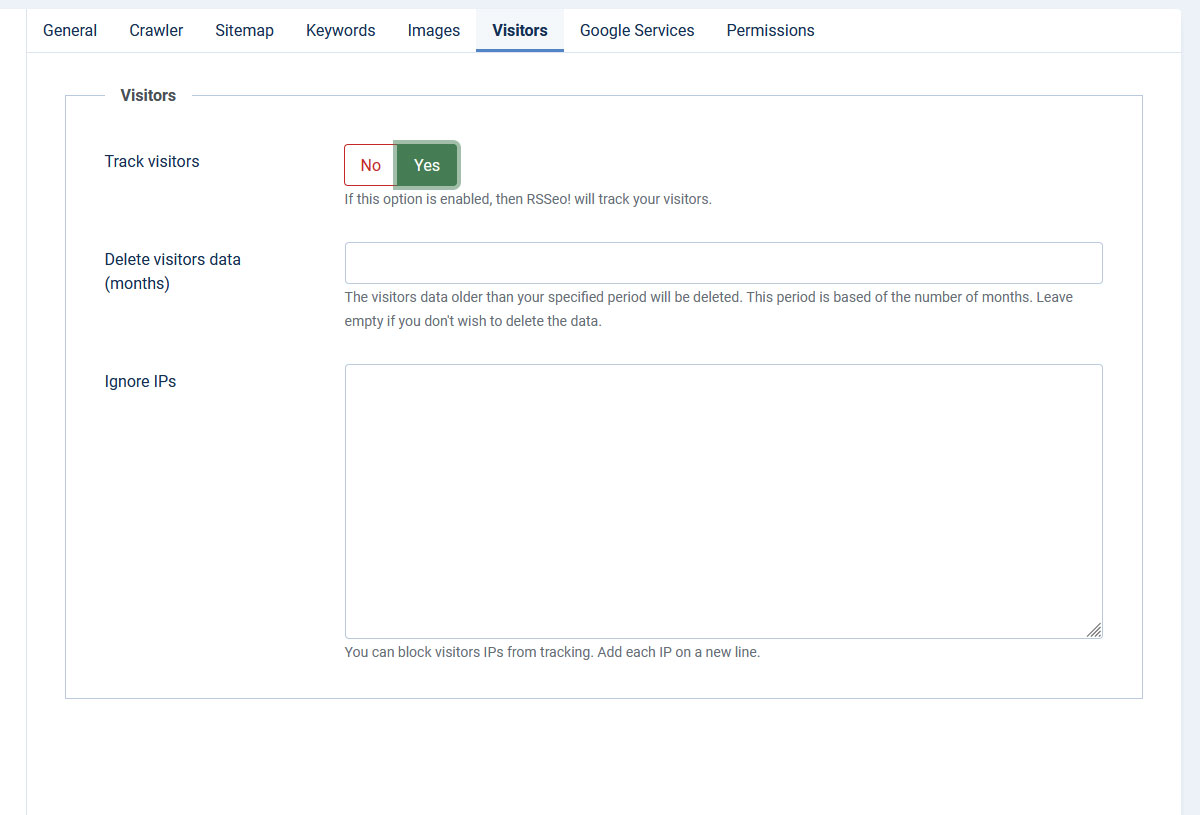
Visitors
- Track visitors: If this option is enabled, then RSSeo! will track your visitors.
- Delete visitors data (months): The visitors data older than your specified period will be deleted. This period is based of the number of months. Leave empty if you don't wish to delete the data.
- Ignore IPs: you can block visitors IPs from tracking. Add each IP on a new line.
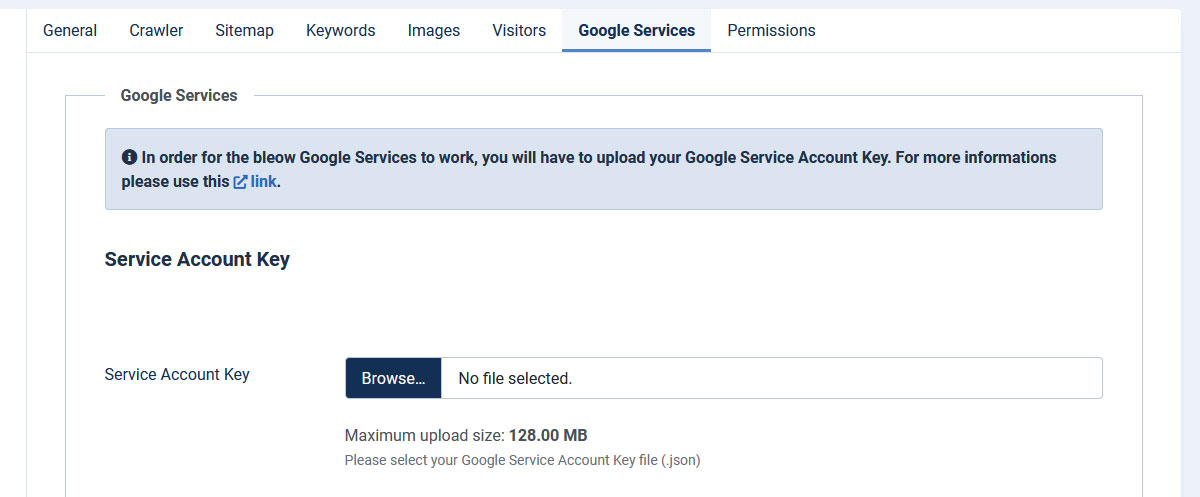
Google Services
Service Account Key
In order for the Google Services to work, you will have to upload your Google Service Account Key.
Google Analitycs Integration
- Enable Google Analytics reports?: Yes / No
- Enable Google Analytics tracking code: Yes / No - if enabled RSSeo! will add the Google tracking code
- Tracking type: Classic Analytics / Universal Analytics / Google Analytics 4 - choose the type of Google tracking
- Web property ID: Google unique identification number for tracking purpose - read more.
- Web property options: Set custom web property options. Please add each option on a separate row. Expl. ga('set', 'forceSSL', true);

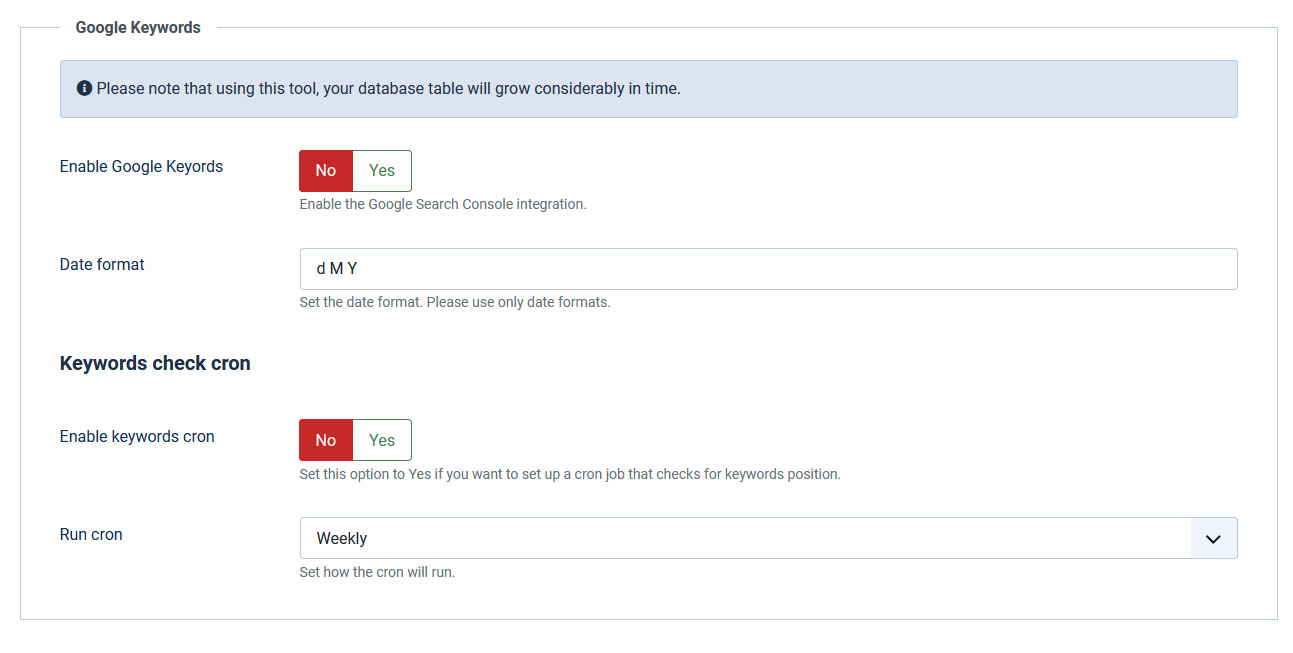
Google Keywords
- Enable Google Keywords: Enable the Google Search Integration
- Date format: Set the date format. Please use only date formats.
Keywords check cron:
- Enable keywords cron: Yes / No - Set this option to Yes if you want to set up a cron job that checks for keywords position.
- Run cron: Daily / Weekly / Monthly - Set how the cron will run.
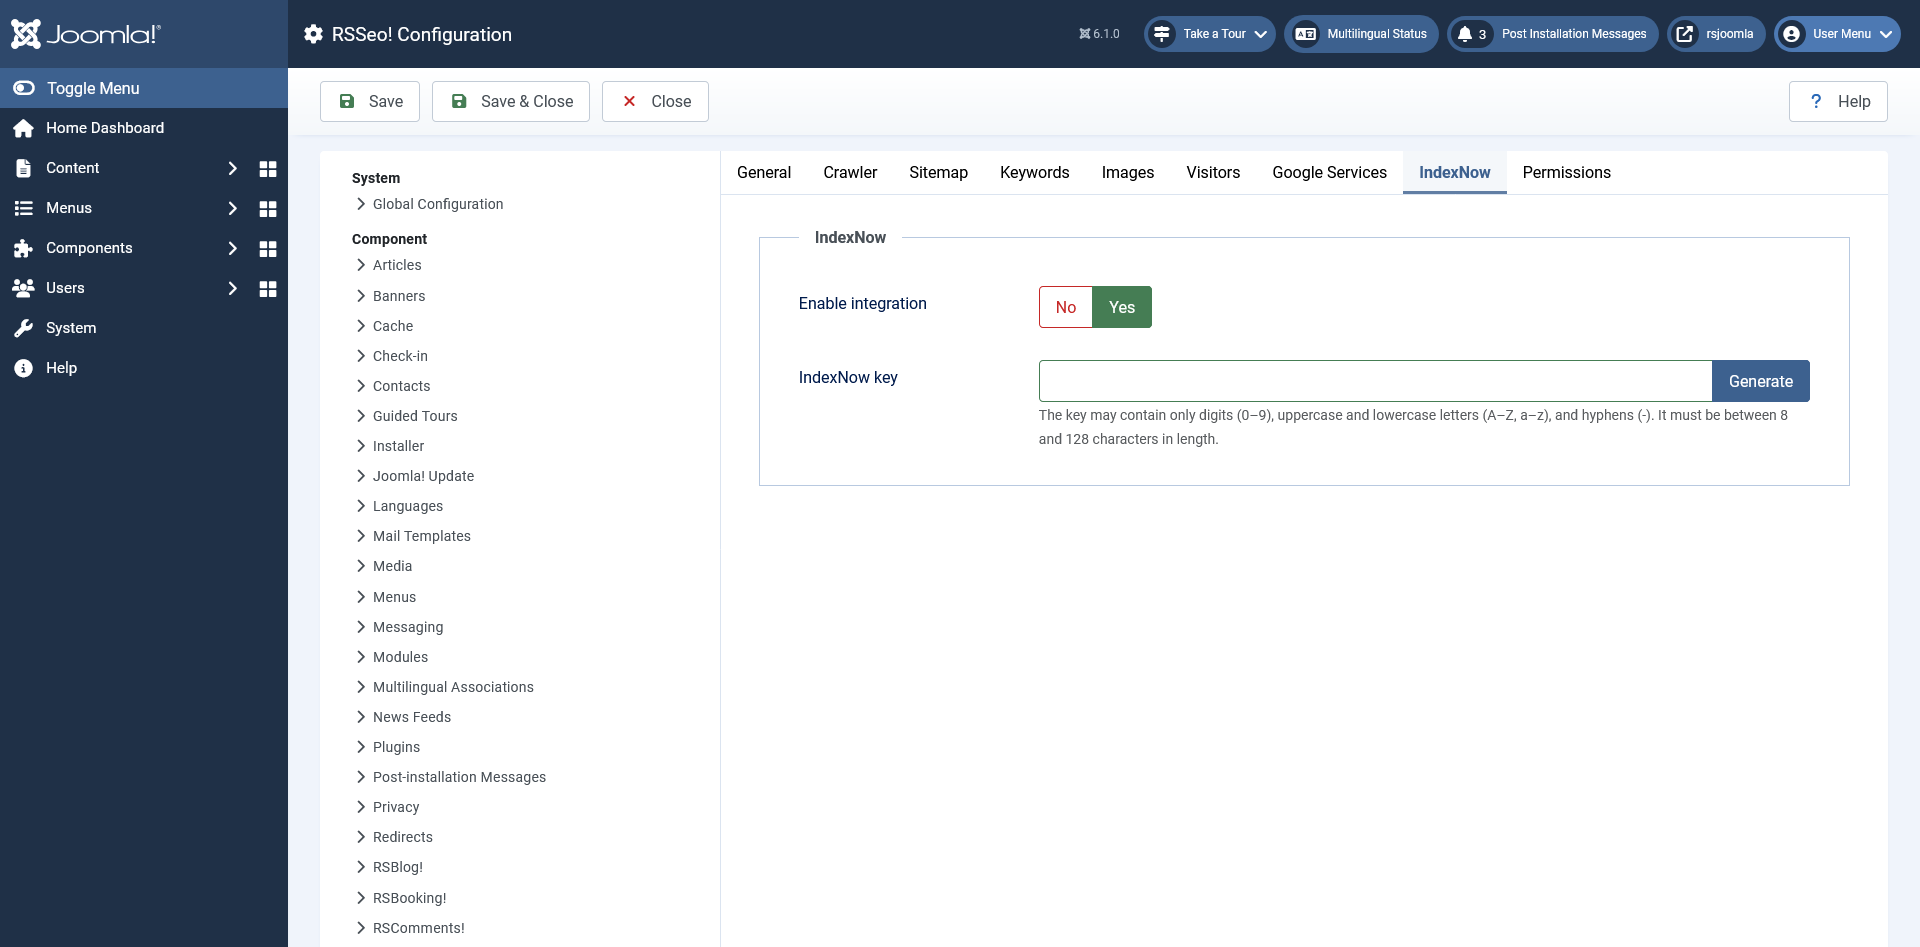
IndexNow
- Enable Integration: When enabled, RSSeo! will automatically integrate with the IndexNow service and submit updated URLs to supported search engines.
- IndexNow Key: The key can contain only letters (A–Z, a–z), numbers (0–9), and hyphens (-), and must be between 8 and 128 characters in length.
After generating the IndexNow Key, RSSeo! will automatically create a verification file in your website's root directory. For example:
https://www.example.com/69c867863de14f68bd5c9154693a833e.txtThe file will contain the generated key itself:
69c867863de14f68bd5c9154693a833eThis verification file is required by IndexNow to confirm ownership of your website and enable URL submissions. For additional details and technical requirements, please refer to the official IndexNow documentation.
Configuring this will display a 'Ping IndexNow' button on the Pages area (listing and edit page).
13 persons found this article helpful.