Using the template
After you have successfully installed the template as explained here, we will start by setting RSBaron! as the default frontend template.
This is done by heading to Extensions >> Template Manager >> Select RSBaron from the template list and click on the "Make Default" button.
Menus:
Main Menu
Once the menu has been created with your desired links, to add the frontend main menu follow these steps:
- Go to Menus >> Menu Manager.
- Select your main menu from the "Modules Linked" dropdown on Joomla! 3.x.
- Choose the main-menu RSBaron! position and the pages you want it to be displayed on(usually on all pages).
- Go to Advanced Options and set Alternative Layout to responsive(from RSBaron! template).
Secondary Menu (optional)
If you wish to add a secondary menu to your website follow these steps:
- Go to Menus >> Menu Manager.
- Select your secondary menu from the "Modules Linked to the Menu" column.
- Choose the column-left or column-right RSBaron! position and the pages you want it to be displayed.
Tip: All template positions are explained here.
RSBaron! Configuration
The template's configurable options can be found by going to Extensions >> Template Manager and selecting RSBaron from the style column.
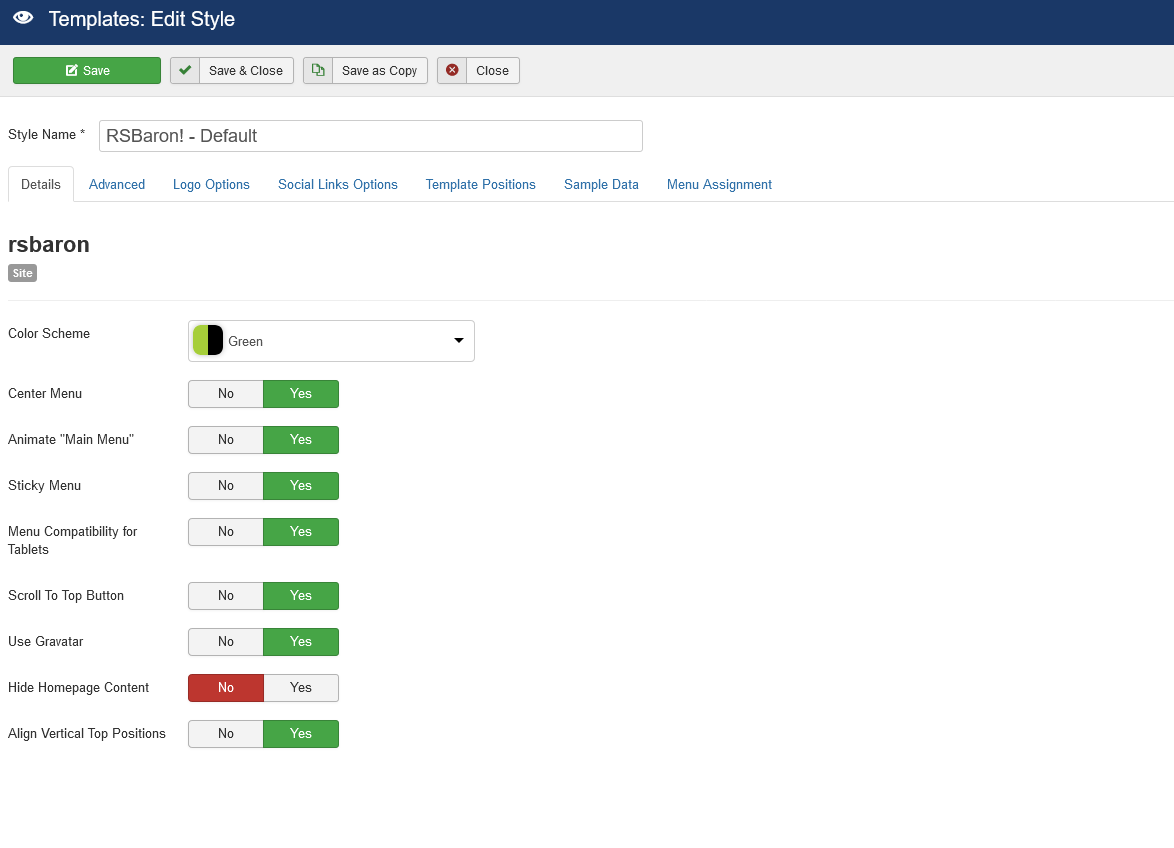
Details
- Color Scheme: RSBaron! comes with 7 predefined color schemes. Choose a color that best suits your website.
- Center Menu: If set to Yes, the menu items will be displayed in the center of the module. If set to No, the menu items will be displayed starting from the left side of the module.
- Animate "Main Menu": Enables effects in your main menu. If set to No, the menu children will appear instantly instead of having a smooth effect.
- Sticky Menu: If enabled, when scrolling past the menu, it will automatically become fixed to the top of the window. This will allow your users to quickly access the menu. Only available on desktop version.
- Menu Compatibility for Tablets: Enables dropdown menu compatibility with high resolution tablets (such as iPad), when being hold in landscape mode. This will allow your visitors to click on submenus.
- Use Gravatar: Designed for Content articles, if set to Yes, a Gravatar picture will be displayed next to the article's author
- Hide Homepage content: If enabled, the home page and the column-right and column-left modules will no longer be displayed.
- Align vertical top positions: Aligns the Top a, b and c positions vertically.
Advanced Options
- Load Bootstrap: If you are relying on another extension's Bootstrap, you can set this to No. Otherwise, Bootstrap should always be loaded with this template.
- Load jQuery Framework: Selecting Yes will load jQuery either from the Joomla! framework (on Joomla! 3.x) or from our template.
- Load Google Fonts: If selected, Google fonts will be loaded to replace the current template fonts.
- Google font for Titles: if selected, a Google font will replace the default font for titles.
- Google Font for Content: if selected, a Google font will replace the default font for Content elements
- Google Font Subset: Select a subset that will be downloaded for the Google Font chosen above
- Extra CSS Selectors for Google Font Type the extra CSS selectors where you want the font to be used, separated by commas. Example: .my-class, #my-id, .my-second-class
- Extra CSS Selectors for Content using Google Font Type the extra CSS selectors where you want the Content font to be used, separated by commas. Example: .my-class, #my-id, .my-second-class
- Google Analytics property ID: Activate the Google Analytics Tracking Code using the Google Analytics property ID
- Custom <head> tags: Add the custom tags you need to the head section of the site. The tags you add have to be proper markup validated, otherwise the site may not be displayed well!
- Favicon: Select the image to be used as favicon.
- Hide Copyright Link: Setting this to Yes will remove the Joomla! Templates link from the frontend.

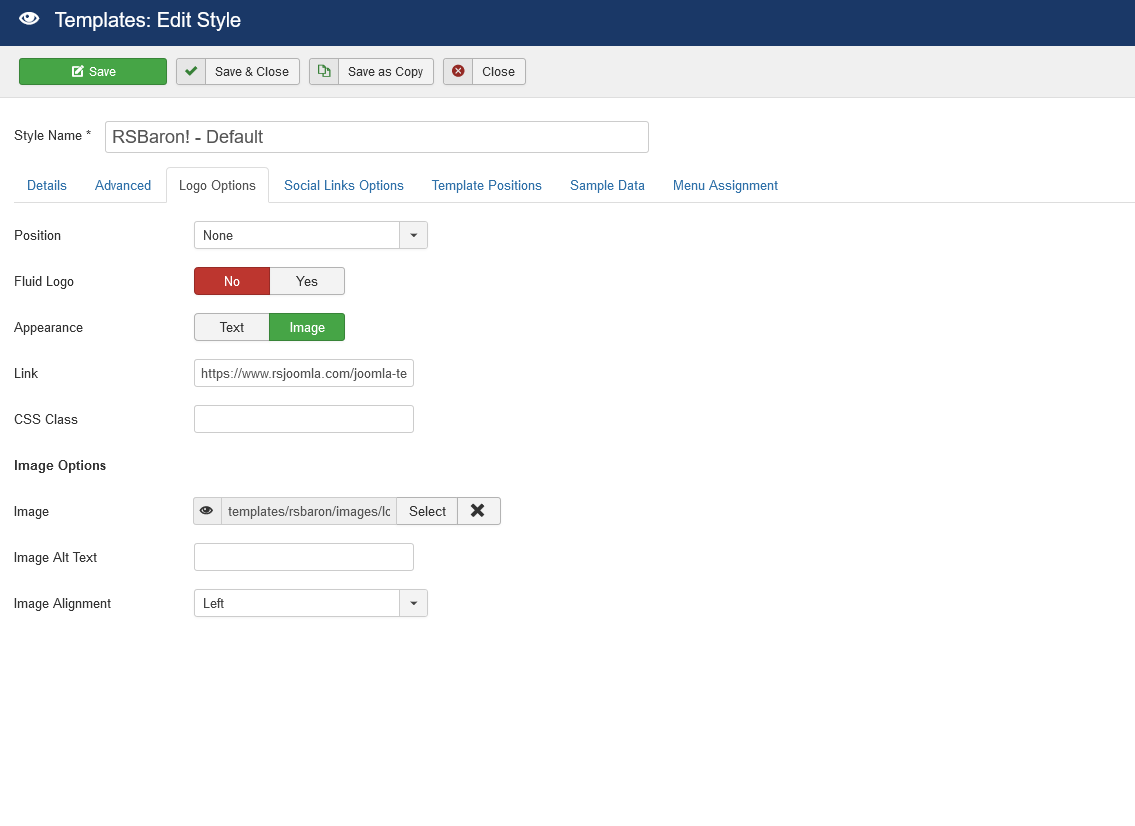
Logo Options
- Position: Select the position where you want your logo to appear. Please note that only top positions can be used (Top-a, Top-b and Top-c).
- Fluid Logo: Yes / No - set to Yes to make the top a, b and c positions fluid (if only one of them is used, it will be stretched to cover the other 2 positions' space as well. If 2 are used, the remaining space will be divided between them).
- Appearance: Set the appearance of the logo either by Text or Image.
- Link: Specify a link for the logo.
- CSS class: You can add a custom CSS class to the logo container. Leave blank if not needed.
Text Options
- Text: Type in your desired text, this will appear in the logo position.
- Text alignment: set the text alignment (left, center, right).
- Heading size: the heading size used for the logo text. Typically <h1> tag is a good idea.
- Color: Select which color you'd like to use for your text (Black, Primary, Secondary). Primary and Secondary are taken from the selected color scheme of the template.
Image Options
- Image: select the image to be used as your logo.
- Image Alt Text: Insert alternate text for logo image.
- Image alignment: select the image alignment (left, center, right).
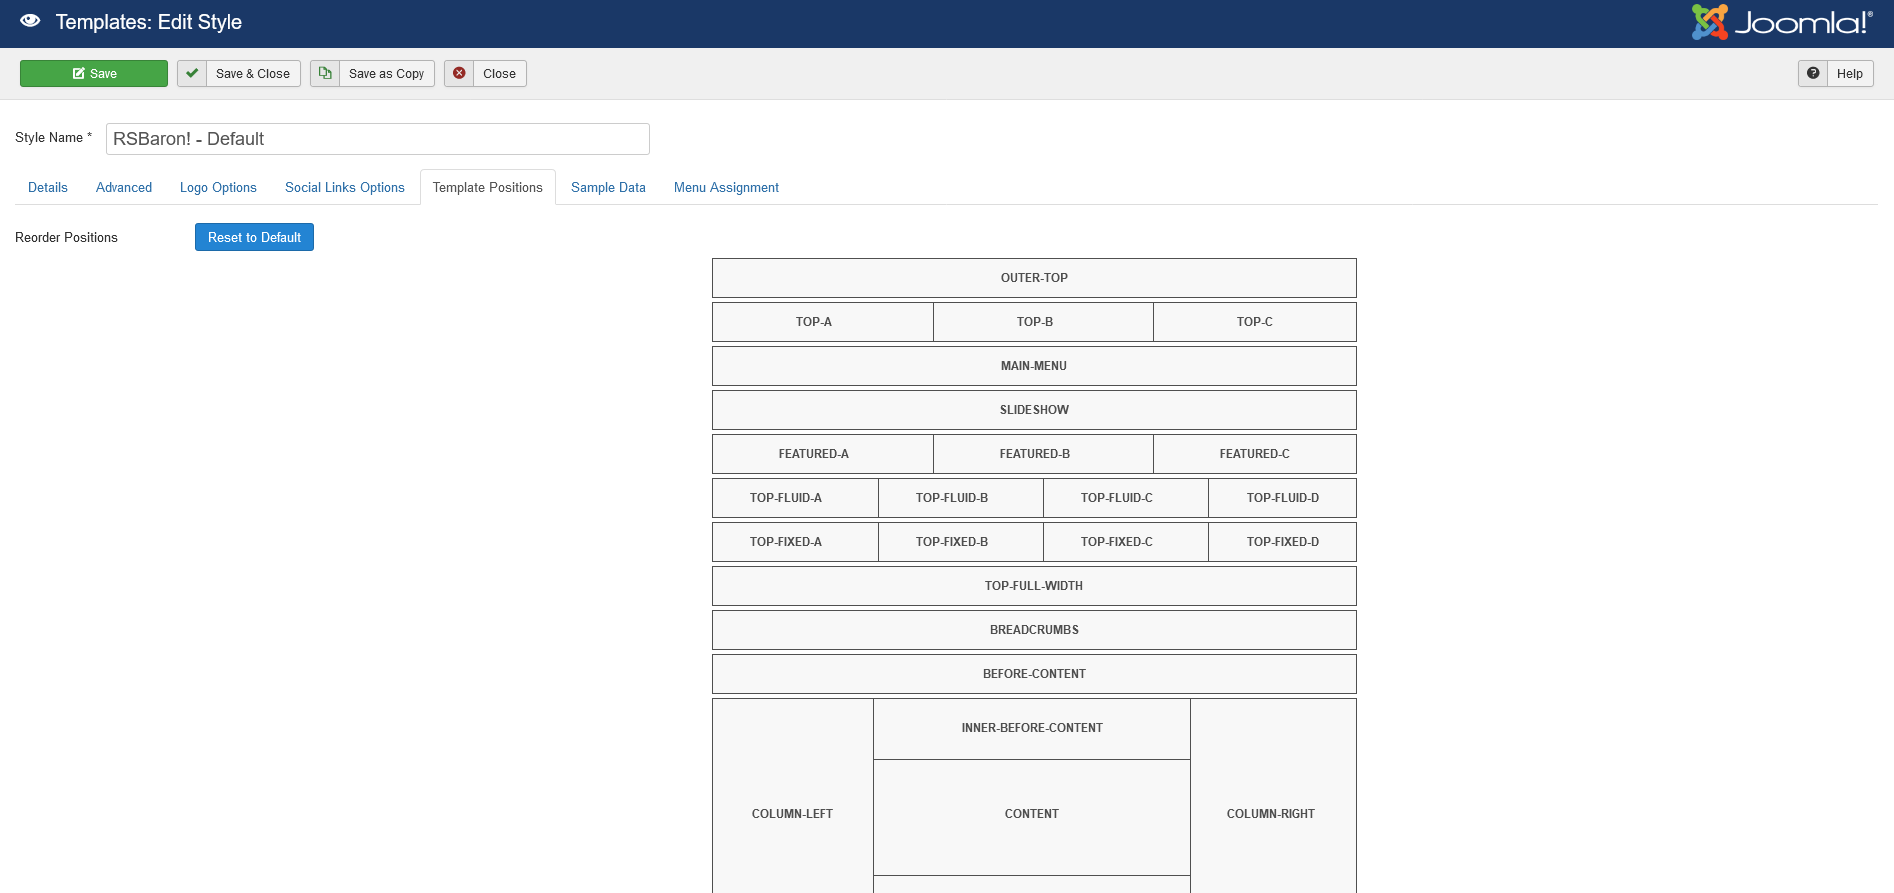
Template Positions
This feature allows you to re-arrange the template positions. It is represented by a table containing all the positions in their default arrangement. You can only re-arrange entire rows by dragging and dropping them in the desired positions
By clicking on the 'Reset to Default' button, your changes will be reset to the default arrangement.
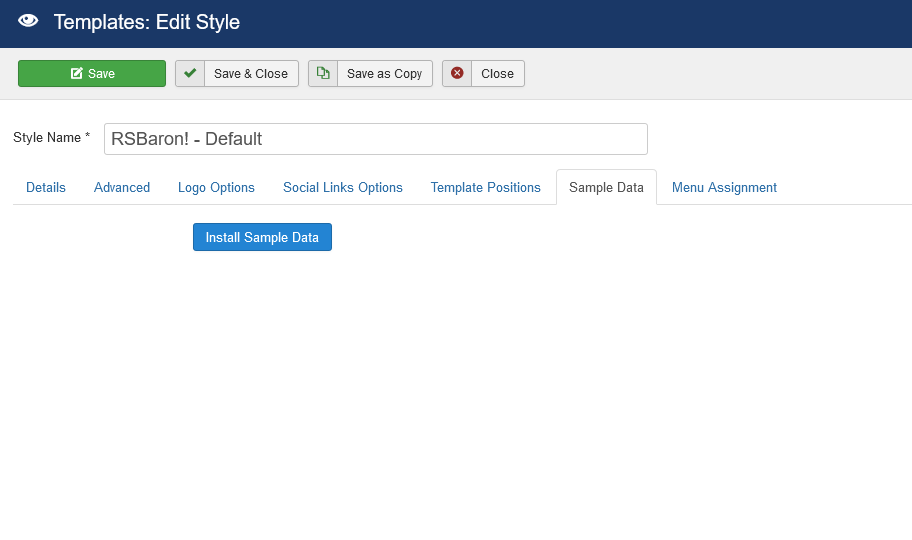
Sample Data
This tab only incorporates a single button, Install Sample Data. By clicking it, you will install the exact same sample data that we have included on the template's demo website. Note that this is optional, you do not necessarily need to install the sample data.
IMPORTANT:
- We strongly recommend to install the sample data before adding any menu items or other data on your website.
- For the sample data to work properly, please make sure to first install both RSMediaGallery! and its Responsive Slideshow Module.
- To get the best results, please use the rstpl-fullwidth class in the Responsive Slideshow module's configuration (Extensions >> Module Manager >> look for RSMediaGallery! Responsive Slideshow Module and edit it >> add rstpl-fullwidth in the Module Class Suffix field)
You Should Also Read
Template positions |
Introduction |
Built-in template overrides |
Socials Links Options
To set Social Links, simply add their related URL: