Plugin - Zapier

The plugin can be downloaded by logging into our website using the account that holds the subscription and heading to Downloads >> My Downloads area.
With RSForm!Pro - Zapier Plugin, you can add Zapier Webhooks to your form. The integration is done silently while running in the background, so the user (form submitter) will not notice anything in the frontend.
Downloading and Installing the plugin
Download
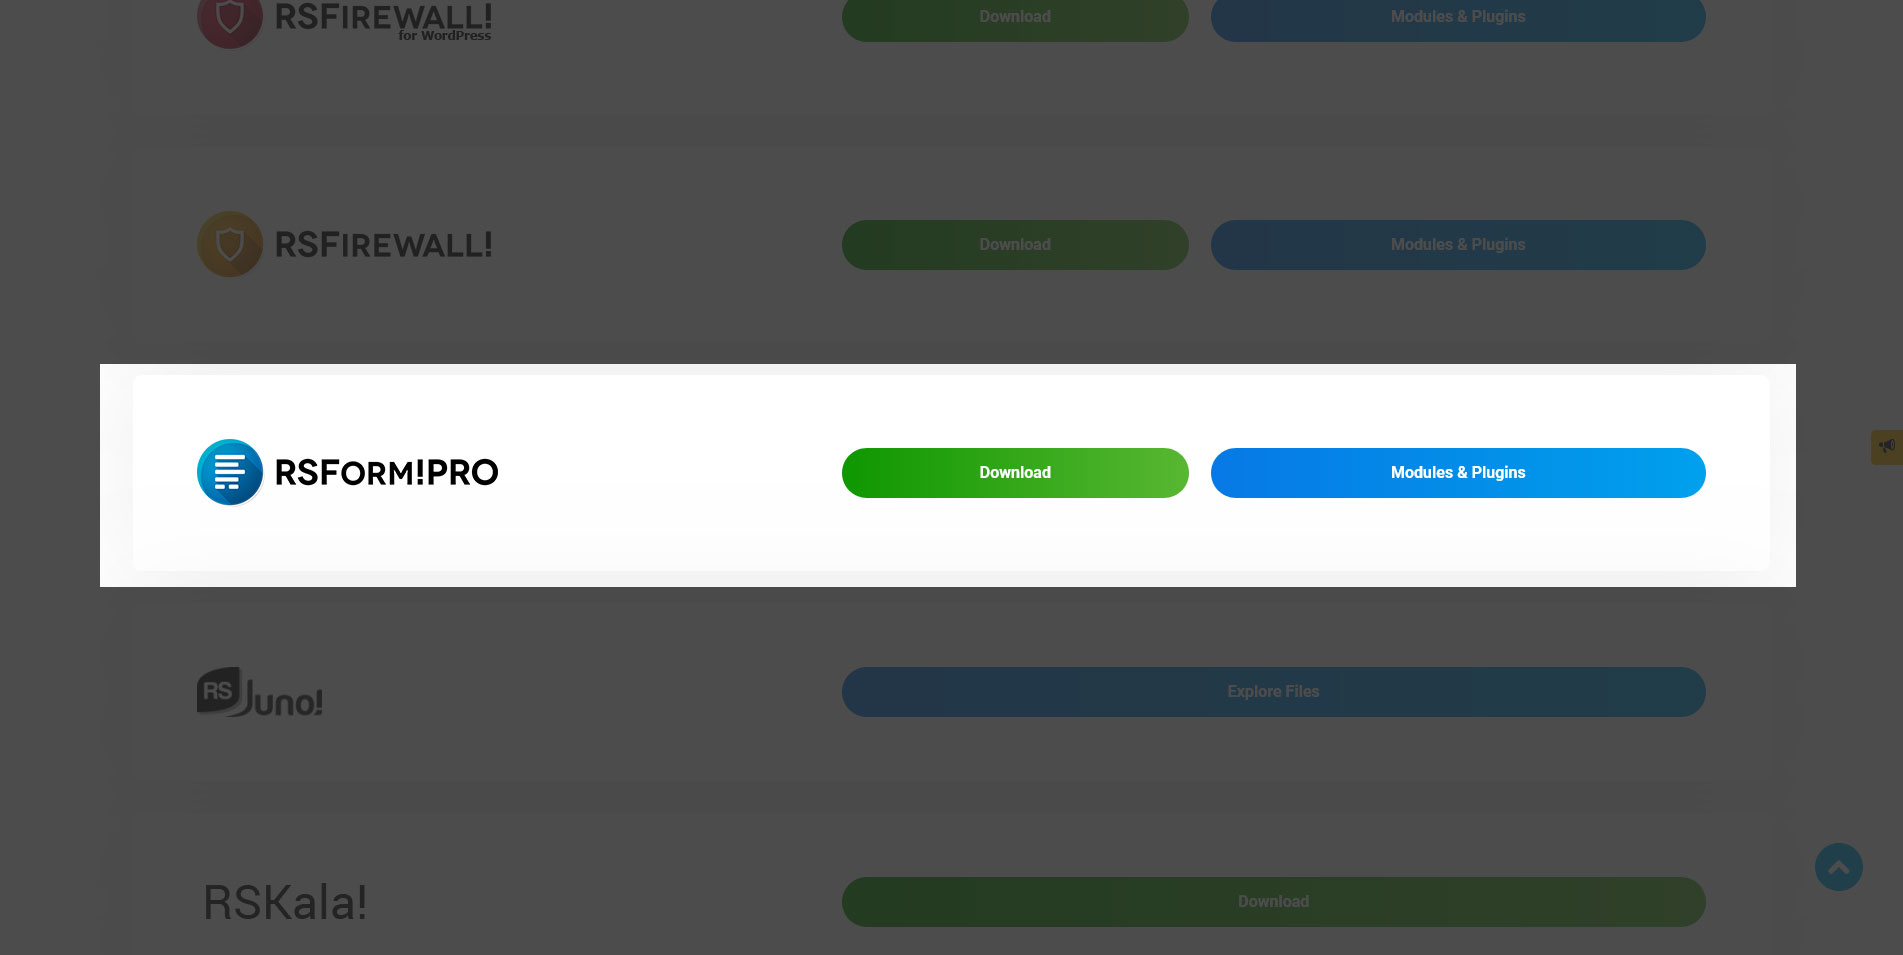
You can download the plugin by logging with your purchase user, then head to Downloads > Paid Downloads > RSForm!Pro > Modules & Plugins > "Zapier Plugin"
Install
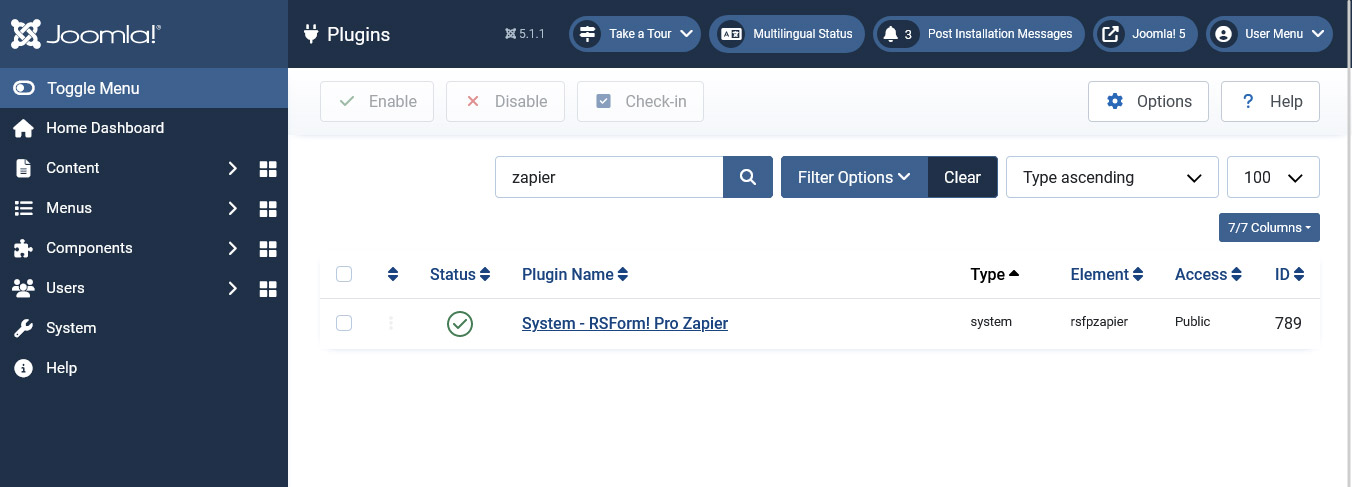
In the backend of your Joomla! installation go to Extensions > Manage > Install, and upload and install the plugin. Next thing would be to check if the plugin is published, and to do so, navigate to Extensions > Plugins, search for the "System - RSForm!Pro - Zapier" plugin and ensure it is published.
Zapier Settings
- Use Zapier : Yes / No- Enabling this RSForm! Pro - Zapier integration can be done by setting this option to 'Yes';
- Trigger the Zapier Webhook When Payment is Complete : Yes / No- If this option is enabled, the webhook will be trigerred only after payment has been confirmed by the chosen payment gateway. If there are any issues with receiving the confirmation from the payment gateway or if you are using the Wire Transfer / Offline payment methods then you will need to manually confirm the payments using the Confirm payment button;
- Show API Messages : Yes / No- error messages will be displayed upon submission (if any), when this option is enabled;
- Use Headers : Yes / No- If the Webhook uses headers set this option to Yes and start adding the headers you need.
- Webhook URL : Enter here the Webhook URL provided by Zapier.

You can start mapping your form data to Zapier using the Post values section. You can start by clicking the "Add Post Value" button and adding the name and values that will be used in the mapping, each in their respective column.
In order to send the value submitted by the user you will need to use the placeholder that returns the value, this is composed by the field name and the ":value" syntax contained between curly brackets. For example if your field is named email, you will use {email:value}. You can also use the small button located at the end of the field to access a list of all the placeholders available for your form.
The Headers section is only available when the above 'Use Headers' option is enabled. This is useful if you need custom headers added when posting data such as:
Content-Type: application/json;
How to make it work?
Step 1
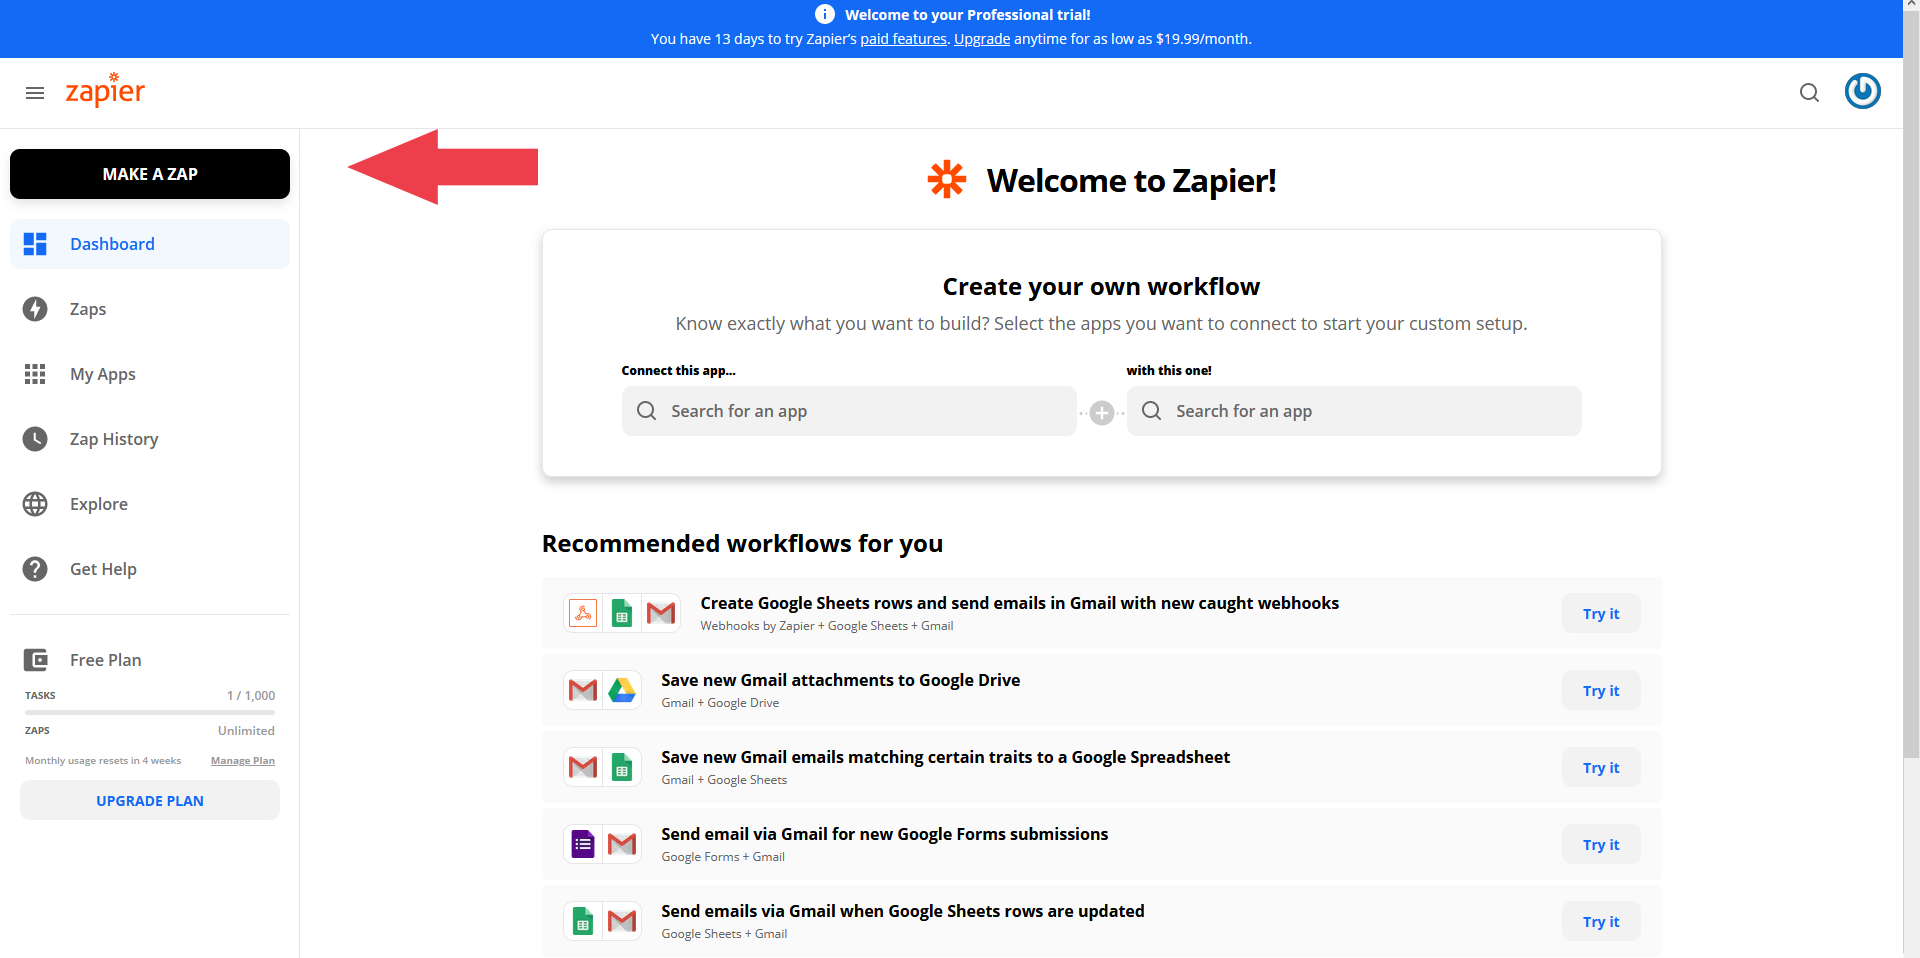
The first thing you'll need is a Zapier account and you can create one here. Next, you should be directed to the Zapier's Dashboard section where you can start setting up the zaps.
Once you're in the Dashboard, you'll need to click on the 'Make a Zap' button located on the left side.
Step 2
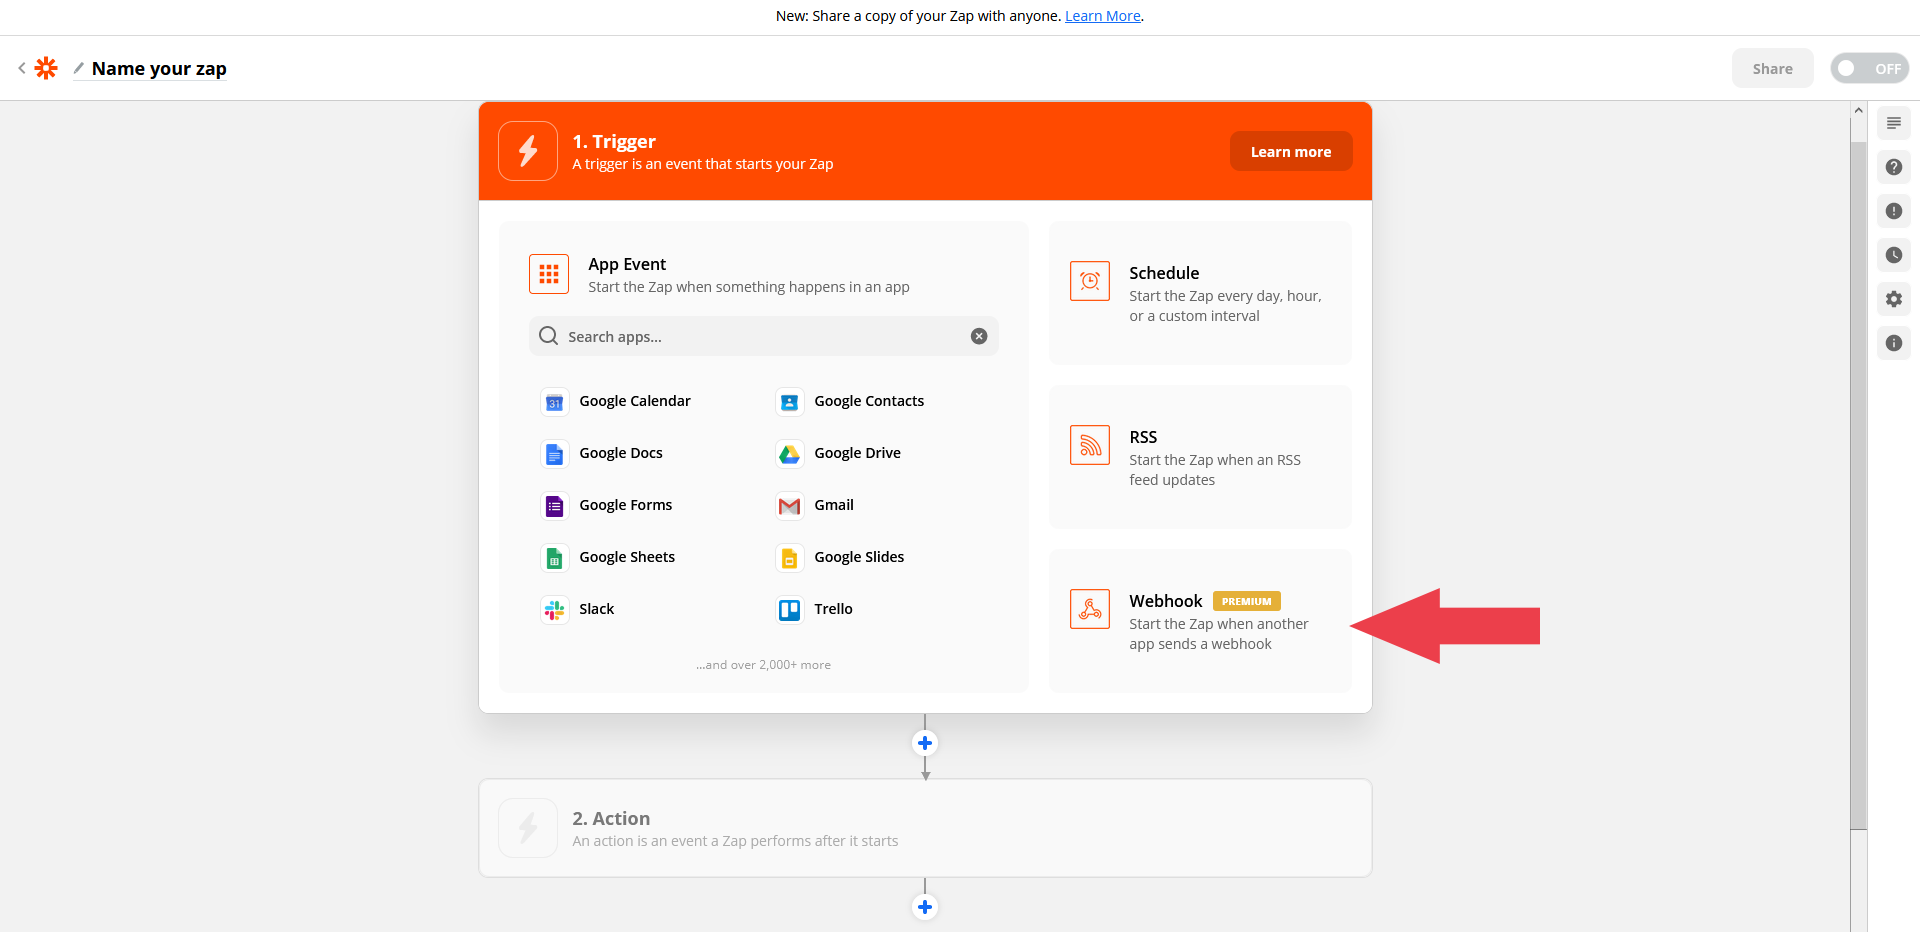
Next, you will need to choose the App by clicking on the Webhook - Start the Zap when another app sends a webhook section located on the right - bottom area of this new area.
Step 3
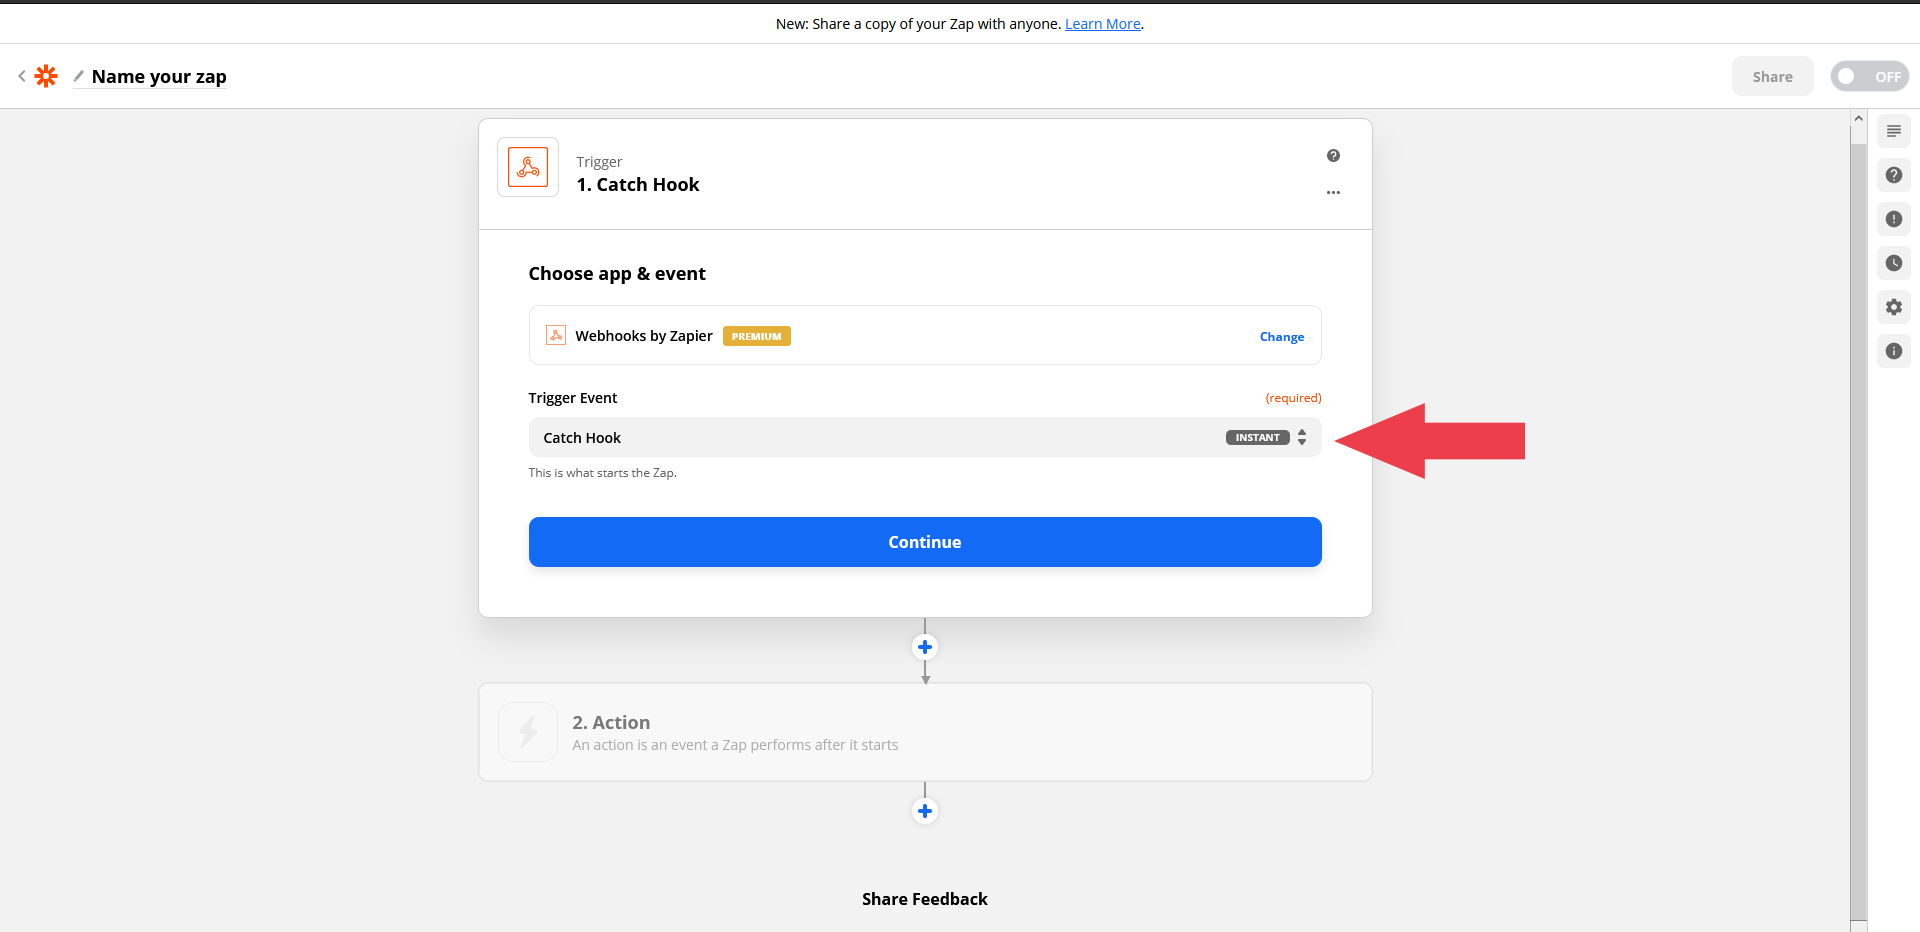
After selecting the Webhooks app, this will require to trigger an event. From the Trigger Event dropdown you will need to choose the 'Catch Hook' option.
Step 4
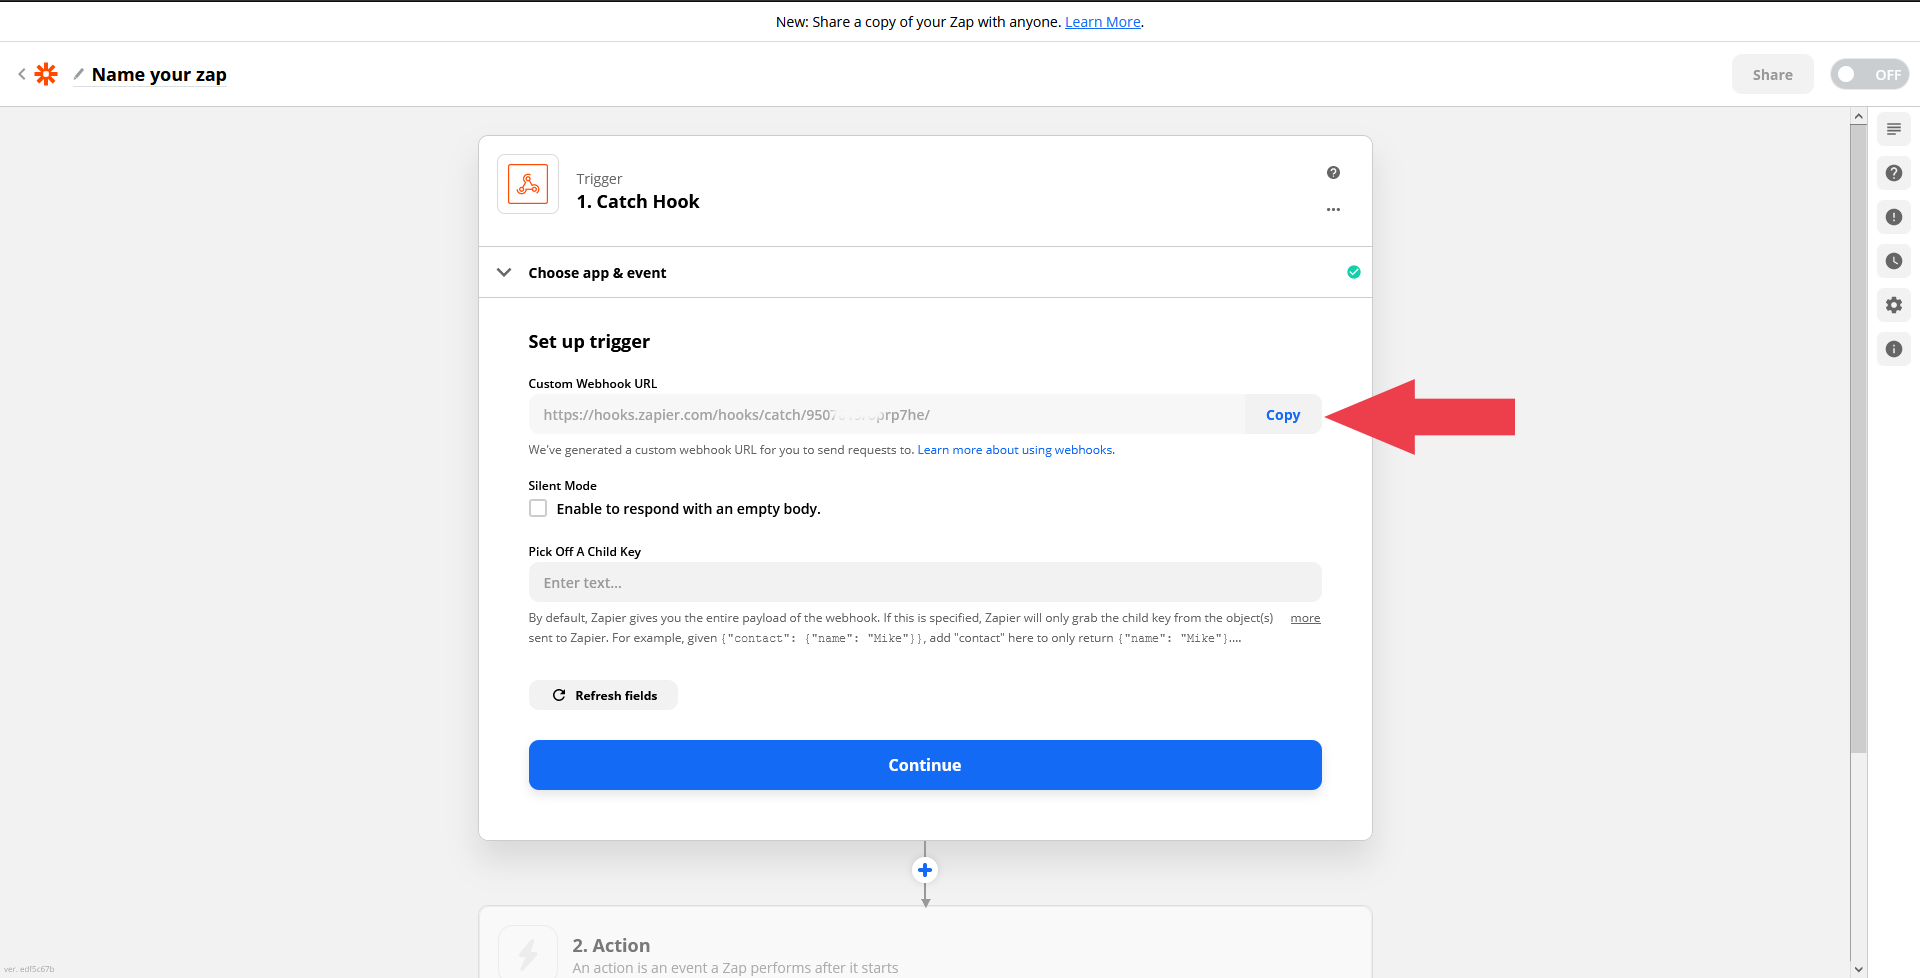
The Custom Webhook URL is now generated and you will need to copy / paste it into RSForm!Pro's Zapier integration tab > Webhook URL field. Next, you will need to submit your form. If everything is setup correctly, the 'Zapier Webhook triggered successfully!' message should be displayed.
The Custom Webhook URL It should look similar to this:
https://hooks.zapier.com/hooks/catch/9557029/oprp7he/
Afterwards, go back to the Zapier dashboard and click on the 'Continue' button.
Step 5
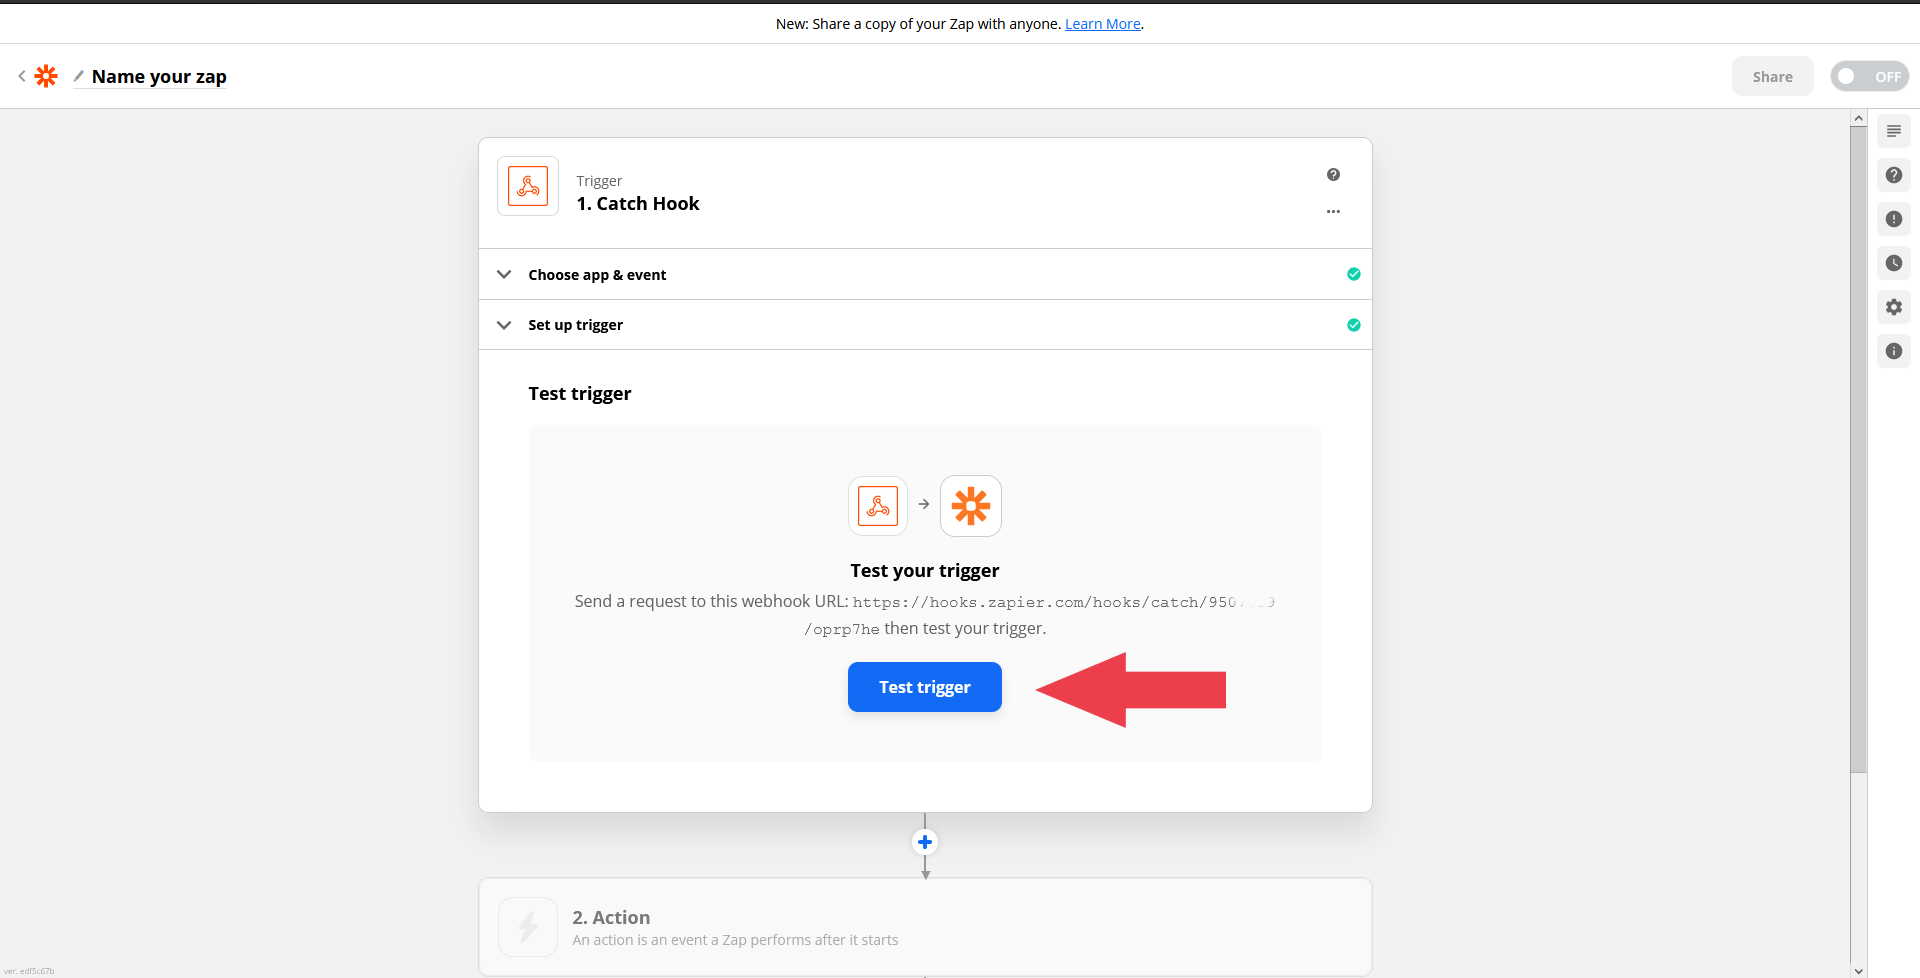
After successfully submitting the form and received the Zapier confirmation message, you'll need to go back to Zapier's dashboard and Test your trigger by clicking on the 'Test trigger' button.
Step 6
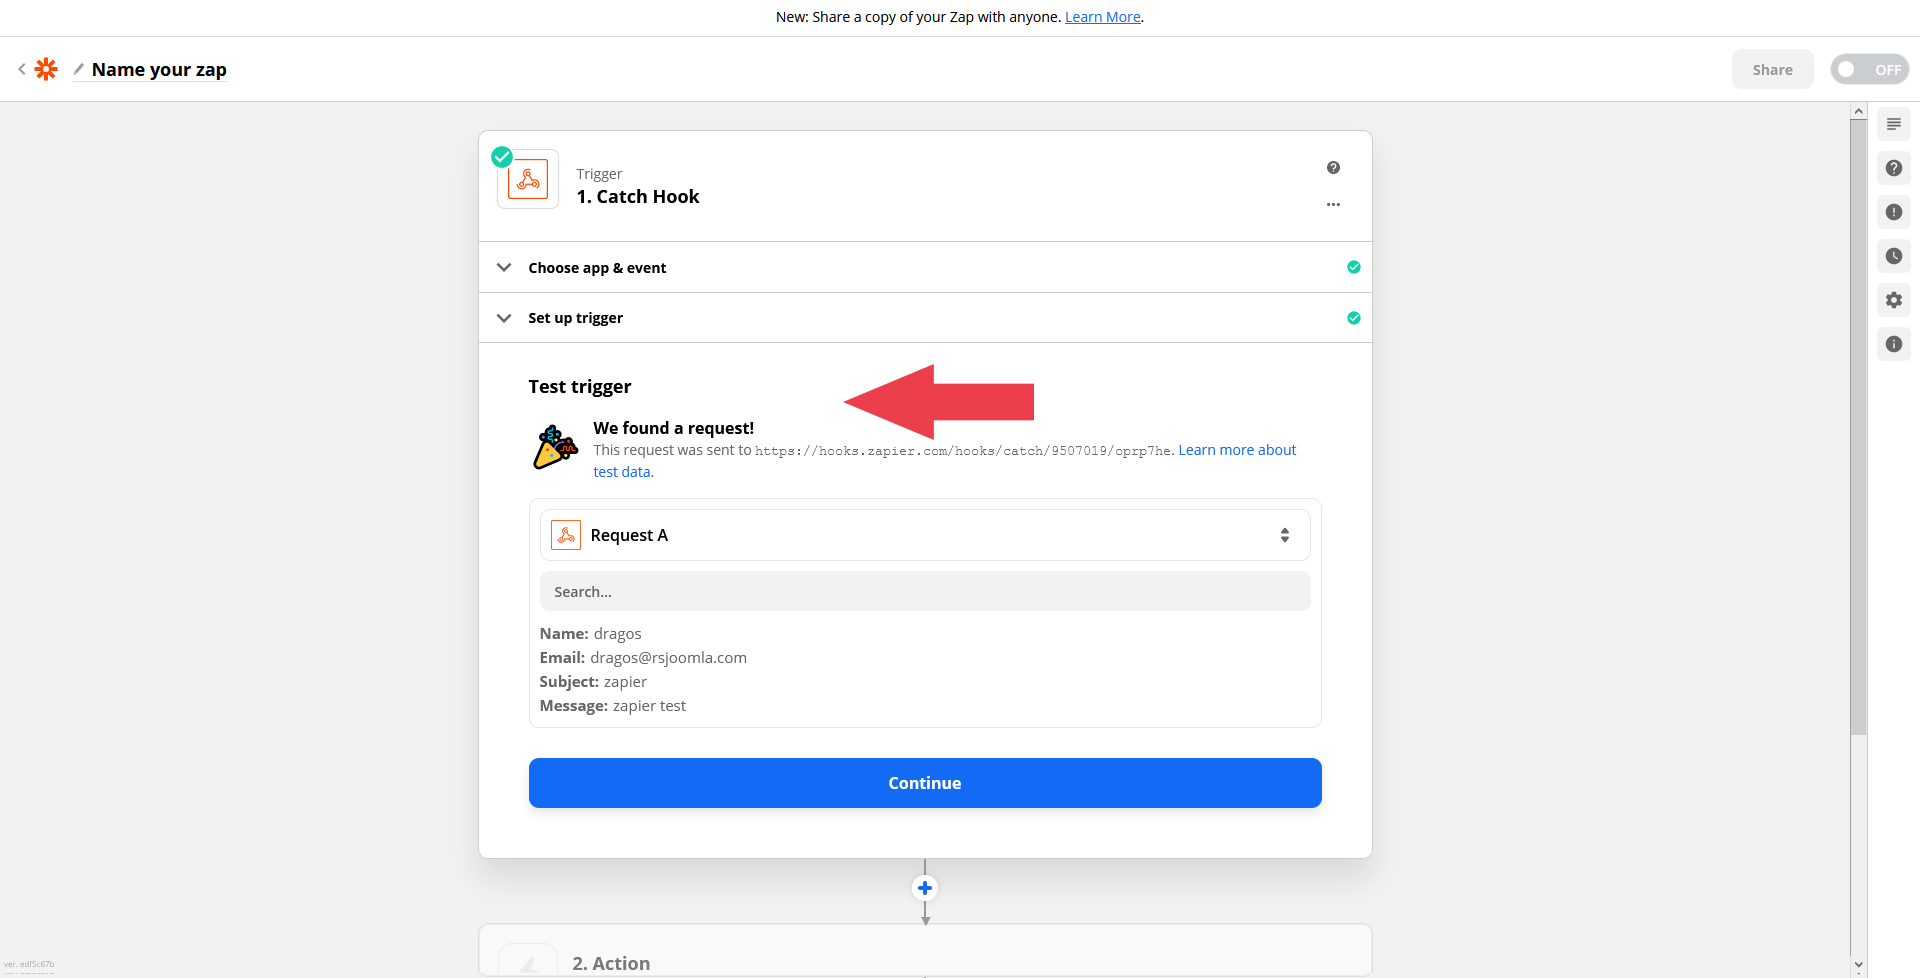
If after testing the trigger, a request is found, you should see a screen having your mapped data within this request.
Step 7
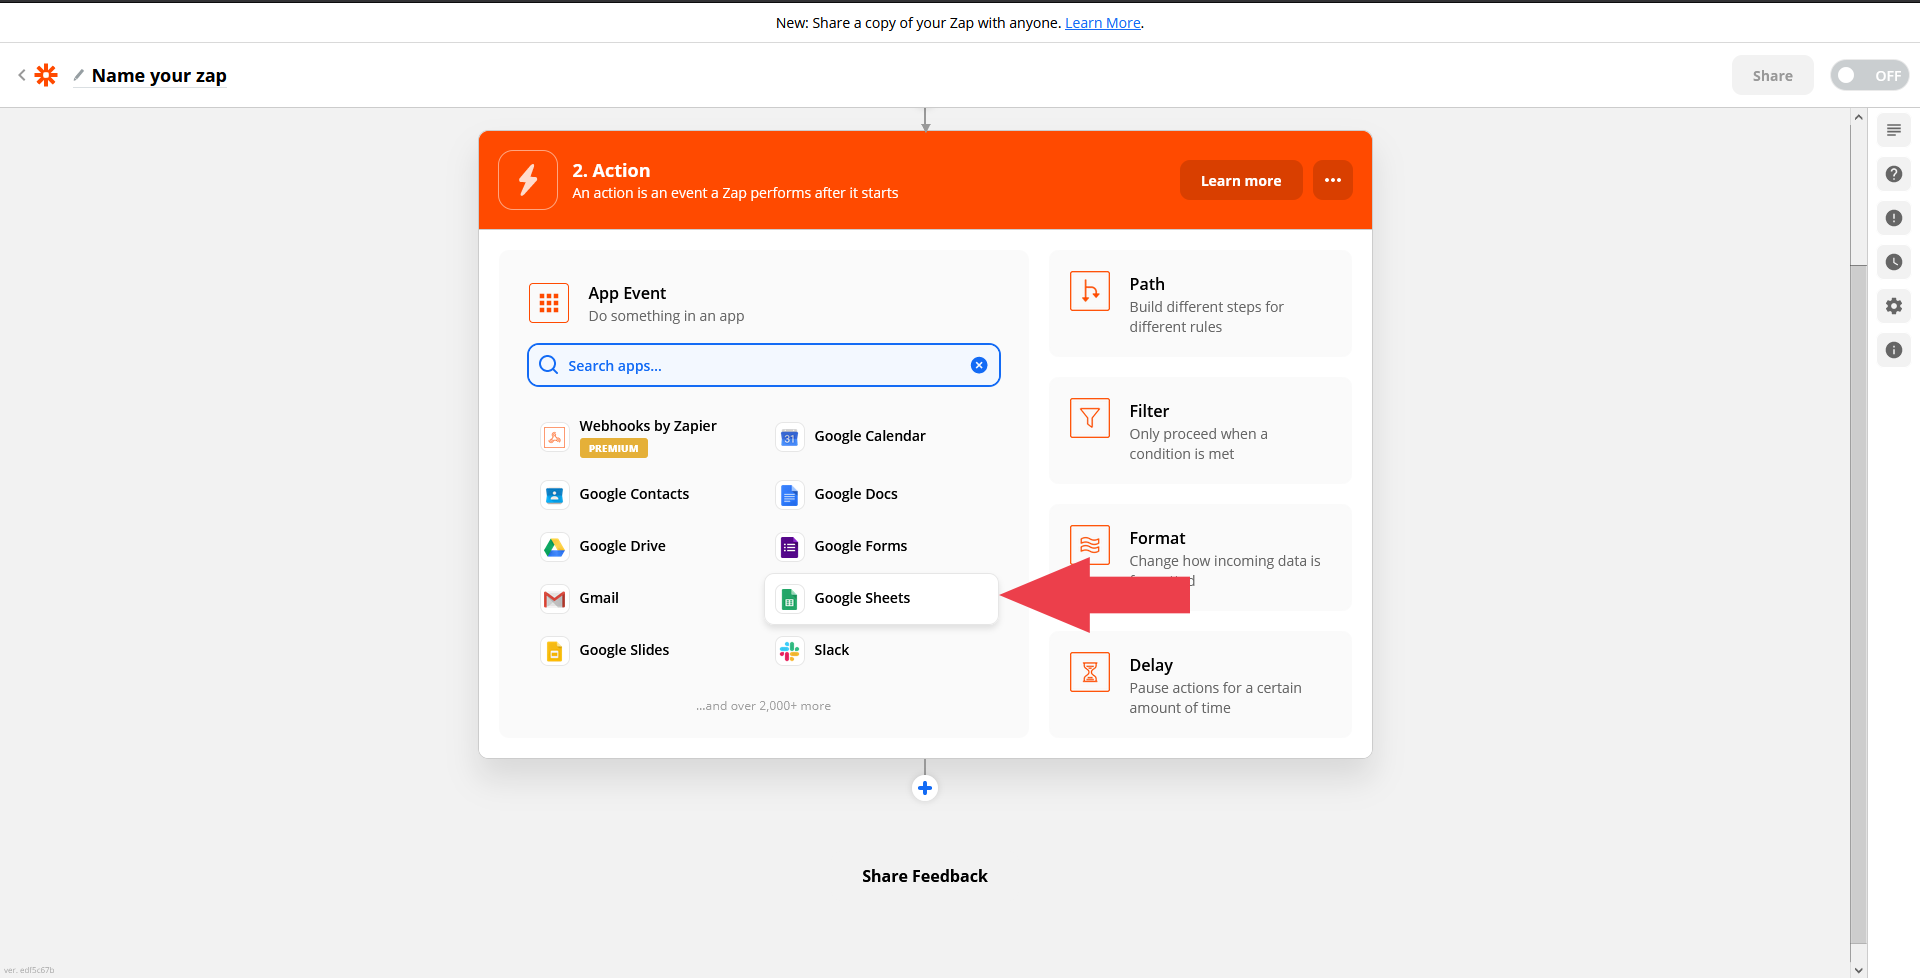
Now we need to choose an Action, more precisely, an event a Zap performs after it starts. In this tutorial we will choose a Google Sheets App.
Step 8
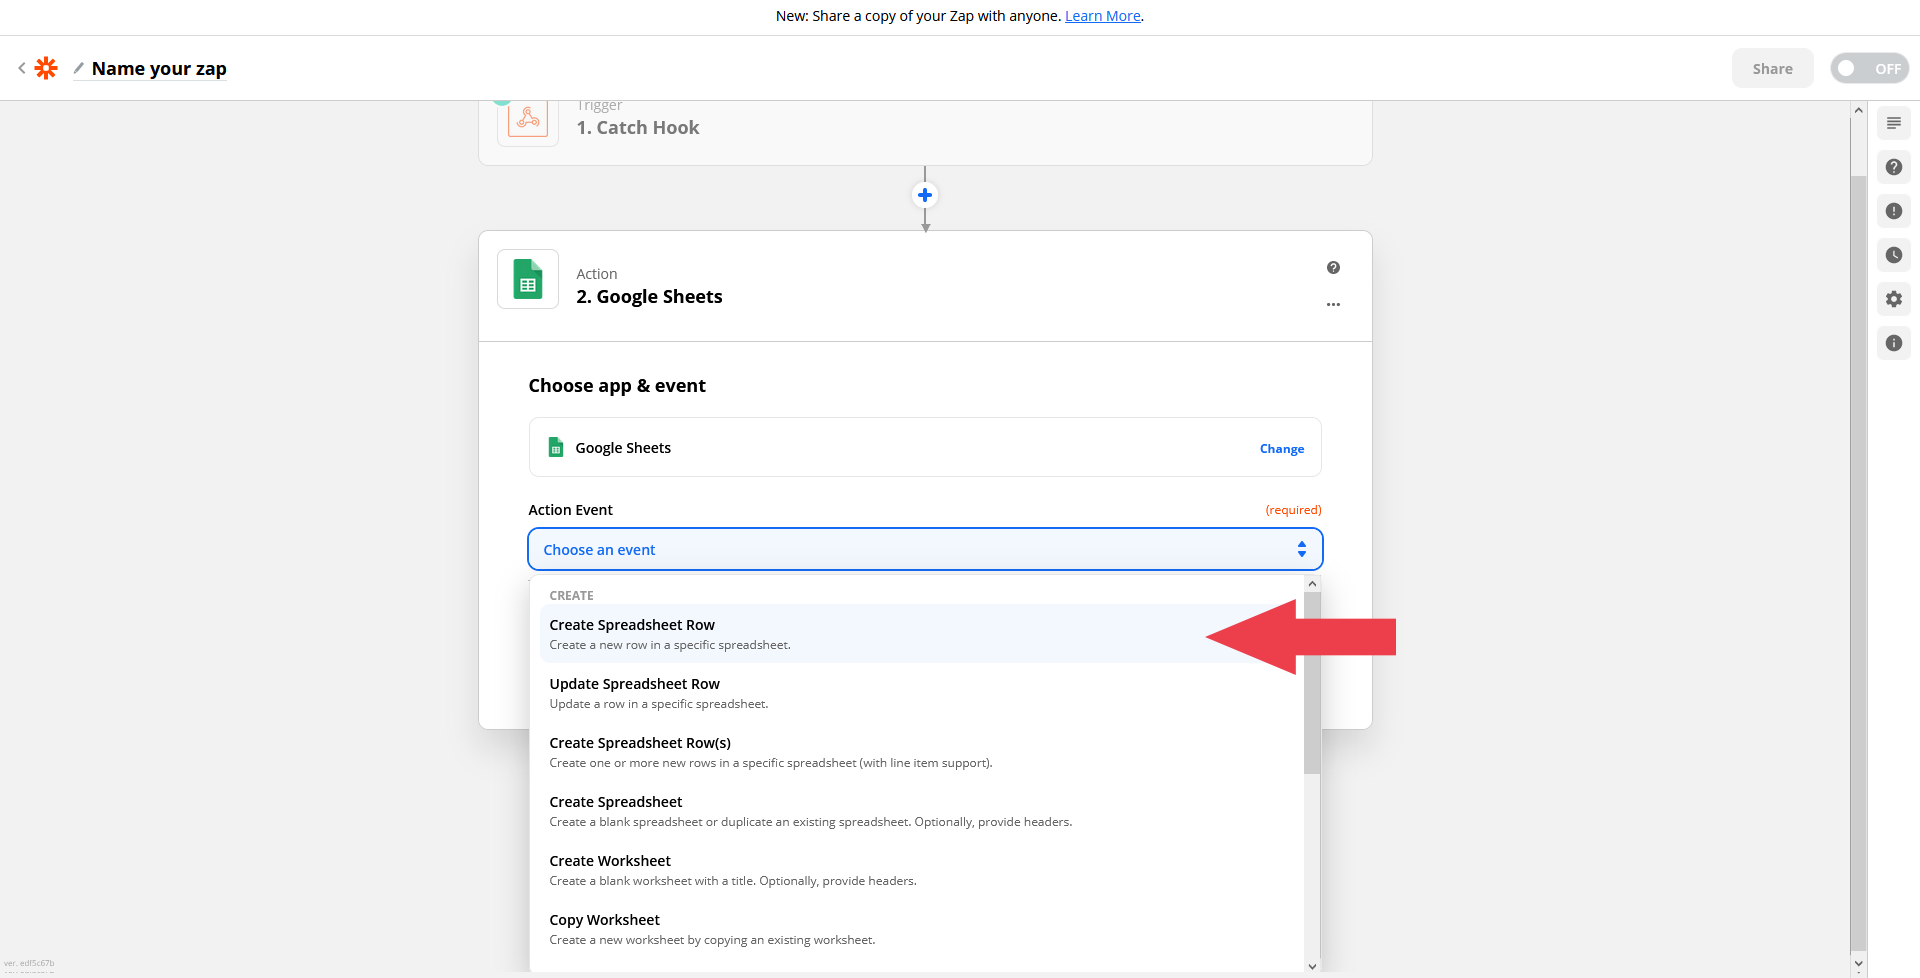
After selecting the App, we'll also need to choose an Action Event from the available dropdown options.
Since we need to add the user's submitted data to this particular stylesheet, we will choose the 'Create Spreadsheet Row' option.
Step 9
A Google account needs to be selected as well.

Step 10
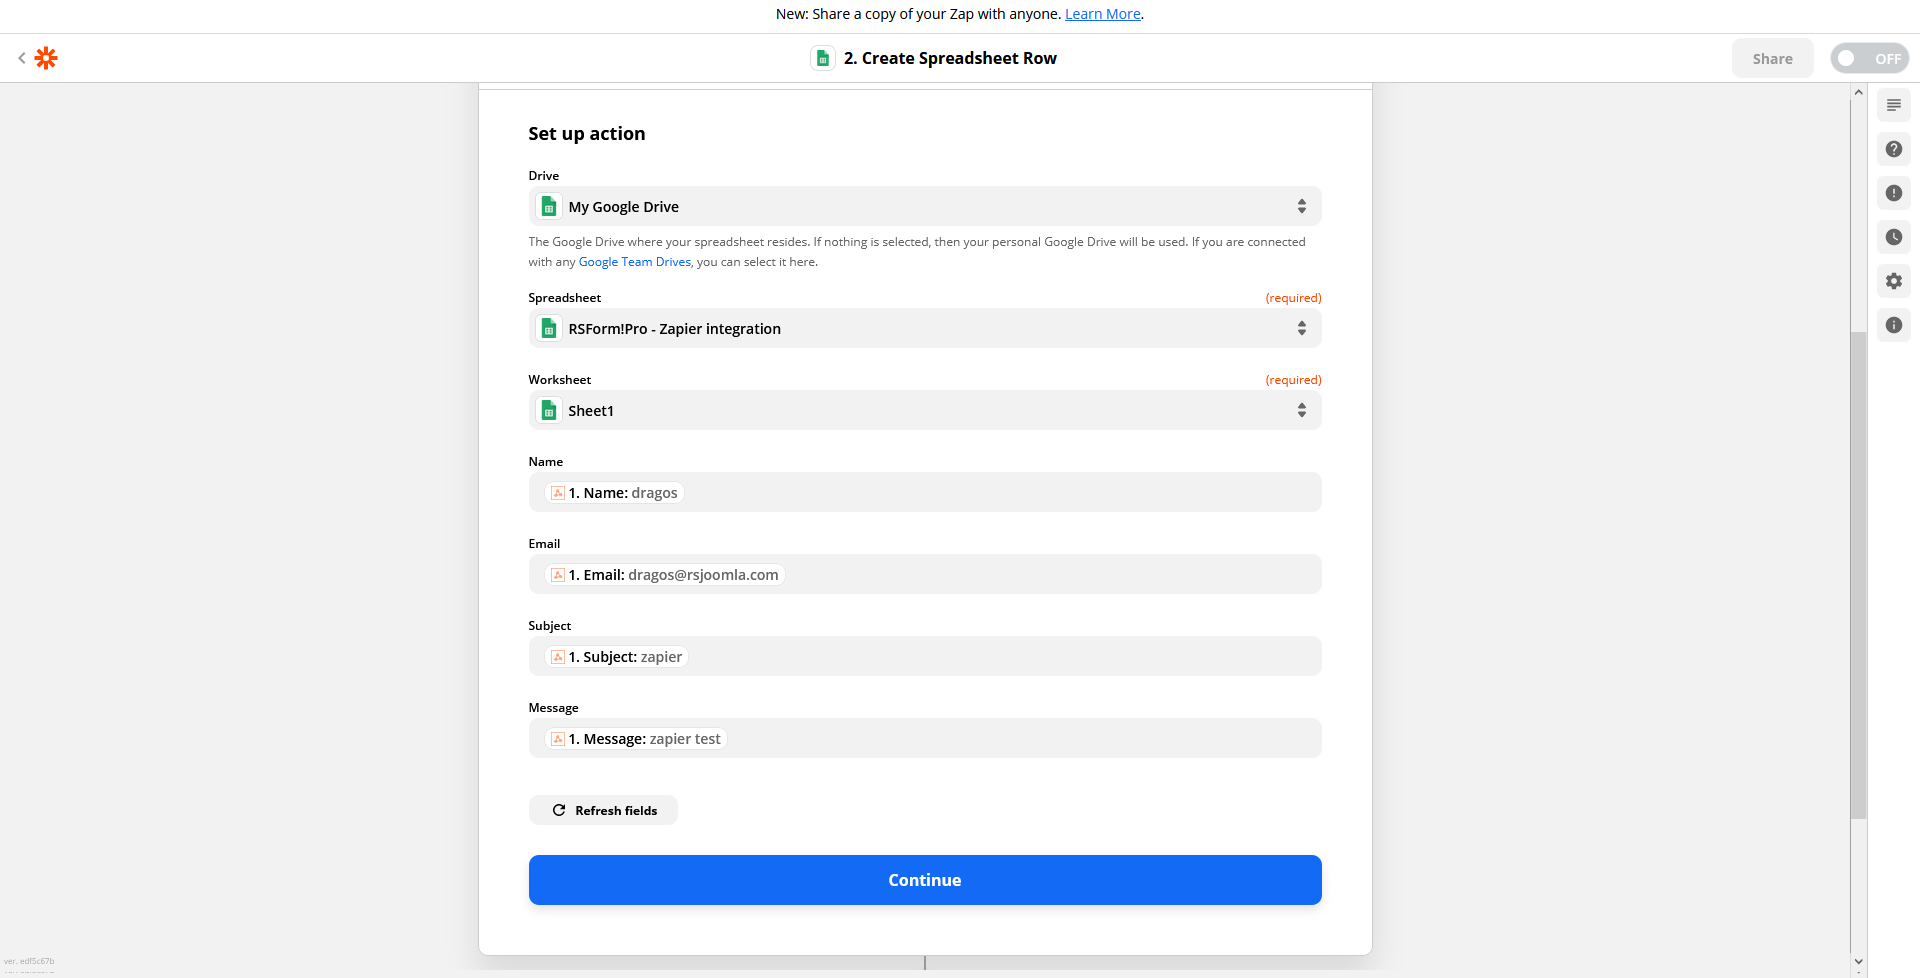
After selecting the account, you'll need to choose the Drive, Spreadsheet and Worksheet on which the data will be returned.
The mapped form fields will be prompted and needs to be completed with the corresponding values easily by clicking on each of them.
Step 11
When these are properly set up, we can now test the action by sending the Spreadsheet Row to Google Sheets.

Step 12
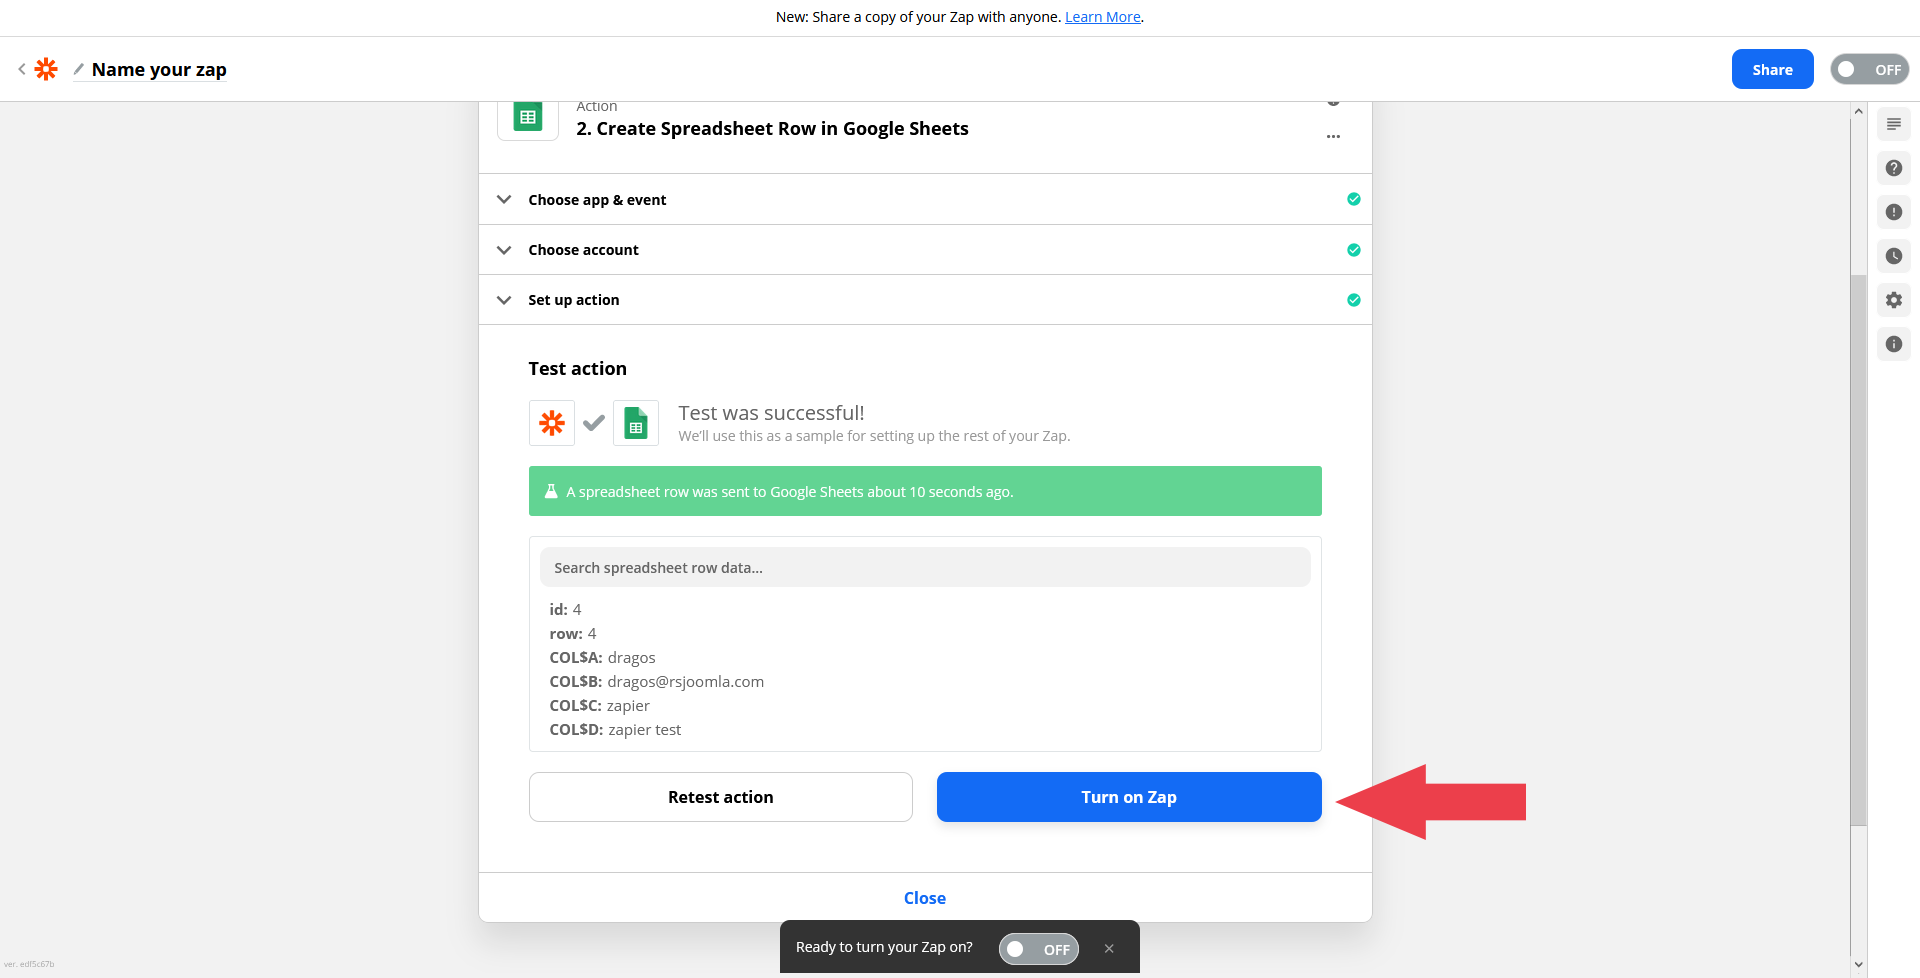
If the test is successful, than a message on this matter should be returned. Finally, you can click on the Turn on Zap in order to enable this feature on your form. You can view all your Zaps here.
Finally, you can now check the Google Spreadsheet you've previously selected as it should be populated with user's submitted data.
Version 3.0.2
- Added - Joomla! 5 native compatibility - no longer needs the 'Behaviour - Backward Compatibility' plugin.
Version 3.0.1
- Fixed - Restoring did not work in Joomla! 4.0
Version 3.0.0
- Updated - Joomla! 4.0 and RSForm! Pro 3.0 compatibility.
Initial Release
9 persons found this article helpful.