Subscriber lists
The RSMail! lists offer an organized approach to your emailing campaigns, enabling you to target the exact customer profile that you desire. These can be accessed directly from the Components > RSMail! > Lists.
The subscriber lists can contain various important, customizable information, other than the subscriber's email address, thus giving a more personalized look to your campaigns, like occupation, company, telephone and others.
To access this functionality, head to Components > RSMail! > Subscribers.
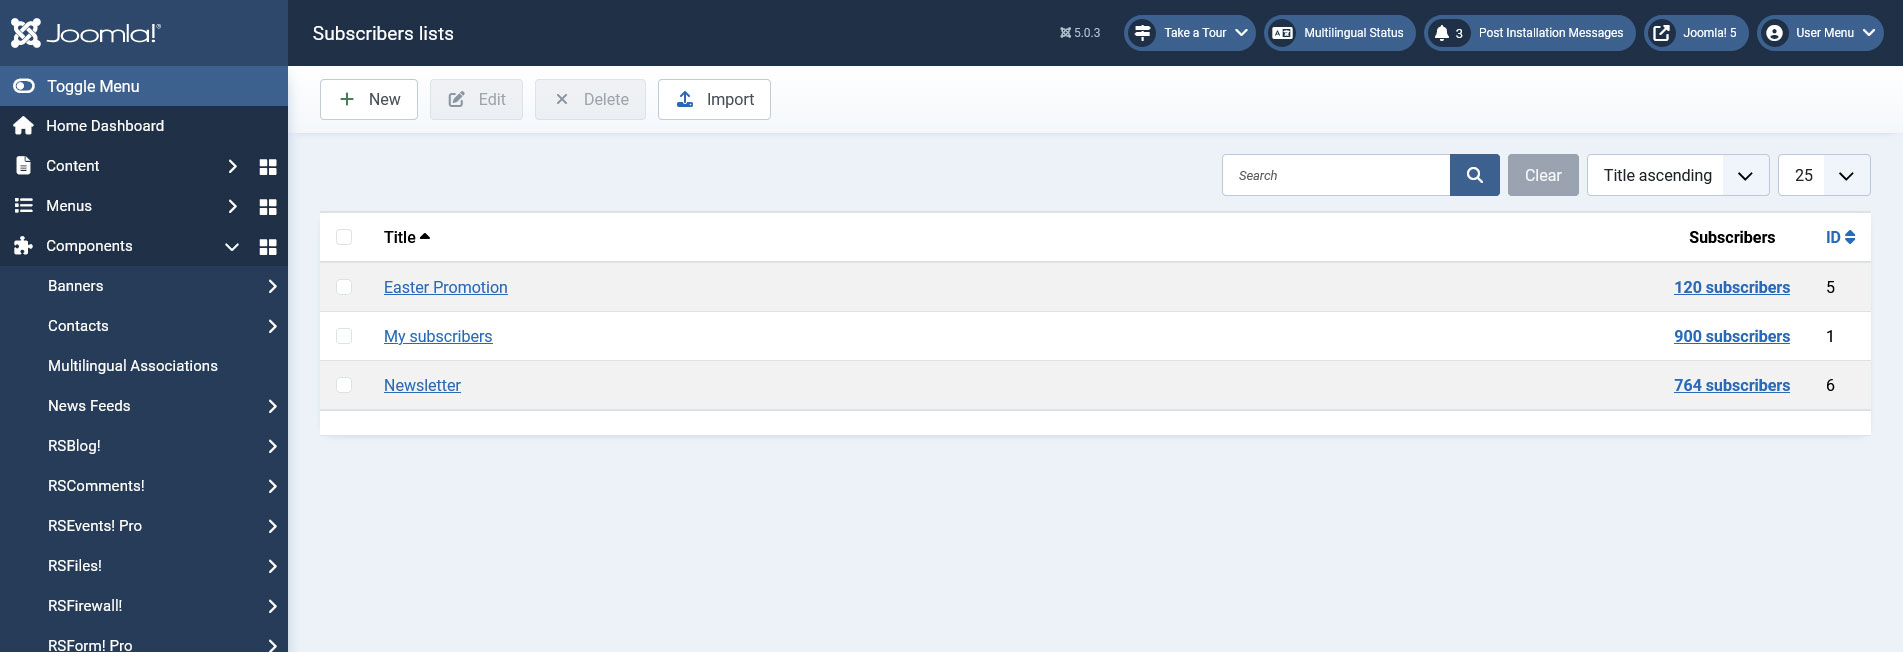
Listing
By heading to the path mentioned above, you will first be presented with a listing of all available subscriber lists. The following actions can be performed in this area (using the buttons found at the page's top):
- New: Create a new subscribers list. More information on this process can be found in the chapter below.
- Edit: Edit an existing list (previously checked in the listing). More information on this process can be found in the chapter below.
- Delete: Delete one or more lists (previously checked in the listing)
- Import: Import subscribers from a CSV file, to a list of your choosing. This process is explained, in more details, below.
New / Edit list
By either clicking on a list (or checking it and clicking on Edit) or by clicking on New, you will be presented with the list editing layout. The only difference between the two buttons is that you will either edit a new list, or an existing one. You will need to provide / edit the following information:
- List Name: Specify a name for the list;
- Welcome message: When the user subscribes to this list, a welcome email will be sent to his address if this option is enabled. After setting this to 'Custom message', the following fields will be displayed:
- Mode - Choose the welcome email mode from HTML or TEXT;
- Subject - Add the welcome email subject;
- Mesage - Type in your desired message.
- Placeholders - You can use any of the field names as a placeholder(eg. 'First Name' will have {First Name} as a placeholder), and the global placeholder [list] that outputs the list name.
- Fields area: Found to the right side of List Name. Here you can add any number of fields to your list, set any name for them and remove them. To add a new list field, simply type in its name in the text box below this area and click on Add. To remove a field, simply click on the red X associated with it.

Note: Below the list's name, there is a button (link) called Empty list. By clicking on it, you will completely remove all of the subscribers that are associated with that list, take caution when using it.
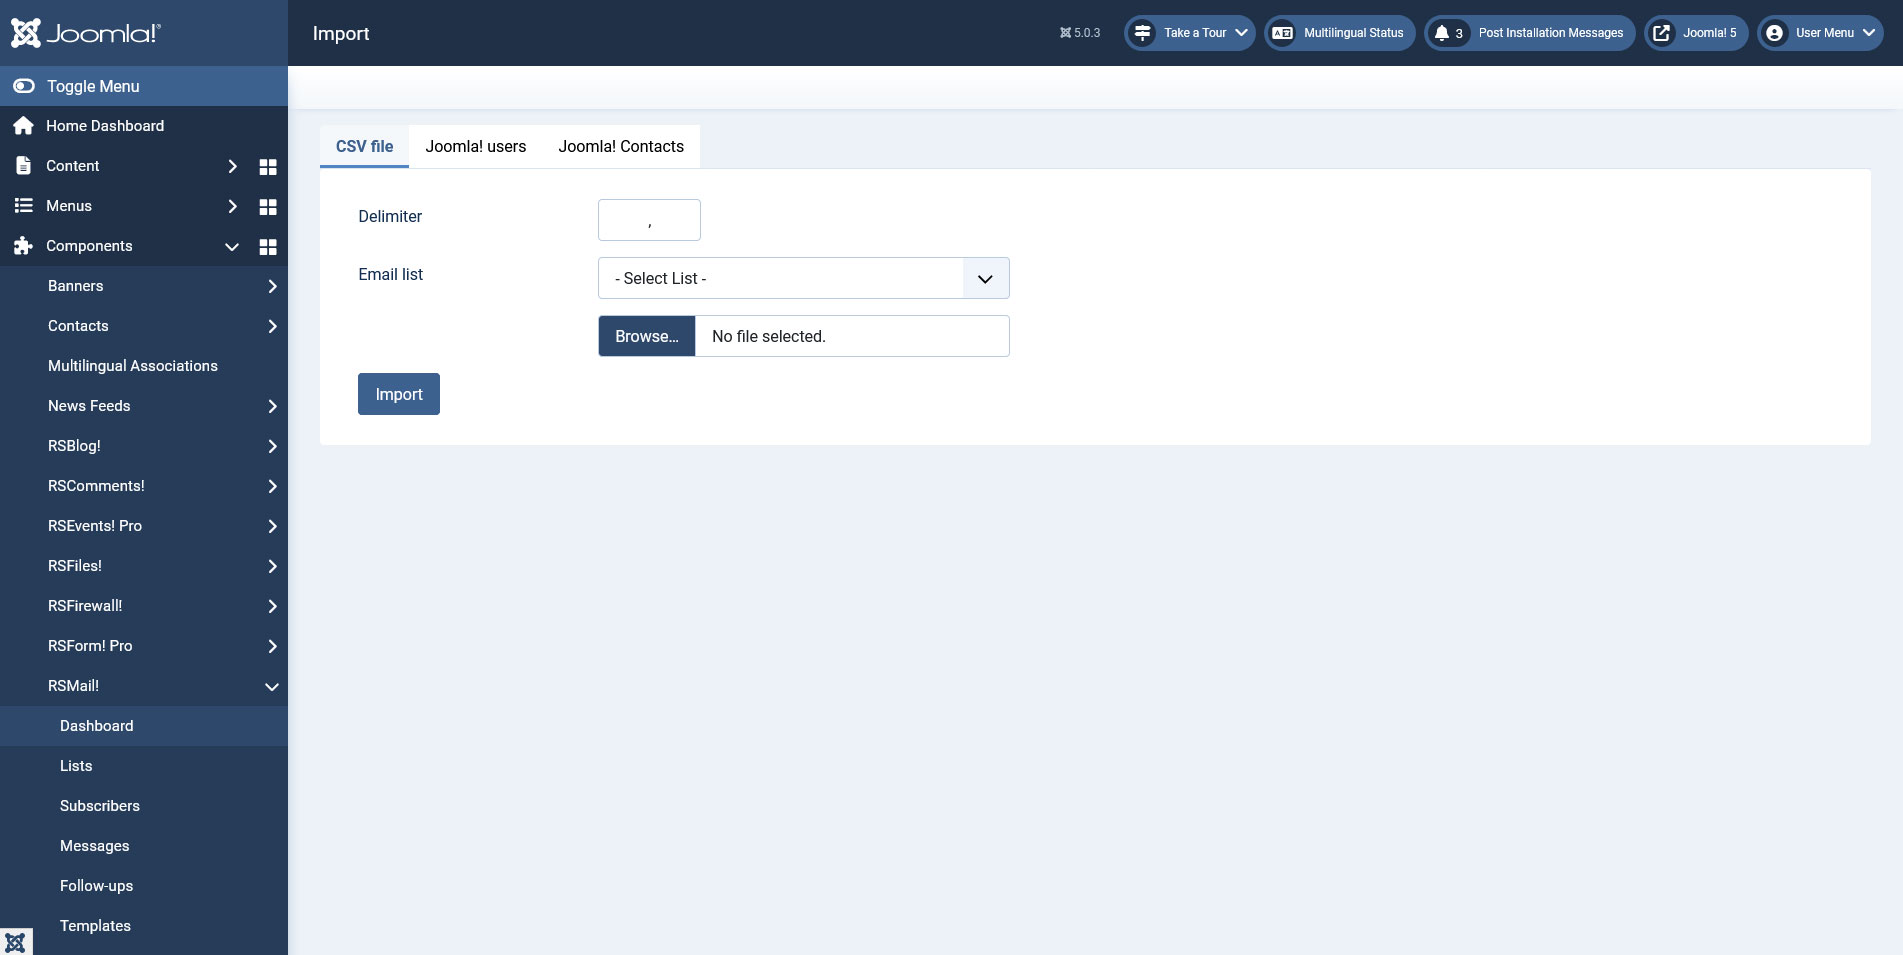
Import subscribers
This functionality allows you to import subscribers, to a chosen list, from a CSV file. To trigger it, click on the Import button found at the top of the page. You will need to provide:
- The delimiter: The character used, in the CSV file, to delimit the subscriber information
- The list: Choose, from a drop-down, the list in which the subscribers will be added
- The file: The path to the CSV file needs to be provided, click on Browse to do so.
Assuming that you have 2 custom fields in your list, field1 and field2, and that the separator you are using is , (comma), the subscriber information needs to be stored, in the CSV file, information for one subscriber on each row, in the following manner:
| "email1@domain.com" | "field1 information" | "field2 information" |
| "email2@domain.com" | "field1 information" | "field2 information" |
After providing the information mentioned above, click on Import. The component will prompt you to associate the information provided in the CSV file with the list's fields.
6 persons found this article helpful.
You Should Also Read
RSMail! Subscribers HOT |
RSMail! Messages HOT |
RSMail! Templates HOT |
RSMail! Reports |