Form creation wizard guide
The 'New' button available under Components > RSForm!Pro > Manage Forms area will create a new empty form. The settings from Configuration > Defaults area will be taken into consideration for this method.
The Form Creation Wizard provides a fast, simple and intuitive solution for creating forms. In this article we will provide a step-by-step guide on how to use it.
To start the wizard, please head to Components > RSForm!Pro > Manage Forms and click on New (Wizard).
Step 1: General form information
What do you want to name your form?: Enter the form's title here. This will be displayed in the frontend.
What layout framework would you like to use?: Choose a layout for your form. The layout will determine the appearance of your form. Click on whichever layout framework your template uses or choose Responsive if you're not sure. Selectable options:
- Responsive
- Bootstrap 2.3.2
- Bootstrap 3.4.1
- Bootstrap 4.6.0
- Bootstrap 5.1.3
- uikit 2.27.5
- UIkit 3.15.10
- Zurb Foundation 6.6.3
The form's layout can be later edited to suit your needs. You can read more on this topic here.
The Classic & XHTML Layouts will be available only under your Form Properties area after installing the Legacy Layouts plugin.
In order to generate HTML compliant IDs, the field names must NOT:
- contain spaces (if however there are any, these will be converted to underscores)
- start with a number
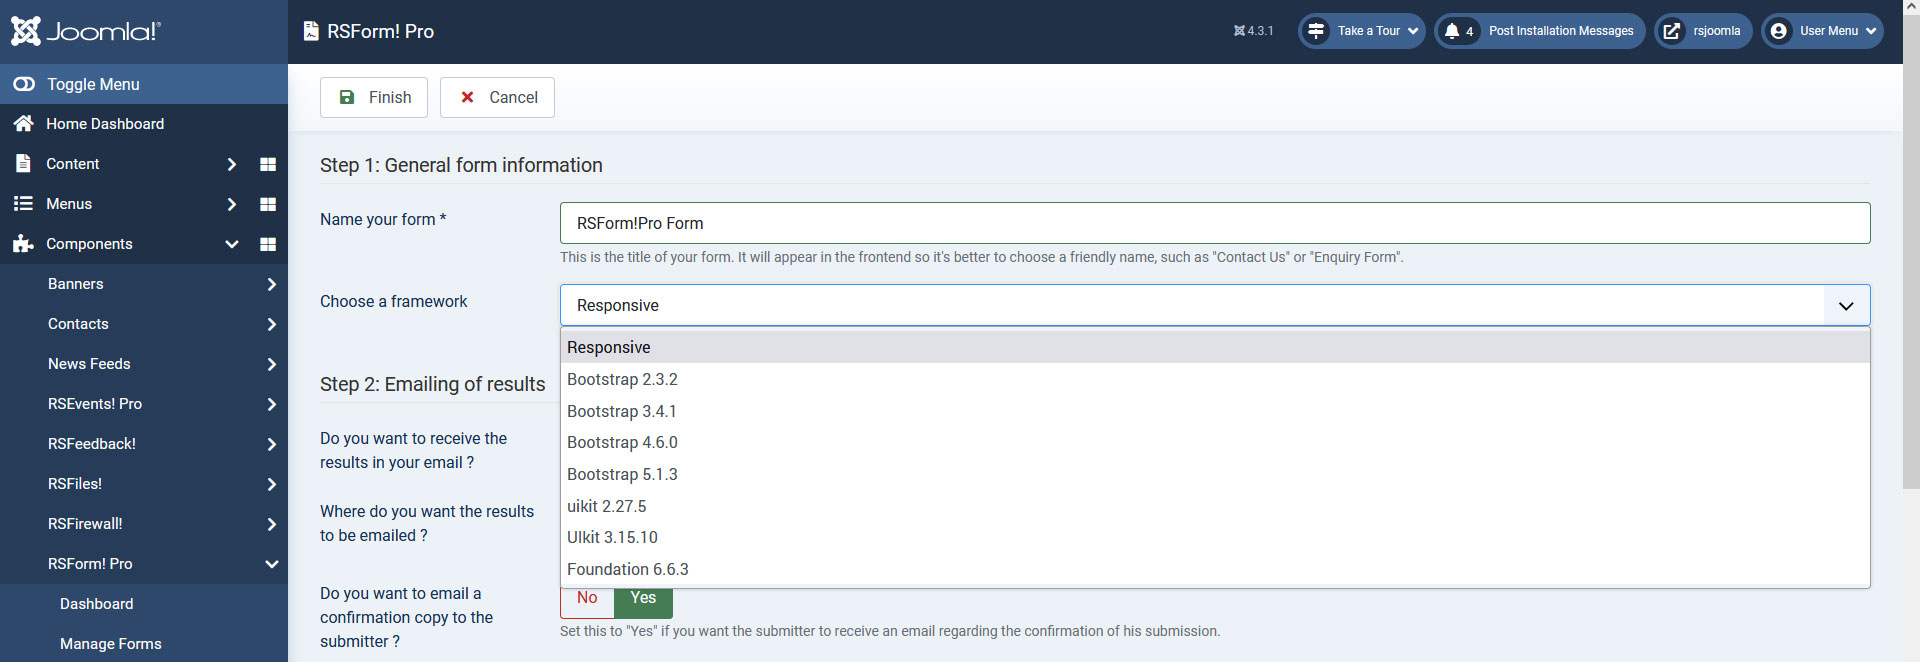
Step 2: Emailing of results
The settings you change here will be reflected in the User/Admin Emails tabs. You can read more on how to set up the RSForm!Pro emails here.
Do you want to receive the results in your email?: Setting this to Yes will enable the Admin Email.
Where do you want the results to be emailed?: This fields corresponds with the To field of the Admin Email.
Do you want to email a confirmation copy to the submitter?: This corresponds to the User Email, setting this field to Yes will enable the User Email.

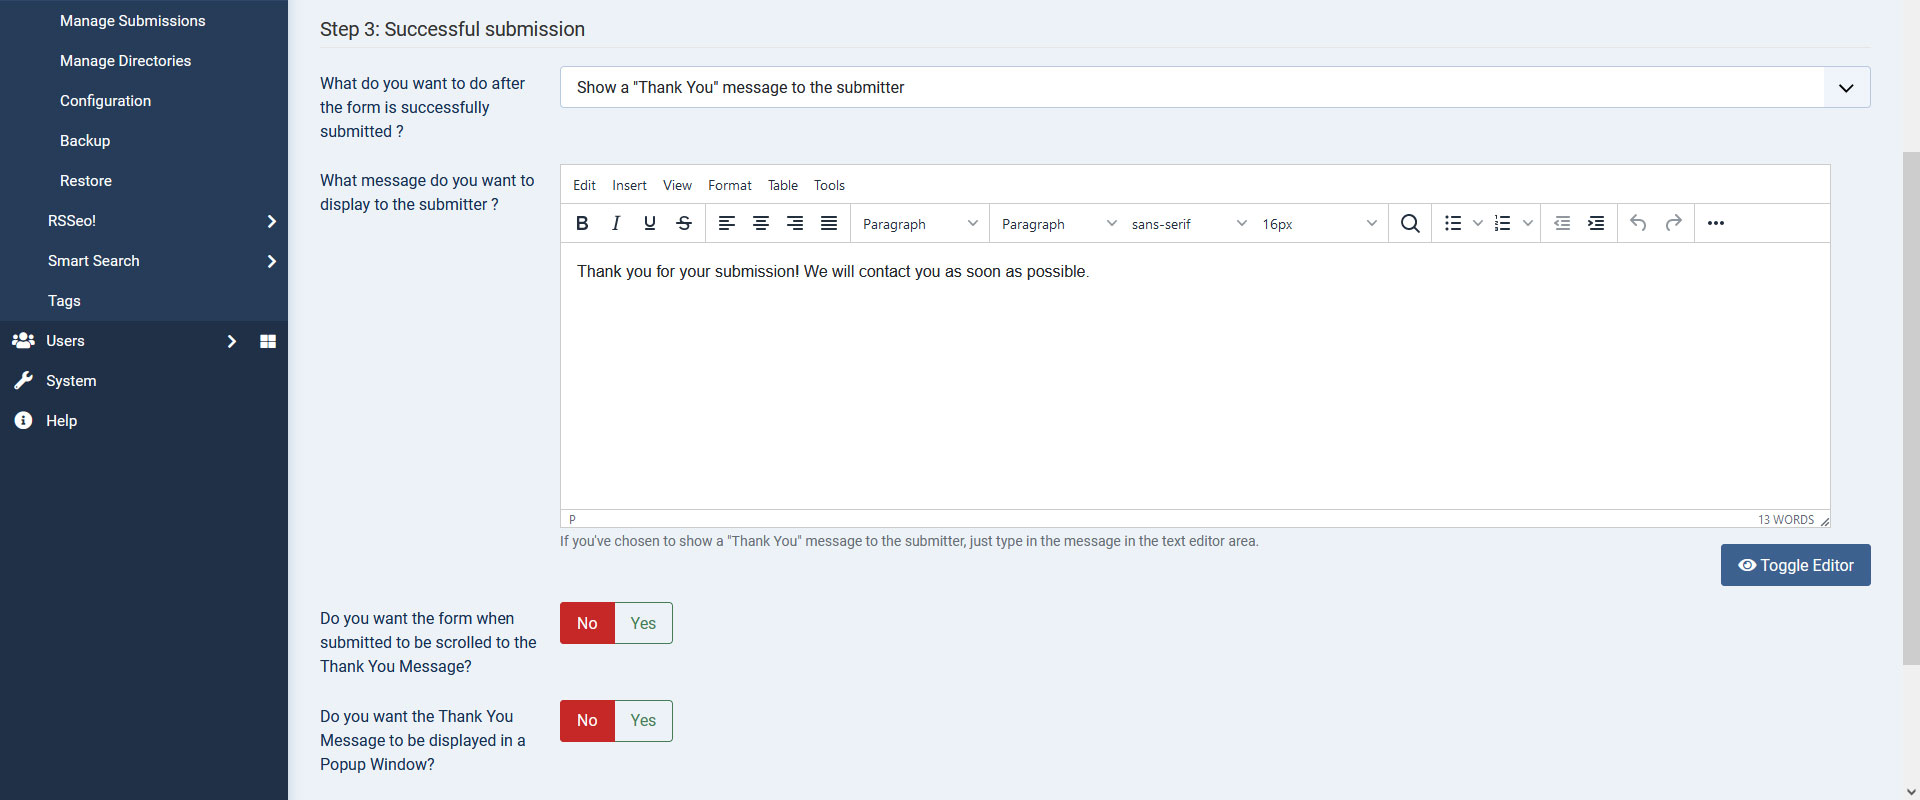
Step 3: Successful submission
Here you can specify the action to be taken after the form has been successfully submitted. Selectable options:
- Just refresh the form page: As the name implies, the form page will be refreshed.
- Show a "Thank you" message to the submitter: The "Thank you" message will be displayed. You read more on how to configure it here.
- Redirect the submitter to a specified URL(web address): The submitter will be redirected to a URL of your choosing. Selecting this option will add one more field to the wizzard, Where do you want the submitter to be redirected ? , you can specify the web address in that field.
- Do you want the form when submitted to be scrolled to the Thank You Message?: Yes / No.
- Do you want the Thank You Message to be displayed in a Popup Window?: Yes / No.
Step 4: Optional - Predefined forms
Choose whether to start with a predefined form or not. Selectable options:
- Blank form(don't use a predefined form)
- Calculation form: A calculation form we have designed as an example, that can suit some general needs. You can modify this form by adding/editing/deleting fields and changing it's settings.
- Simple contact form: A contact form we have designed as an example, that can suit some general needs. You can modify this form by adding/editing/deleting fields and changing it's settings.

105 persons found this article helpful.