Plugin - Salesforce (Capture leads)
RSForm!Pro - Salesforce Web2Lead plugin
The RSForm!Pro - Salesforce Web2Lead is a plugin that once installed and enabled will allow you to add sale leads to your Salesforce account.
In this tutorial, you will learn how to install the plugin, then how to set up the Salesforce integration.
The plugin can be downloaded by logging into our website using the account that holds the subscription and heading to Downloads > My Downloads area.
Downloading and Installing the plugin
Download
You can download the plugin by logging with your purchase user, then head to Downloads > My Downloads > RSForm!Pro - view all plugins and modules > RSForm!Pro Files > Plugins > "Salesforce Web2Lead Plugin".
Install
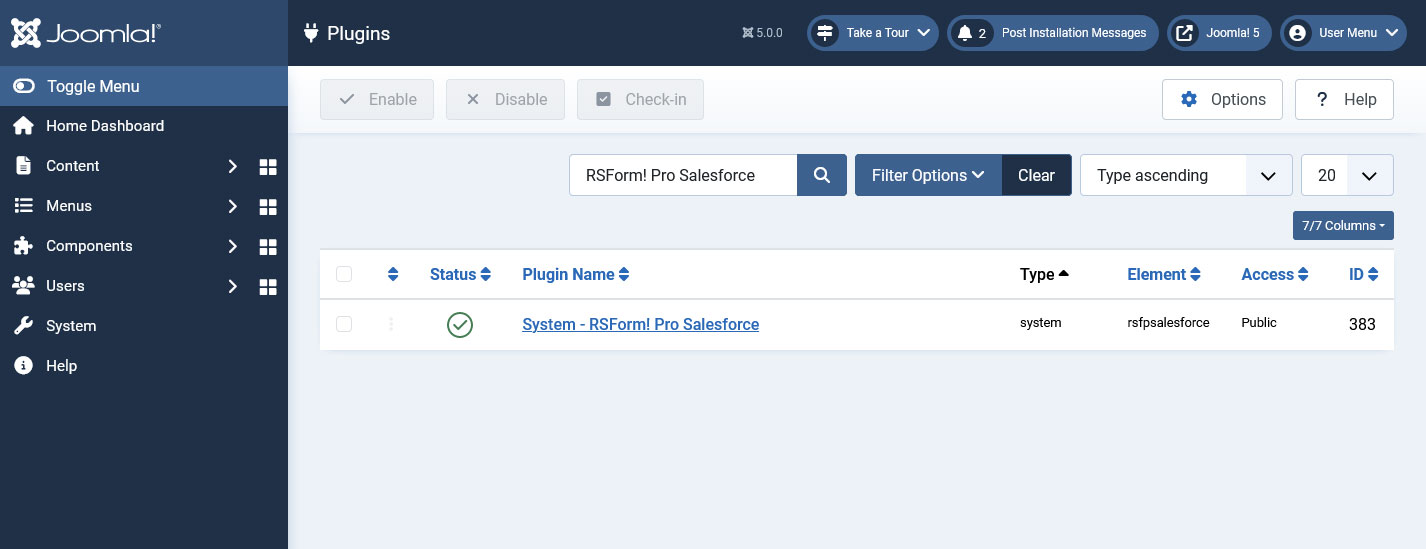
In the backend of your Joomla! installation go to the Extensions > Install/Uninstall page, and install the plugin. Next thing is to publish the plugin, to do this go to Extensions > Plug-in Manager, search for the "System - RSForm! Pro Salesforce" plugin and publish it.
Configuring the plugin
The integration with Salesforce requires adding the "Web to Lead Form URL" parameter in the Components > RSForm!Pro > Configuration > Salesforce tab.
This is the URL where the Salesforce data will be submitted to. Defaults to the URL for Live version:
https://webto.salesforce.com/servlet/servlet.WebToLead
For Sandbox mode, you will have to use the following URL:
https://test.salesforce.com/servlet/servlet.WebToLead

Using the Salesforce integration
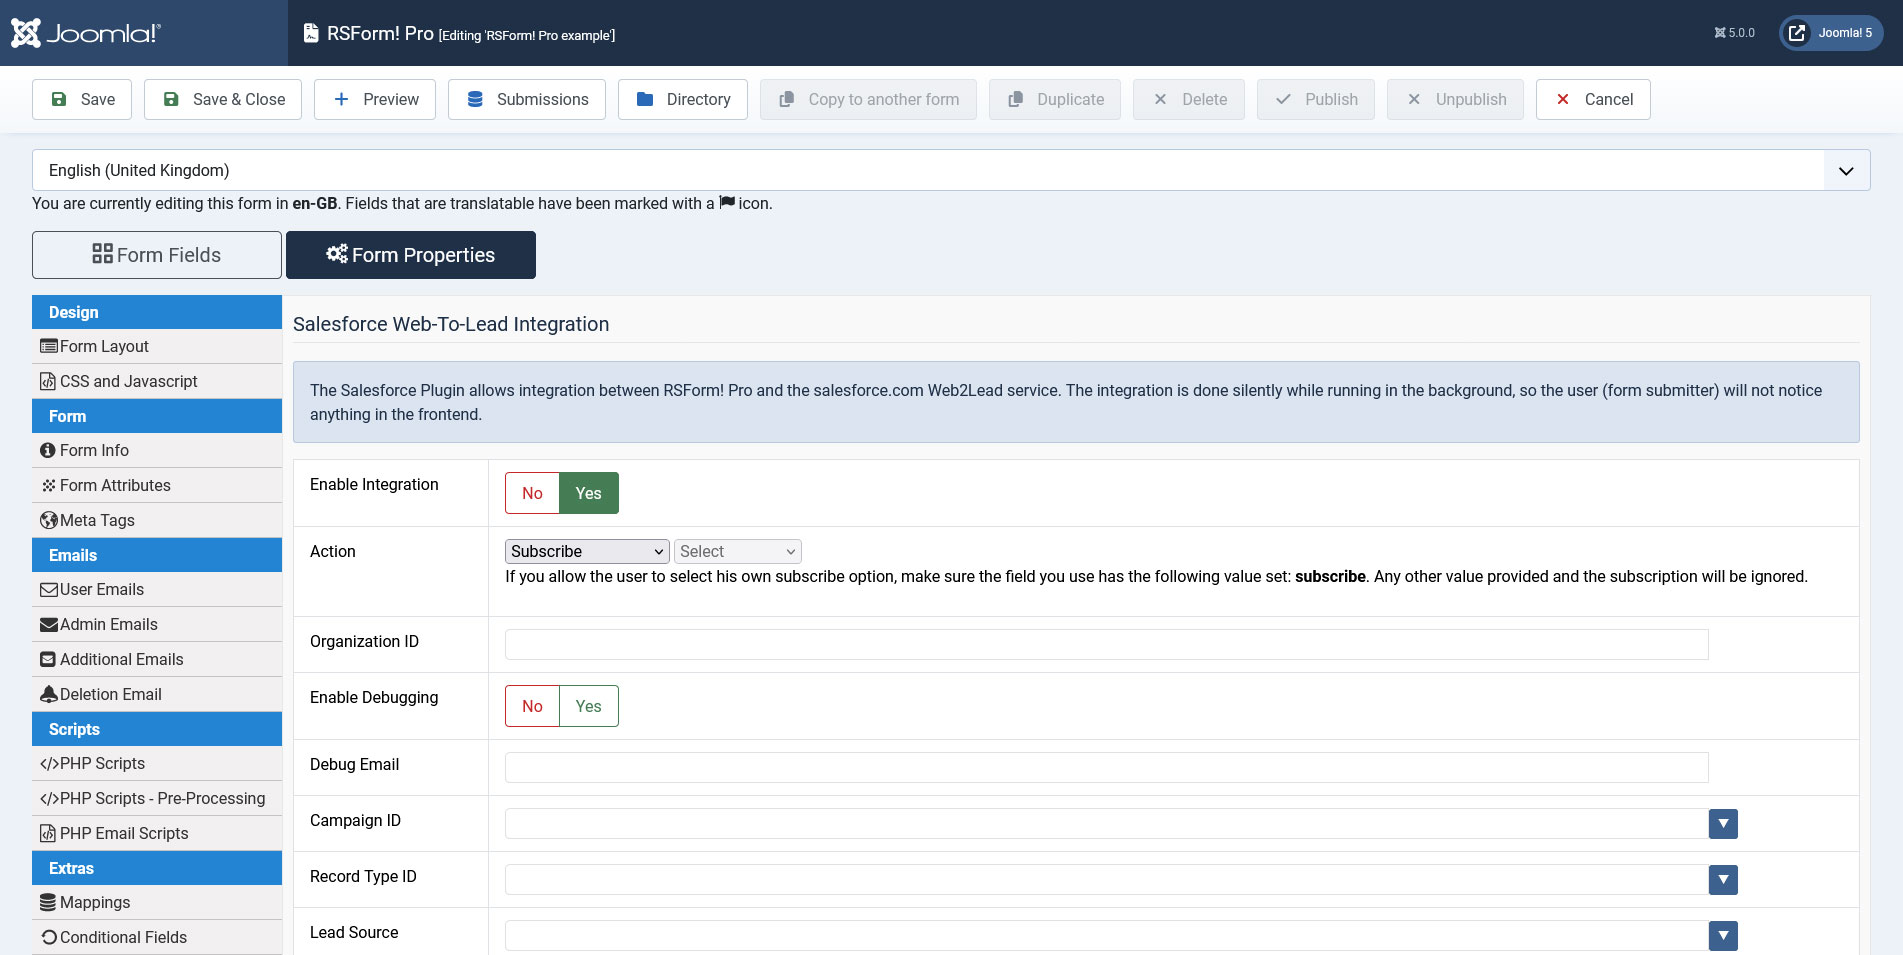
In order for the form to produce leads you will have to enable the integration and set up the parameters.
While editing your form, you can switch to Form Properties tab > click on the "Salesforce Integration" > and set to "Yes" the "Use Integration?" option.
You can trigger the integration based on user's choice, which can be done by setting the Action field to "Let the user decide" and then select a field from your form (this field has to provide the "subscribe" value; other values won't trigger the integration). Example, a checkbox with the following Item:
subscribe|Yes, I agree!
Enabling the debug mode, will allow the configuration of intermediary email address to which an email with the lead information will be delivered upon submitting the form.
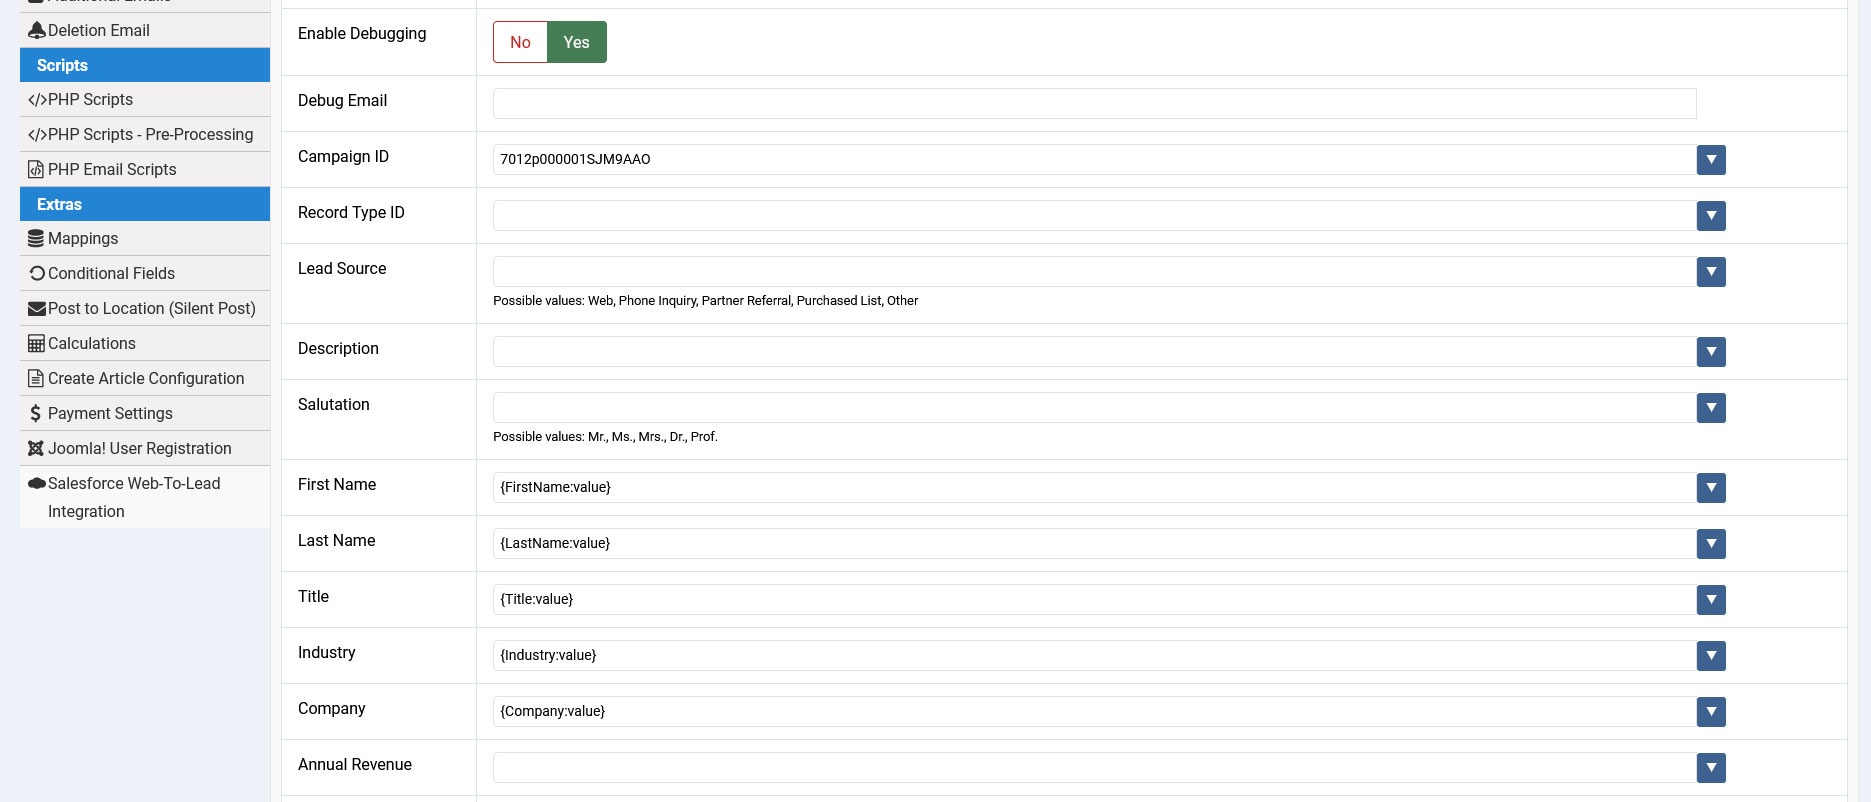
After the integration has been enabled, you will have to map the Salesforce fields with your RSForm!Pro form fields. Clicking on the blue arrow associated with each field will display a list of available placeholders (this can also be typed in). If you are using a field named "test", the correct placeholder will "{test:value}".
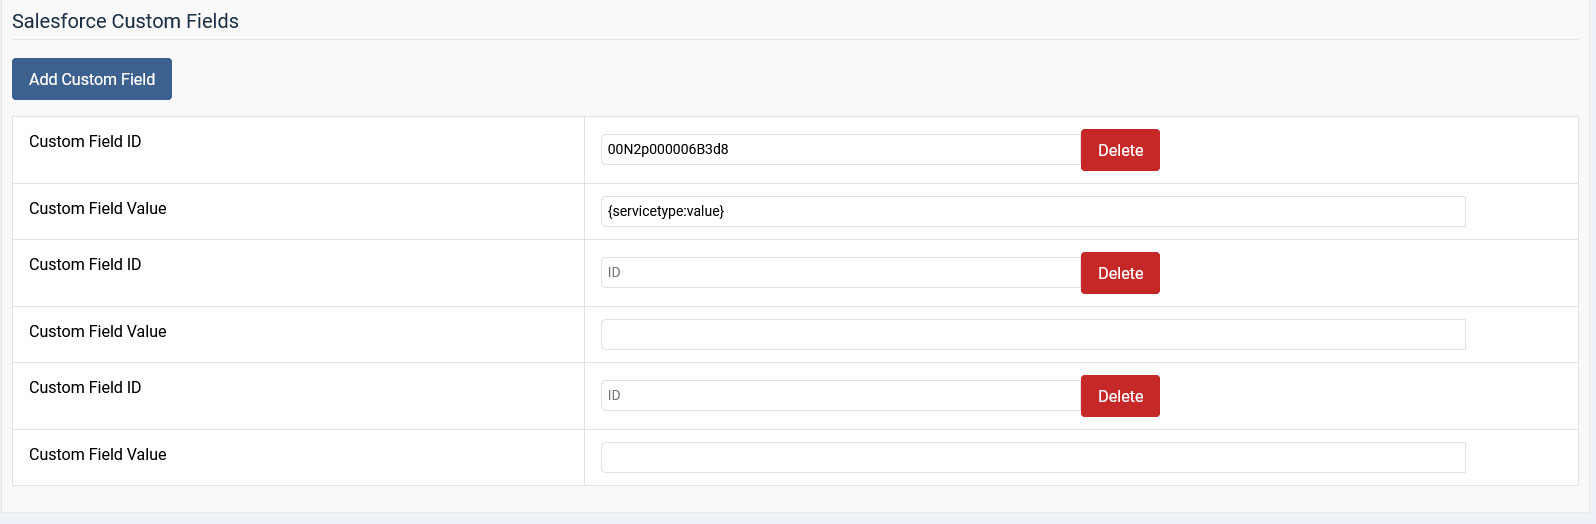
Adding Custom Fields
In order to add Custom Fields to the integration you will have to click on the "Add Custom Field" button at the bottom and add Field's Id and the Value that you wish to place in the field.
The Id of the field can be found in the URL when editing a field.
![]()
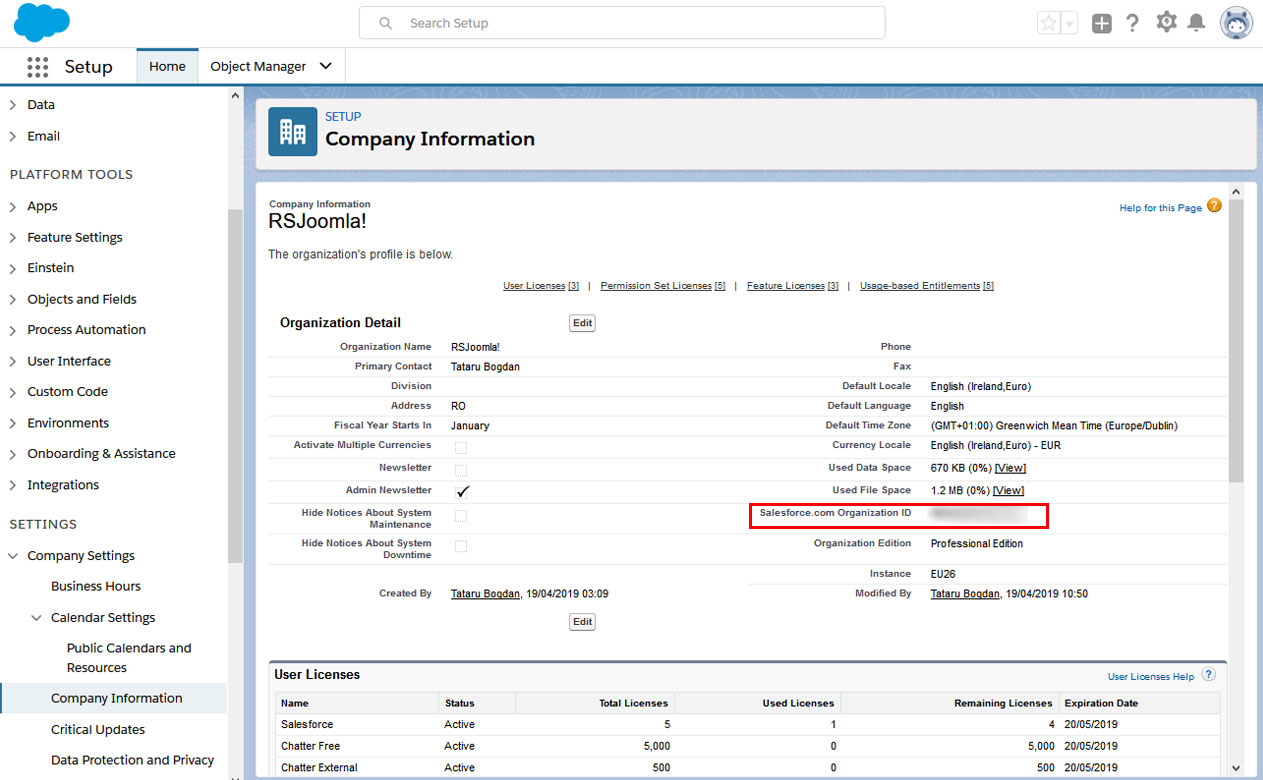
How to retrieve the Salesforce Organisation Id?
Retrieving the Salesforce Organisation Id will require taking the following steps:
- Login into your Salesforce Account
- Click on the Company Settings in the left sidebar and select Company Information
- The Salesforce.com Organisation ID will be displayed in the Organisation Detail section at the top, in the second column, as you can see in the following image:
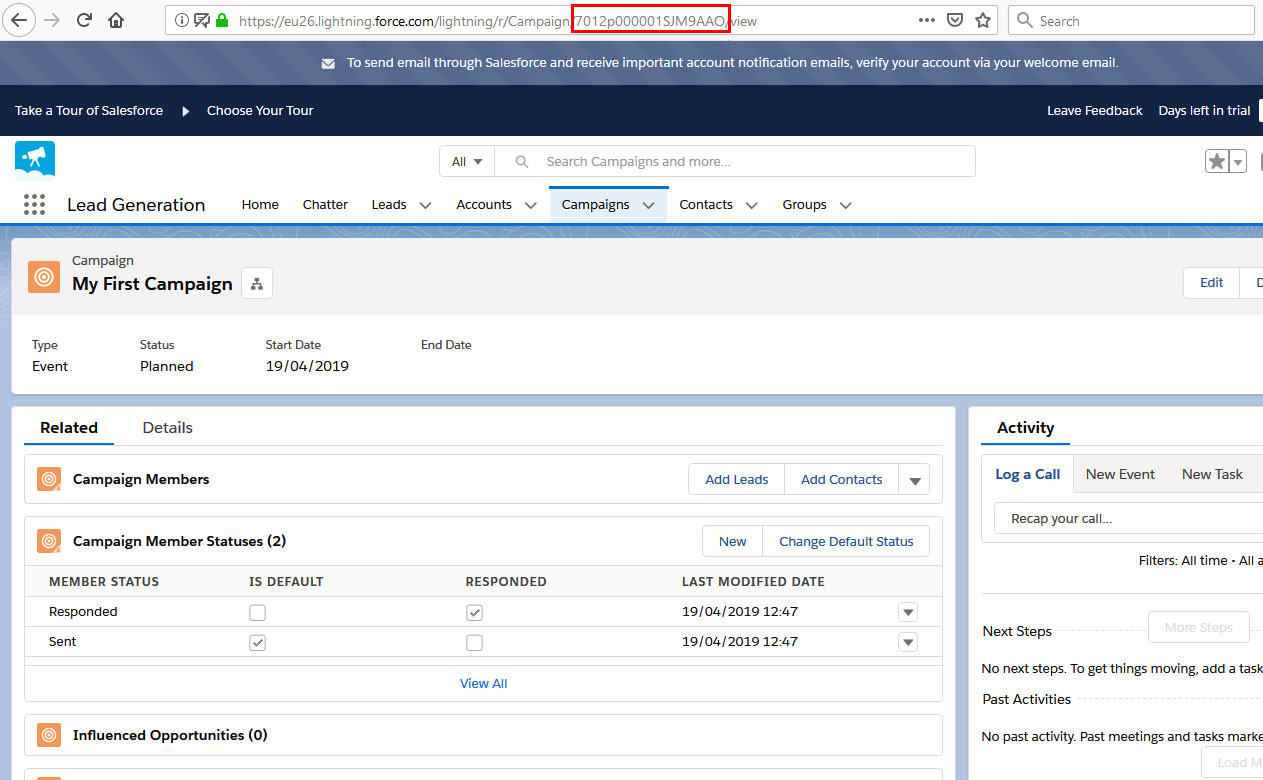
How to retrieve the Salesforce Campaign Id?
In order to retrieve your Salesforce Campaign Id you will have to take following steps:
- Login into your Salesforce Account
- In the "Lead Generation" section of your account click on Campaigns menu item and create New Campaign
- After completing your campaign details click Save
- Your newly created campaign will be displayed in the campaigns list
- Edit the Campaign and copy the Id from the URL
- This Id needs to be added in the "Campaign ID" field in the Salesforce Integration tab of your RSForm!Pro form
Version 3.0.4
- Added - Joomla! 5 native compatibility - no longer needs the 'Behaviour - Backward Compatibility' plugin.
Version 3.0.3
- Fixed - PHP 8 would throw an error on form submission if 'Dropdown' fields were mapped.
- Fixed - Multiple fields were not mapped correctly.
Version 3.0.2
- Added - Assign 'Record Type' to a lead.
Version 3.0.1
- Fixed - Custom Fields were not saved.
Version 3.0.0
- Updated - Joomla! 4.0 and RSForm! Pro 3.0 compatibility.
Version 1.52.3
- Fixed - Fields with multiple selections were not mapped correctly.
Version 1.52.2
- Updated - Allow to subscribe the user based on another field's value.
- Fixed - CSS and JS assets are now loaded even after the onAfterRender() event.
Version 1.52.1
- Added - 'Web to Lead Form URL' can be configured.
- Updated - Code cleanup and deprecated code removed.
Version 1.52.0
- Updated - Salesforce endpoint URL now points to 'https://webto.salesforce.com/servlet/servlet.WebToLead'
- Updated - Use JHttpFactory for outgoing connections.
Version 1.51.2
- Updated - Bumped minimum requirements to use RSForm! Pro 1.51.12
Version 1.51.1
- Fixed - Uninstalling the plugin would not remove its database entries.
Version 1.51.0
- Added - Joomla! automatic updates support.
- Updated - Bumped minimum requirements to use RSForm! Pro 1.51.0
- Updated - Some deprecated code has been removed.
Version 1.50.0
- Updated - Salesforce settings can be backed up and restored.
- Fixed - Deleting a form would not remove the Salesforce configuration.
Initial Release
12 persons found this article helpful.
You Should Also Read
Plugin - ZohoCRM (Capture leads) HOT |
Plugins - Salesforce Web2Case HOT |
Plugin - vtiger CRM (Capture leads) HOT |